2014 Lamborghini Performante Spyder gets a Kenwood Apple CarPlay DMX7706s installed
This week in the shop we had the chance to do an Apple CarPlay upgrade for a 2014 Lamborghini Performante Spyder. Previously we had installed Focal Flax series component speakers and a JL Audio amp. However, the technology of the stock head unit in this vehicle was seriously lacking.
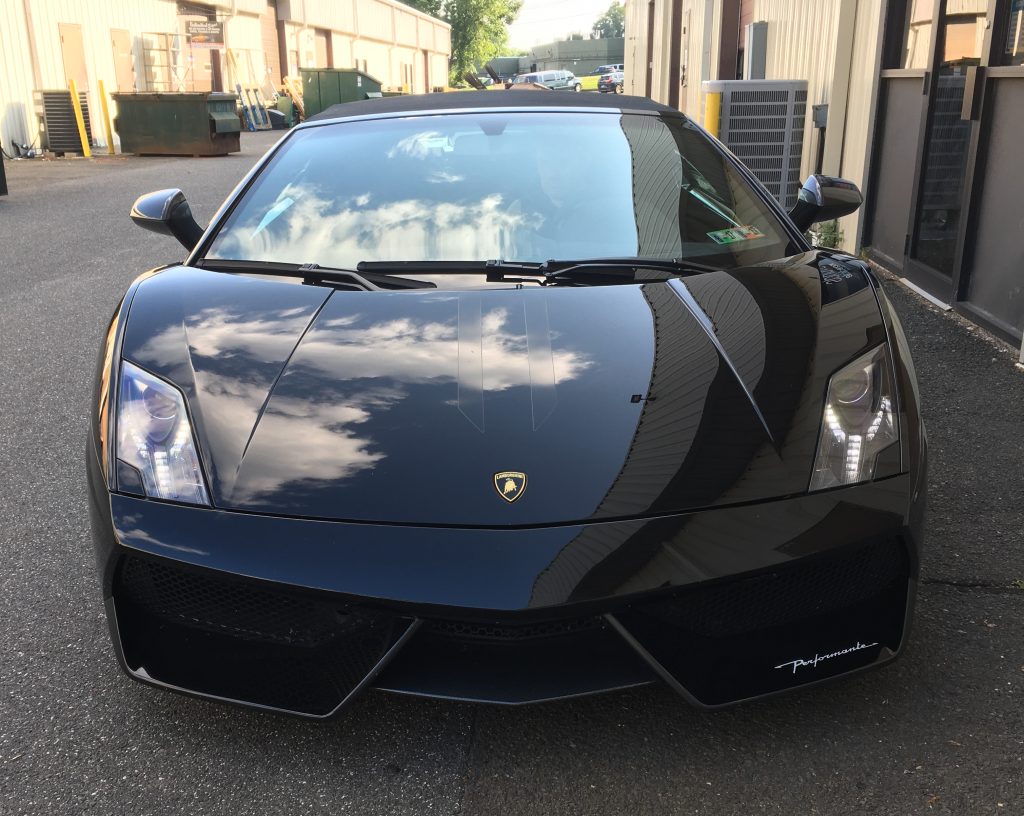
Customers who spotted the vehicle in our garage were surprised and commented, “Such a nice car like that and it doesn’t come with a good stereo??” Sadly the answer is no, no, it doesn’t. These vehicles come with an older style, Audi looking radio, suspiciously similar to the RNS-E model used in select Audi A4 B6 body style 2005-2008. I can clearly envision the conversation between the Lamborghini designers:
Designer #1: “What are we going to do for the stereo?”
Designer #2: “Stereo? The only music any true driver will want to listen to is the melody of the glorious engine.”
Designer #1: “I agree, but upper management is telling me we have to include one or the people will complain.”
Designer #2: “Well, I think we have some extra RNS-E radios lying around somewhere. We can get re-branded for Lamborghini.”
Designer #1: “Yes, that will work.”
Apple CarPlay Upgrade for Lamborghini – Parts Required: a mix of VW/Audi parts, custom dash kit and some custom wiring
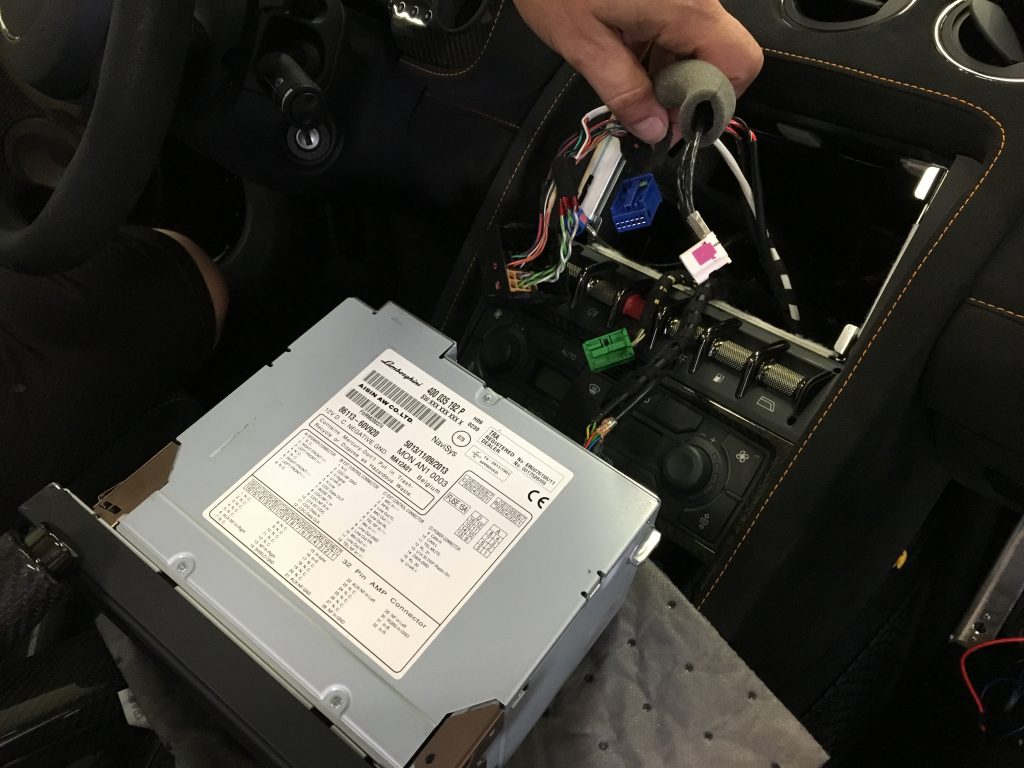
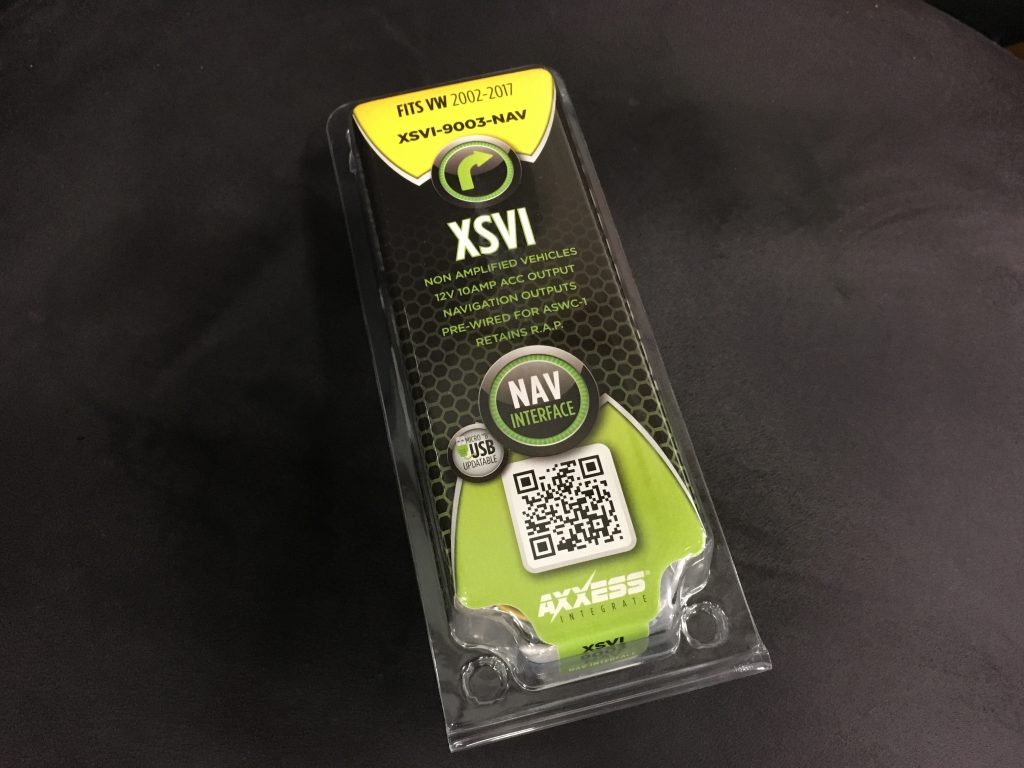
All joking aside, we did use a few key install parts commonly used in VW and Audi that made our installation of our Apple CarPlay upgrade in this Lamborghini Performante Spyder relatively straight forward. One of these parts was the Metra XSVI-9003-NAV shown below.
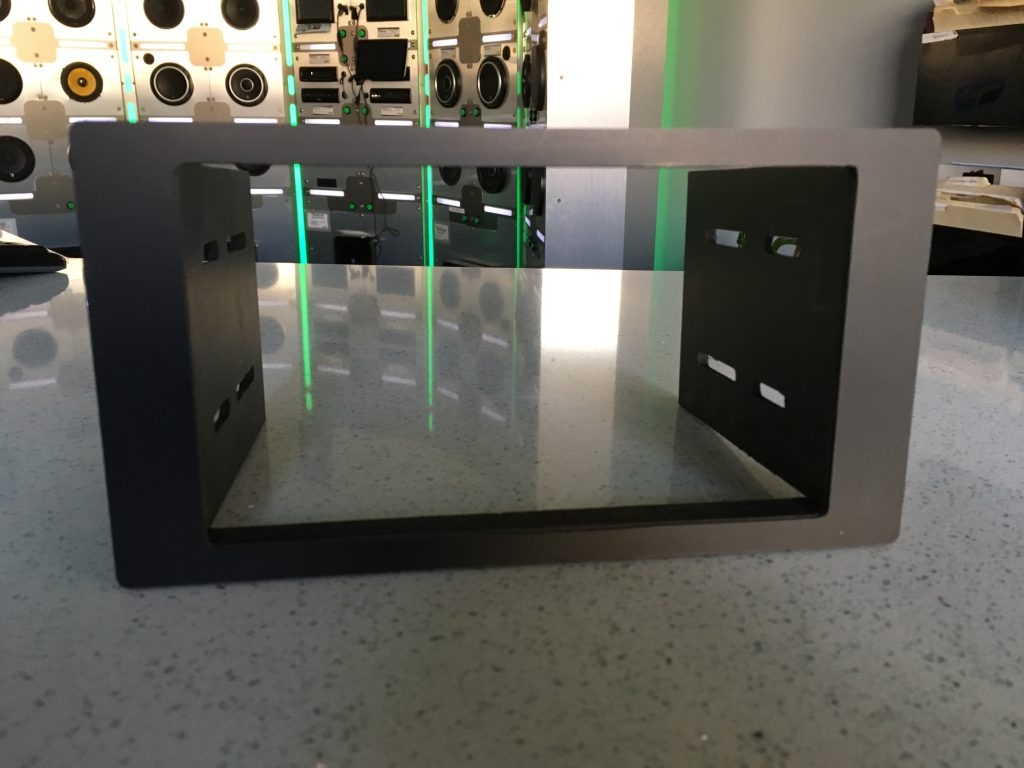
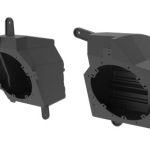
In addition to the Axxess interface, we also used a Metra 40-EU56 antenna adapter and this CNC machined custom stereo dash kit by Audio Designs & Custom Graphics seen here.
Apple CarPlay Upgrade for Lamborghini – Retaining the OEM reverse camera
The tricky part of this install was tying into the factory reverse camera. In most vehicles, if there are no plug and play adapters available, we simply look up the vehicle wire schematic in our mechanic software (Pro Demand), identify the video positive and negative shield and cut and splice to retain. However, our mechanic software does not cover exotics. Additionally, there was very little wiring information on these vehicles that I could find online. In general, if no diagram is available, we examine the camera wiring from the camera itself and use a multimeter to attempt to identify the connections.
If we couldn’t identify the proper wires, our only other option would be to install an aftermarket reverse camera. I started to recall a similar situation we ran into with a 2013 VW Passat. There was no method we could find (back in 2013) to retain the OEM camera in that car because it wasn’t just a standard video positive/negative set up. Although we were using an iDatalink Maestro to retain many OEM features, the camera was one thing it could not tie into and even iDatalink advised installing an aftermarket one at the time. We ended up doing just that which is not really such a big deal in a VW Passat, but have you seen where the reverse camera is in this Lamborghini? It is located below the 3rd brake light inside the spoiler which appears to be made entirely of carbon fiber.
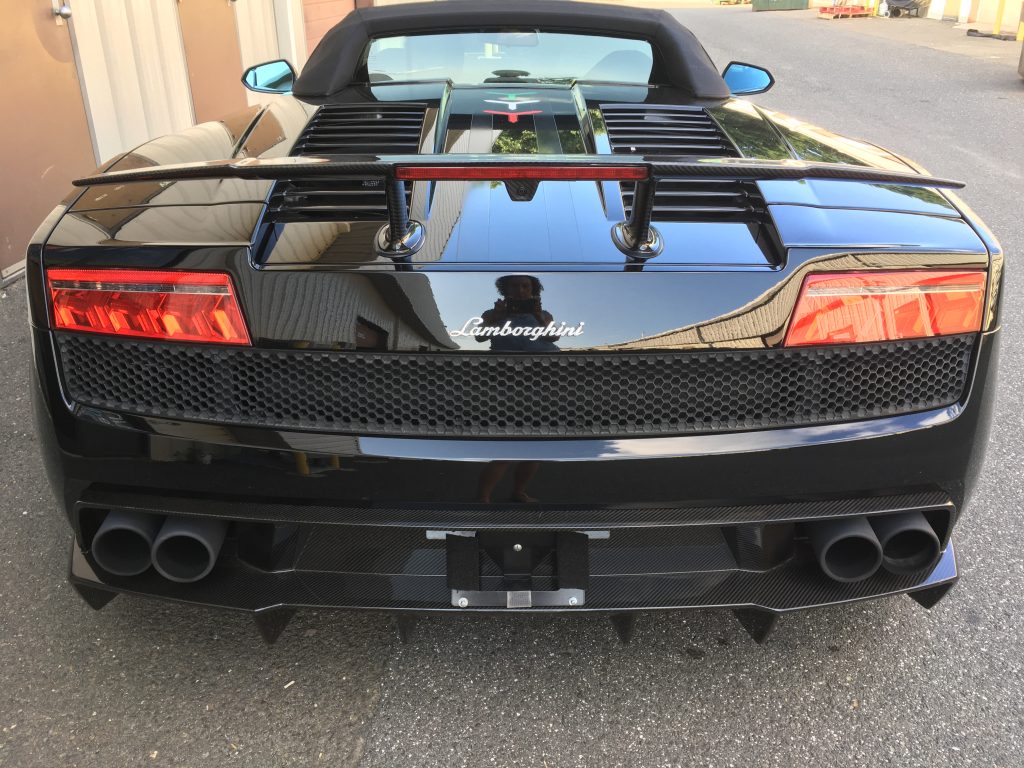
The thought of taking that apart to replace it with an aftermarket camera gave me heart palpitations, yet it didn’t appear to faze my installer husband John. Luckily, I found a thread on a forum online somewhere stating that the reverse camera wires were under the center console. What was missing in those forums were pictures and wire colors so I will post that here.
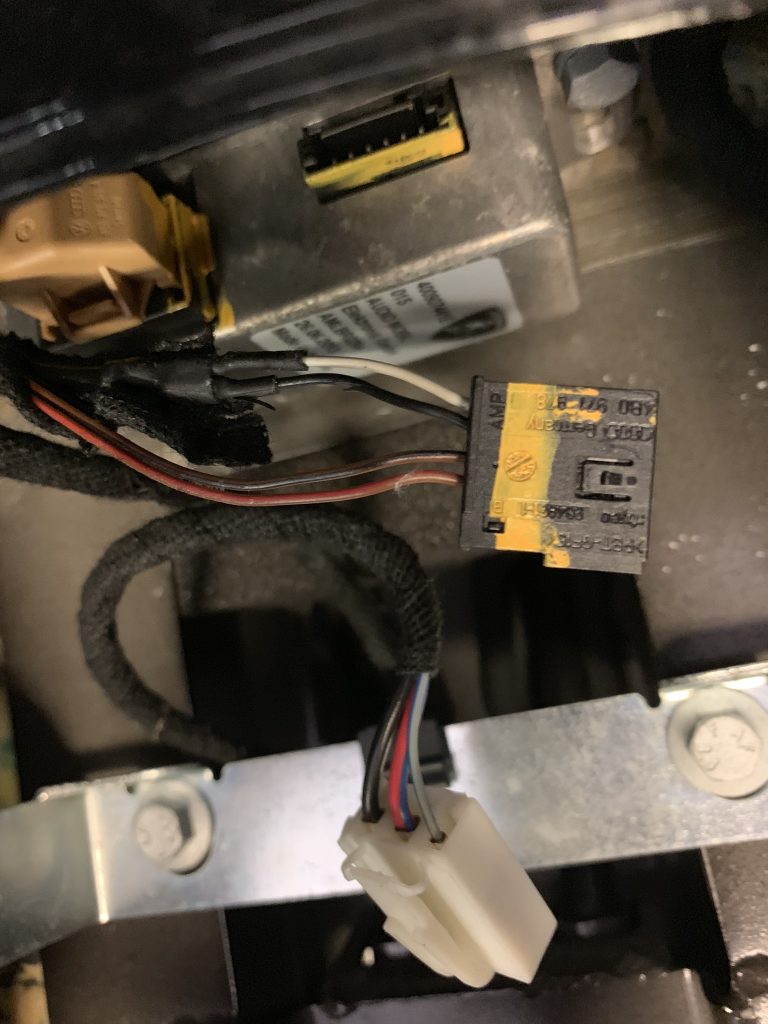
The top black connector houses the wires we needed to tap into – the lighter white/gray wire was video positive and the black right next to it was the video negative shield. The white connector below actually needed to be plugged back into the box it was originally connected to. That box is what controls the camera. Using a standard video cable connector, we spliced into these wires and routed to our aftermarket head unit.
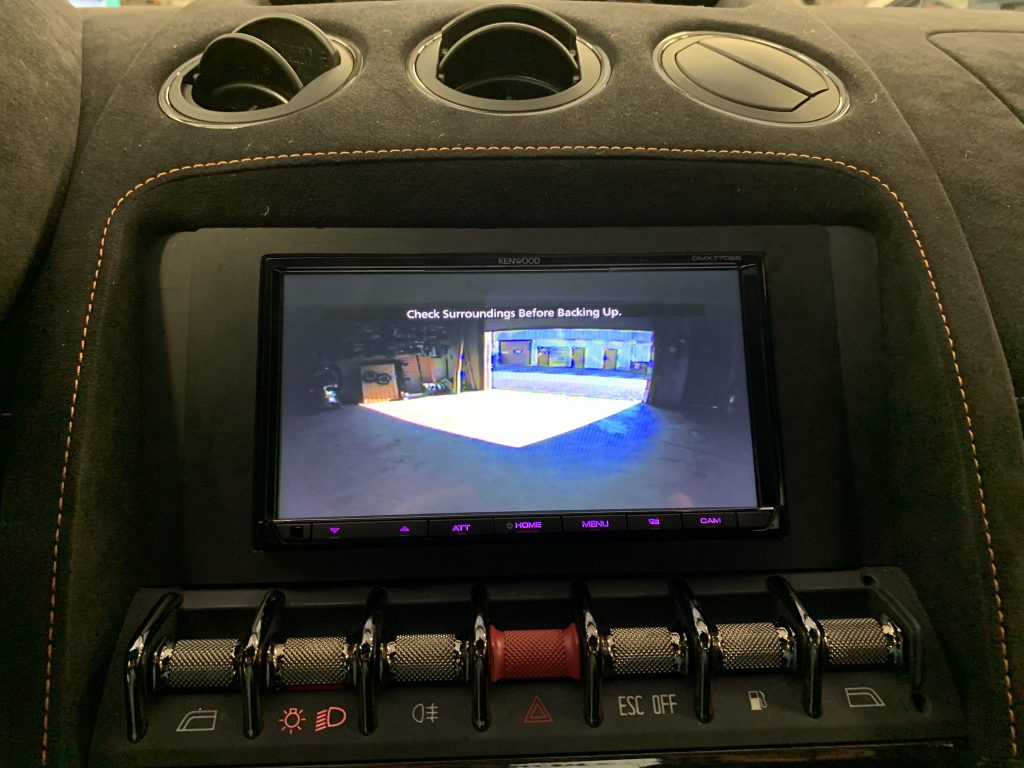
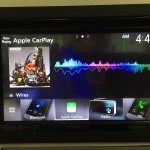
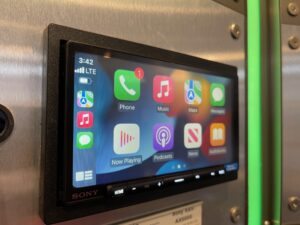
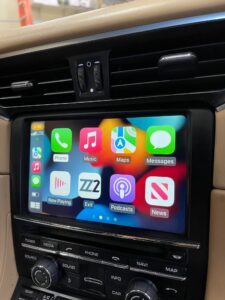
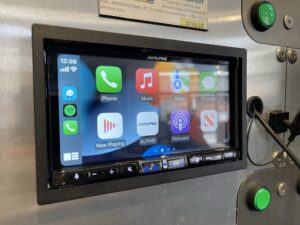
With the OEM camera retained, my heart palpitations subsided and I was able to show the client his new Apple CarPlay radio, the Kenwood DMX7706s.
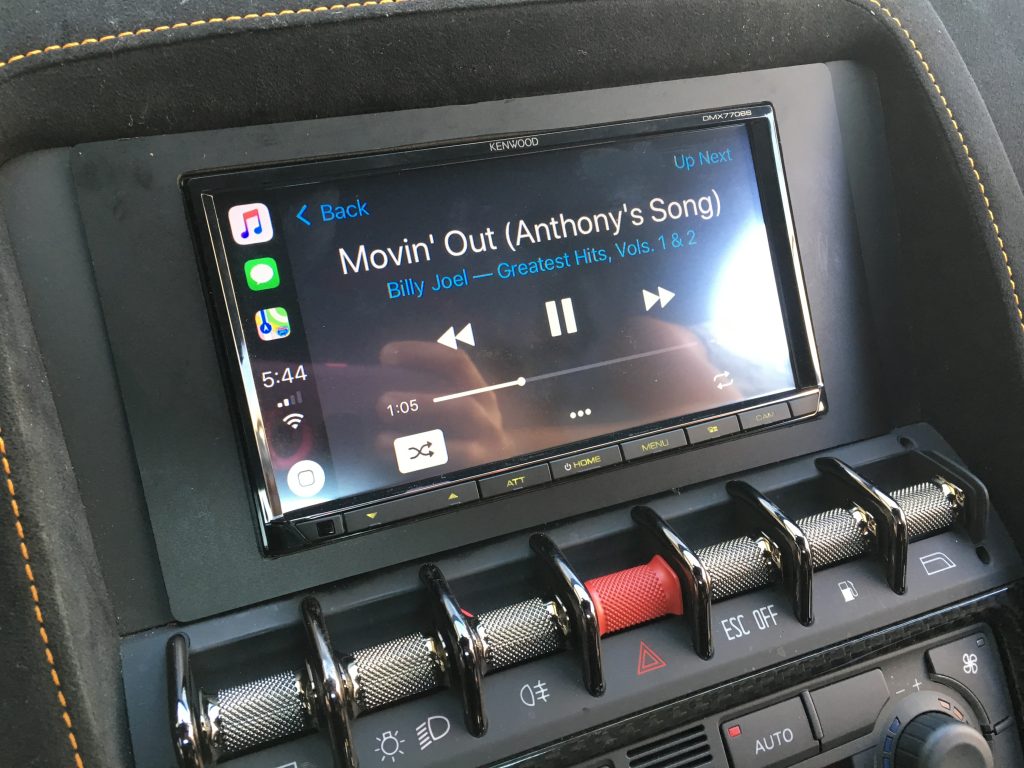
Just another week at our shop Sounds Incredible Mobile, in Brookfield, CT. Please let me know what you think in the comments below.
2 Comments
Dear Car Stereo Chick:
I have been reading your posts and am particularly intrigued about your having figured life out. I took your advice and installed a Kenwood DDX 6706s unit in my 2010 Prius. It seems to be working well and sounds great, but I still haven’t found the answer to what it’s all about. Am I missing one of the settings in the extended manual?
Thanks
Alan
Hi Alan. I think that is by far the best comment I have received on this blog in the 9 years I have been doing this. Thank you for that. I do find the wording in these manuals can be a little confusing at times. Sometimes it appears something was lost in translation and we’re left to navigate it and sort it out on our own. Much like life.