Maserati Apple CarPlay

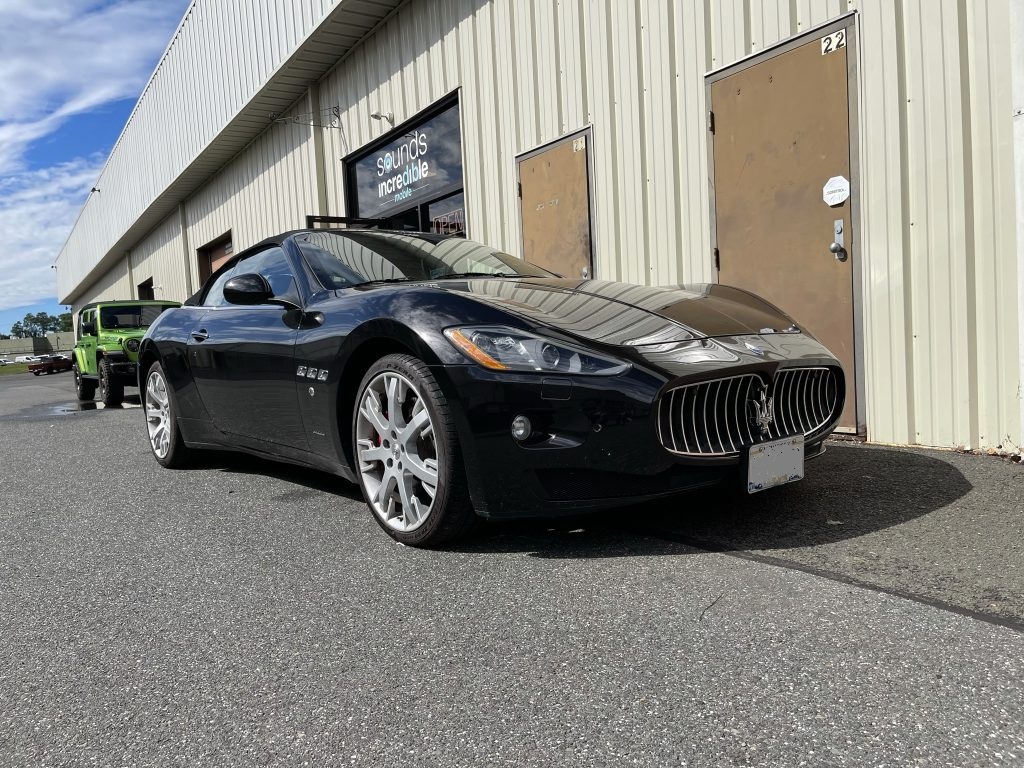
2015 Maserati GranTurismo Sport – Apple CarPlay Installation

This week at the shop: Maserati Apple CarPlay installation. You might assume this Italian exotic would be appointed with all the modern luxuries one could find in any modern day vehicle. Well endowed with its Ferrari designed 454 horsepower V8, yet lacking in the standard features we’ve all grown accustomed to. Lest we forget, Apple CarPlay, reverse cameras and front park assists cameras were not standard features in 2015. For a low volume auto manufacturer like Maserati, it can take years to add such modern amenities to the production line. Although Apple CarPlay made its debut in 2014, Maserati didn’t start incorporating the feature into the GranTurismo model until 2018.

2015 Maserati GranTurismo Apple CarPlay
Maserati GranTurismo Apple CarPlay Added

Understandably, the client really enjoyed this vehicle, but desired a way to update the technology to make the ride even more enjoyable. So he sought us out to add Apple CarPlay to his 2015 Maserati GranTurismo Sport.

Adding Apple CarPlay is a great way to breathe new life into any used vehicle. With the new car shortage, this is becoming an increasingly more common upgrade request.

Reverse Camera and Front Park Camera

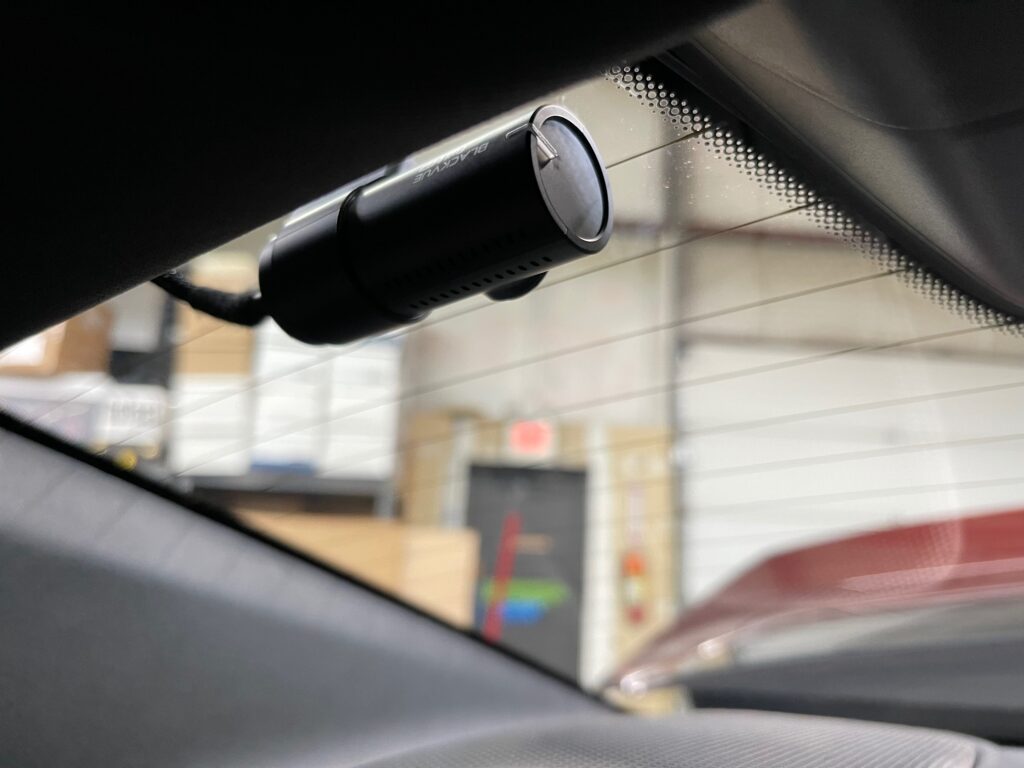
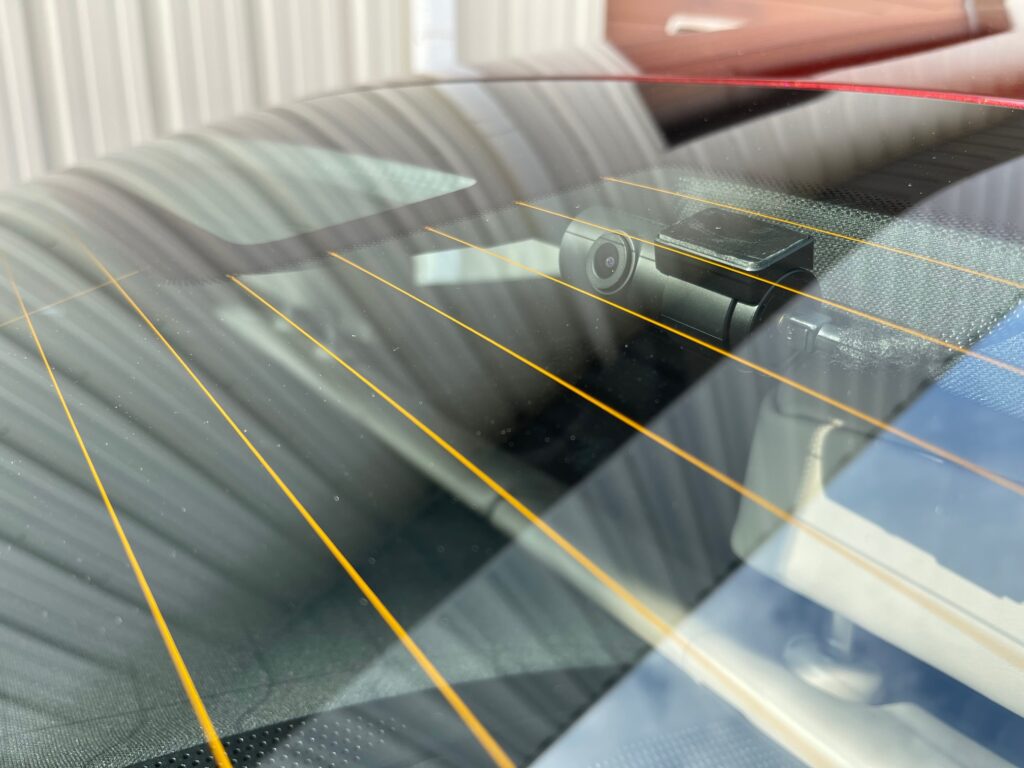
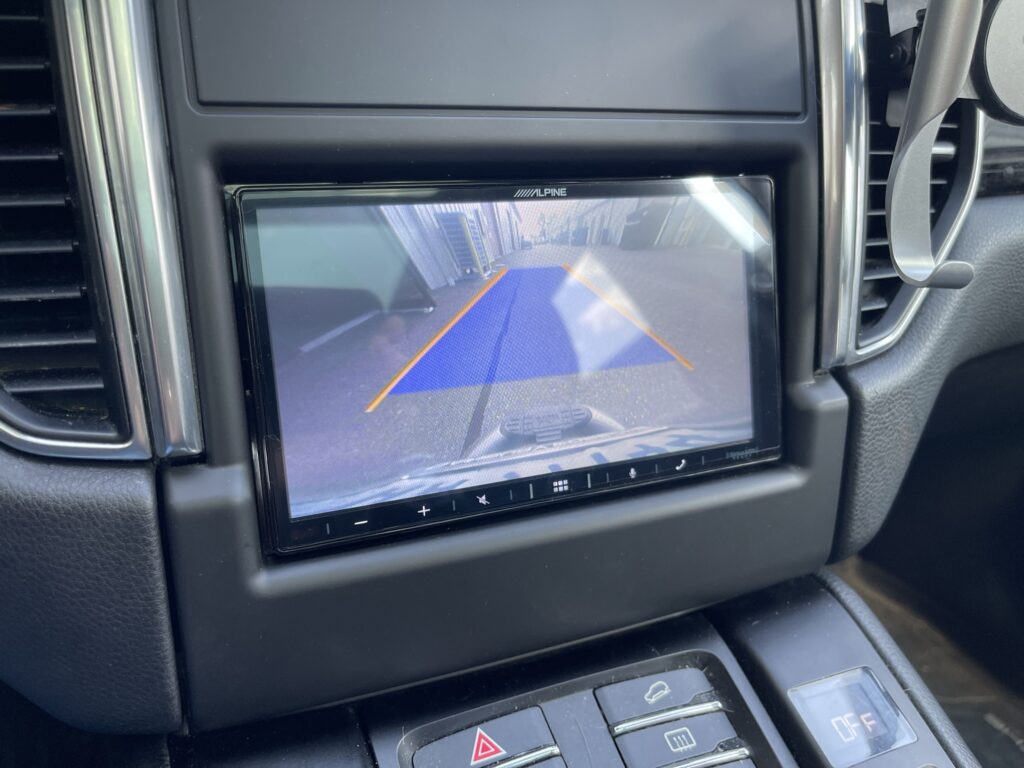
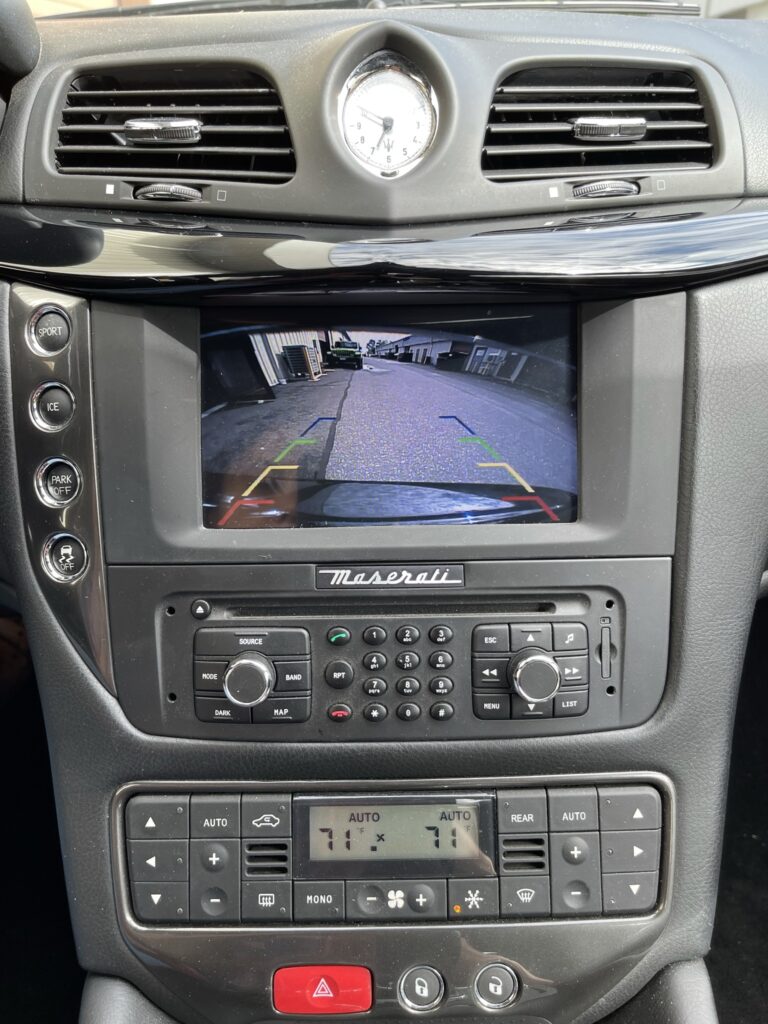
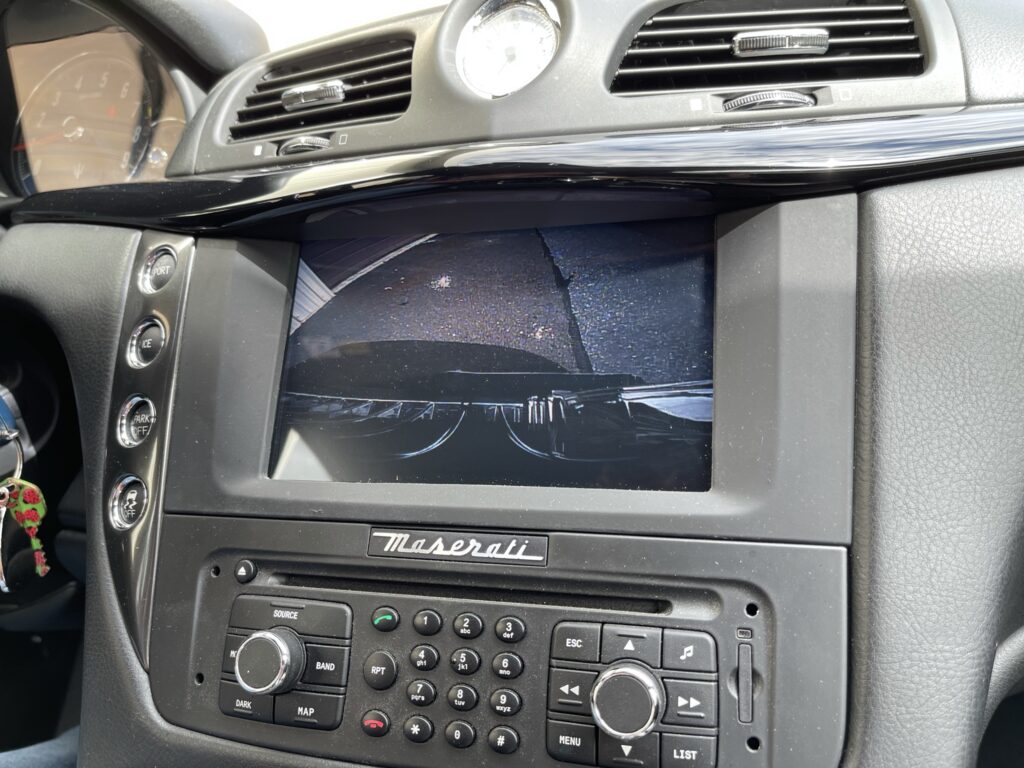
In addition to updating this vehicle’s in dash technology, we also installed a much needed reverse camera and front park assist camera. Convertibles are almost always tough for rear visibility when the top is up and this vehicle is no exception.

Maserati GranTurismo Reverse Camera Installation

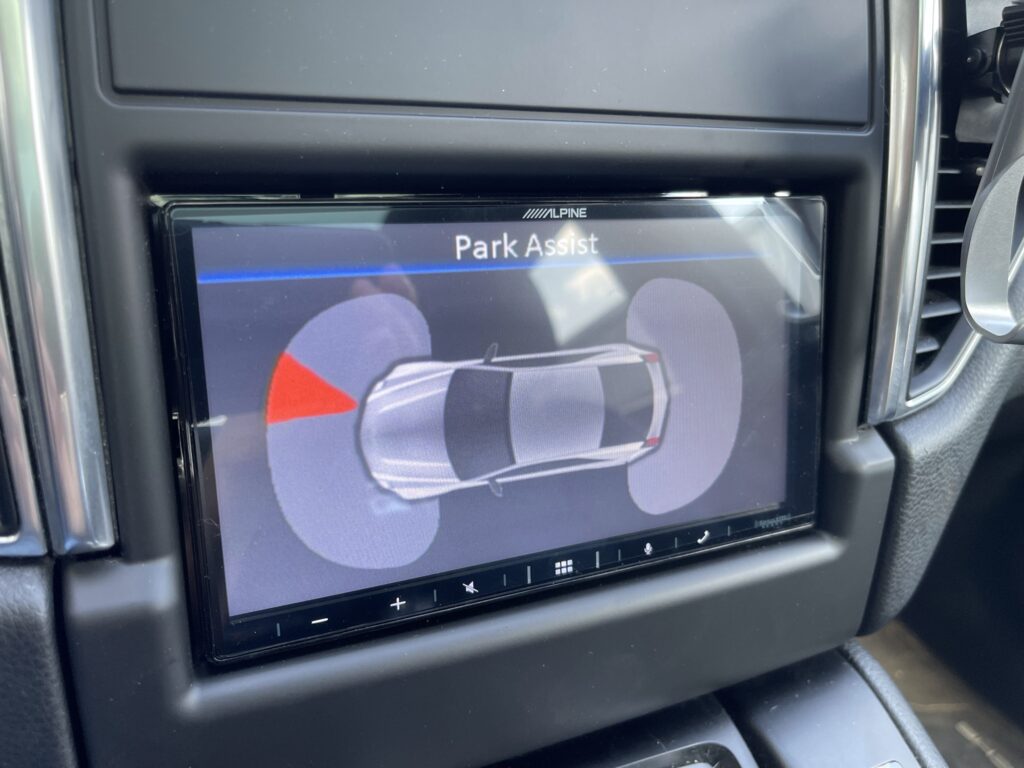
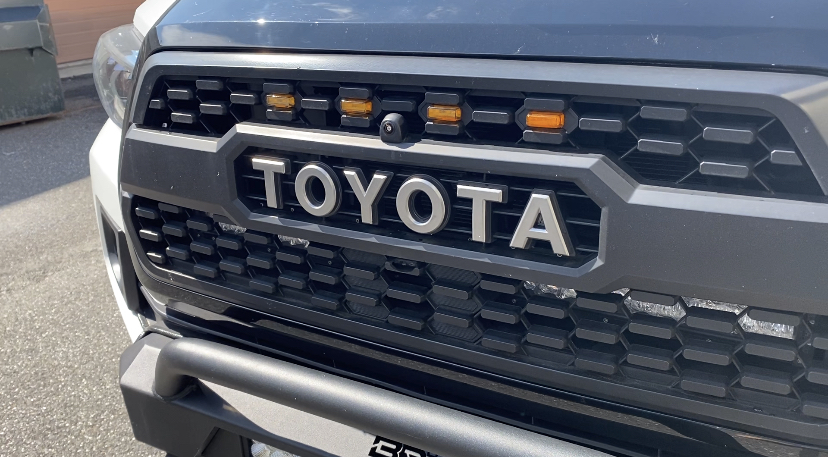
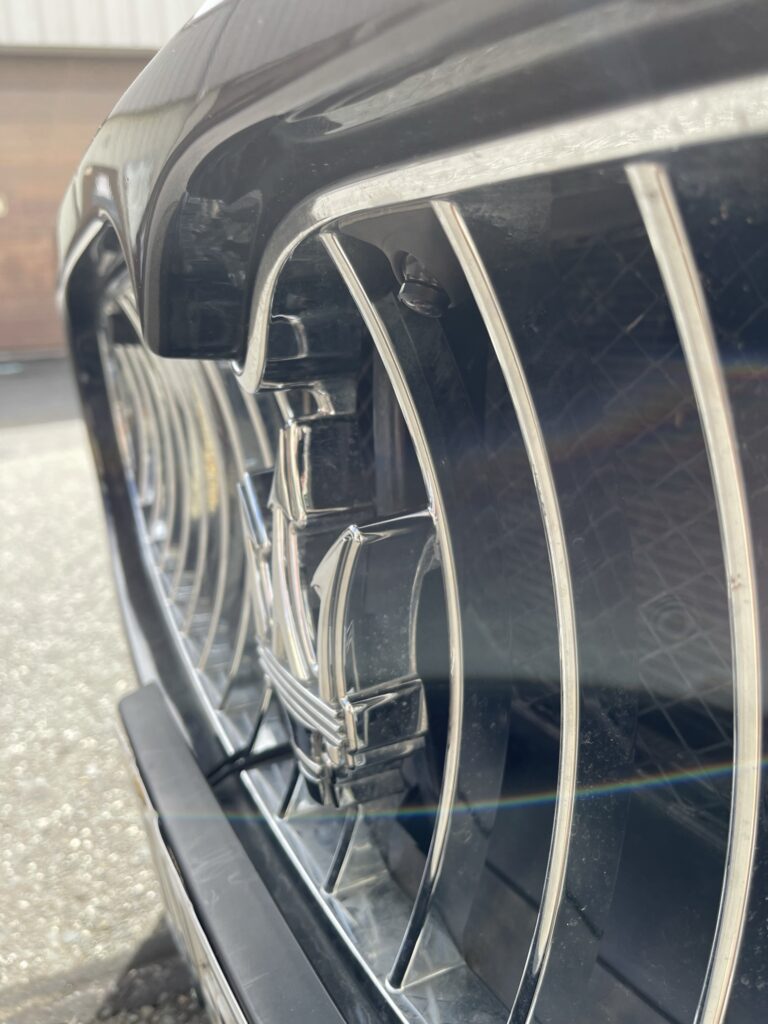
Exotic sports cars need help in the front end too. When you combine such a low stance with that signature proud and prominent Maserati front lip, it’s no wonder the client requested a front park assist camera. Drivers of the Maserati GranTurismo have to be extremely careful not to scrap the underside of their bumper just turning into a driveway.

Front Camera Installation Maserati GranTurismo Sport

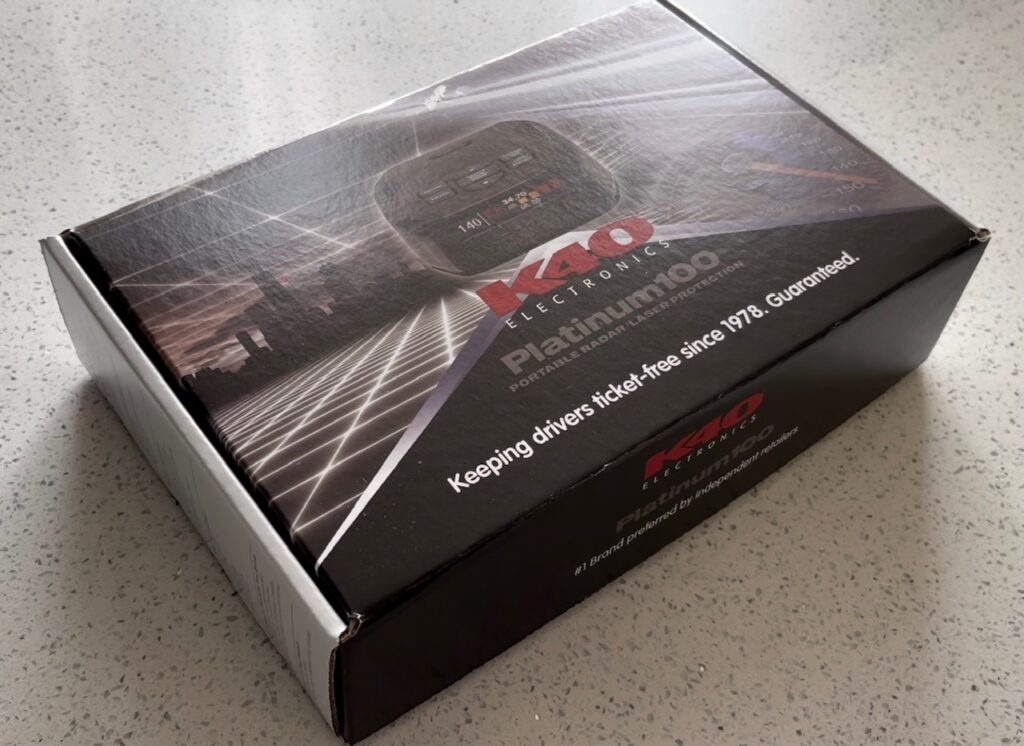
Maserati Apple CarPlay – Parts Used

In order to upgrade this Maserati to Apple CarPlay, we needed a few parts. The main piece of hardware we used to accomplish this is from Naviks. This company specializes in these types of interfaces along with products for adding HDMI, reverse cameras and front cameras to various years, makes and models.

Naviks Interface - Maserati GranTurismo
Naviks Interface – Maserati GranTurismo

Naviks is an American based company that proudly manufactures 70% of their products in Brooklyn, NY. I tip my hat off to them. Not only is it incredibly difficult to manufacture any kind of electronics in the USA these days, but maintaining any kind of small business in Brooklyn right now is – how do I say it – an extremely tall order.

Maserati Apple CarPlay Installed

Not only do they produce reliable and desirable products, they have great customer service – both email and phone support. This is really important to me as a shop owner. No one has the time – client or technician alike – to sit around and wait on hold or hope you get an email reply back when you’re in the middle of an installation with a car apart.

New Touch Screen Overlay for Apple CarPlay - 2015 Maserati GranTurismo
New Touch Screen Overlay for Apple CarPlay – 2015 Maserati GranTurismo

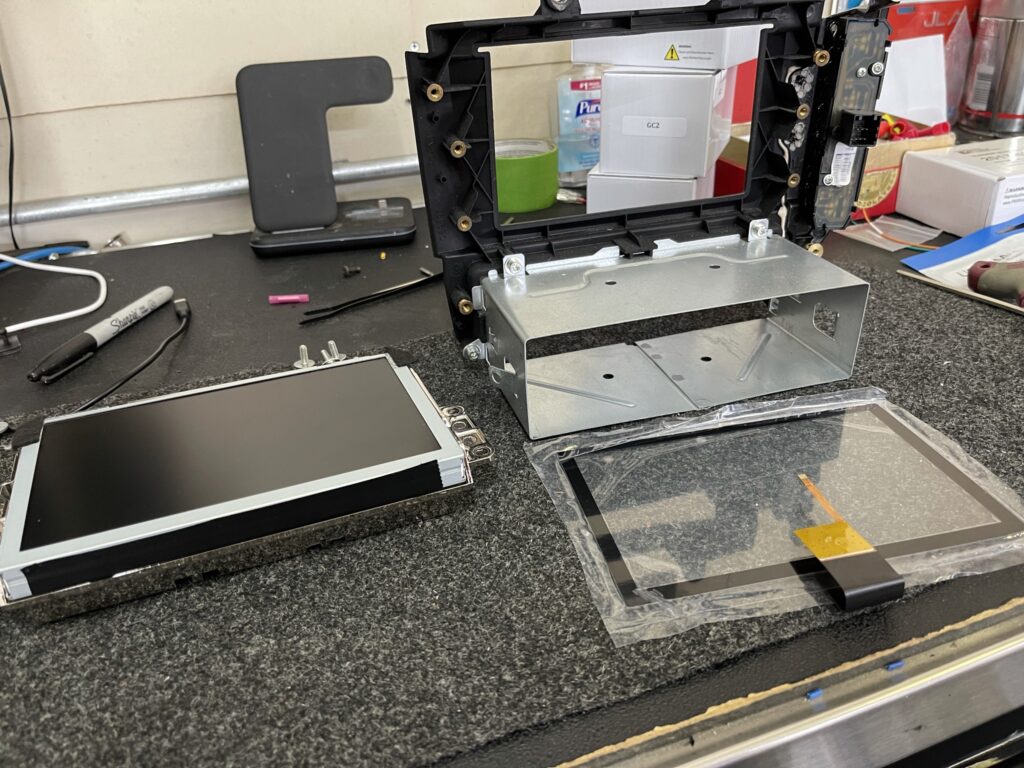
Their kit consists of a couple modules plus a new touch screen overlay for the factory radio. This installation is not for the faint of heart. There is quite a bit that needs to be disassembled including the factory radio display. This install is for seasoned pros or the most fastidious and patient do-it-yourselfer.

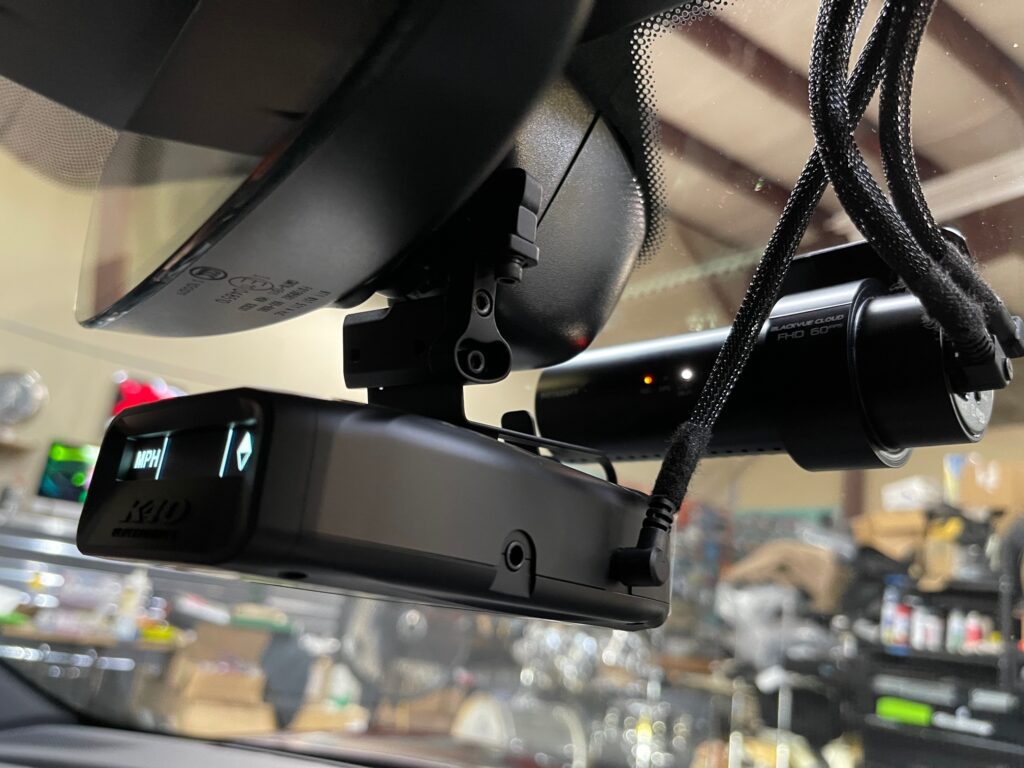
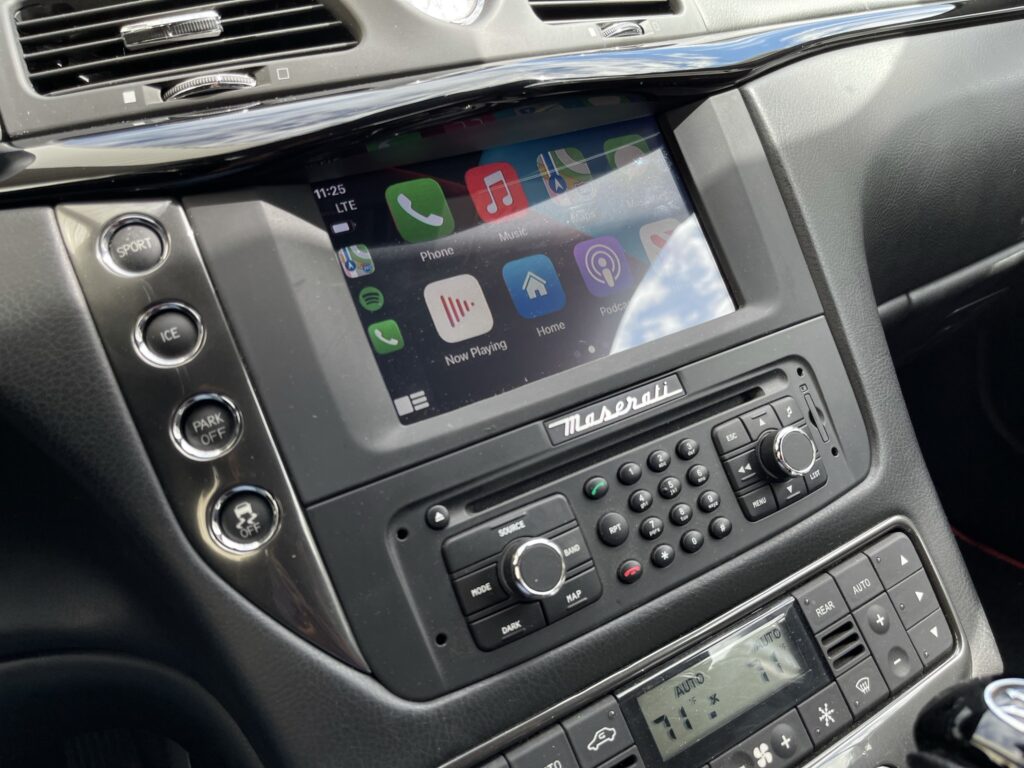
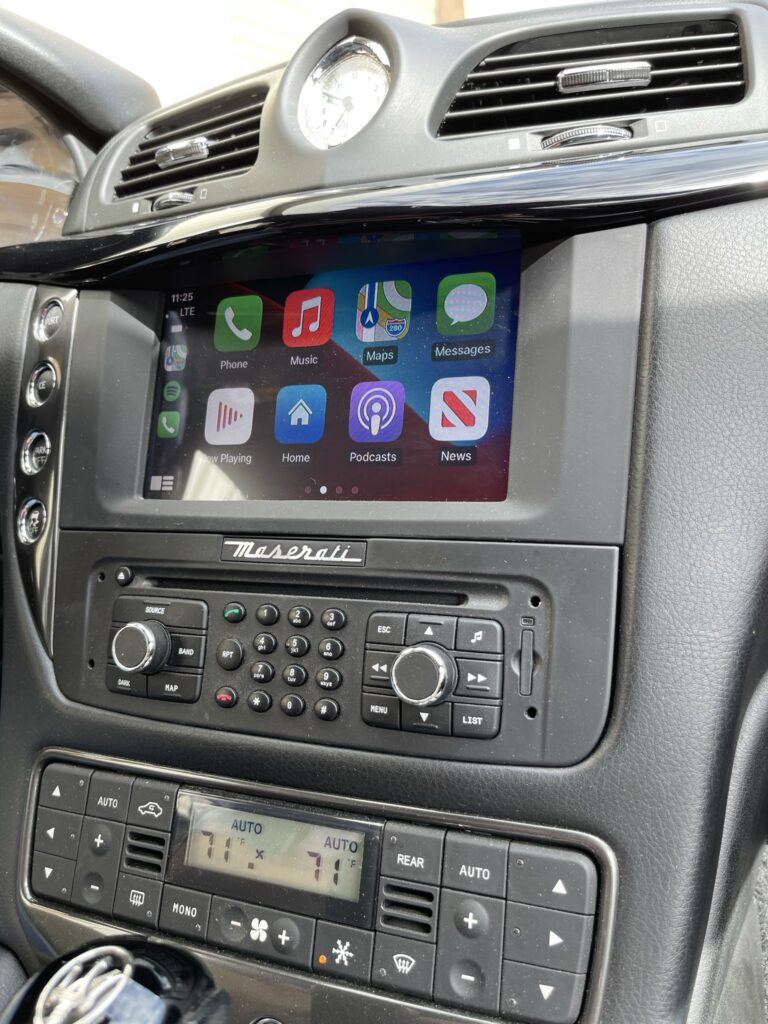
Maserati Apple CarPlay – How it Works

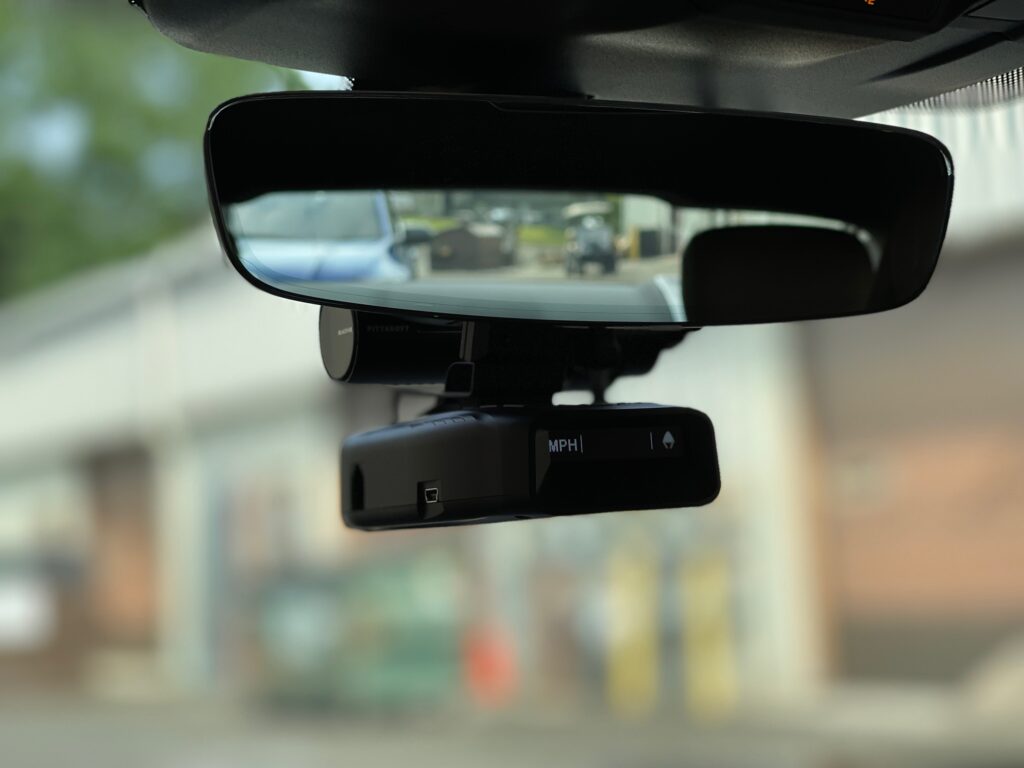
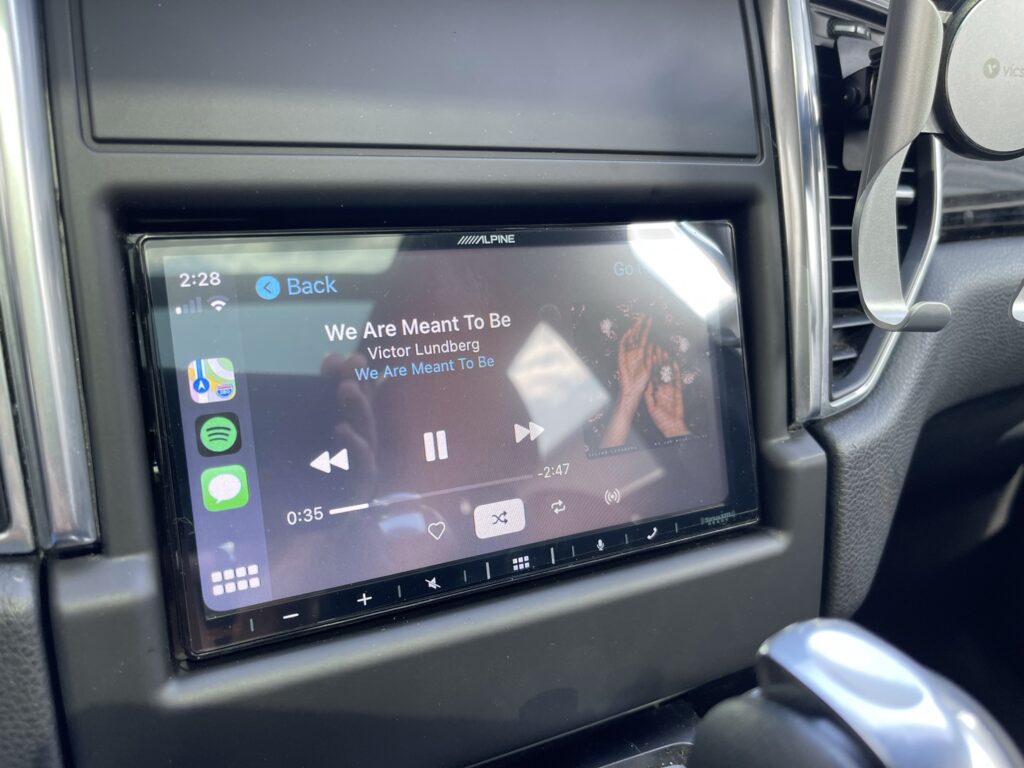
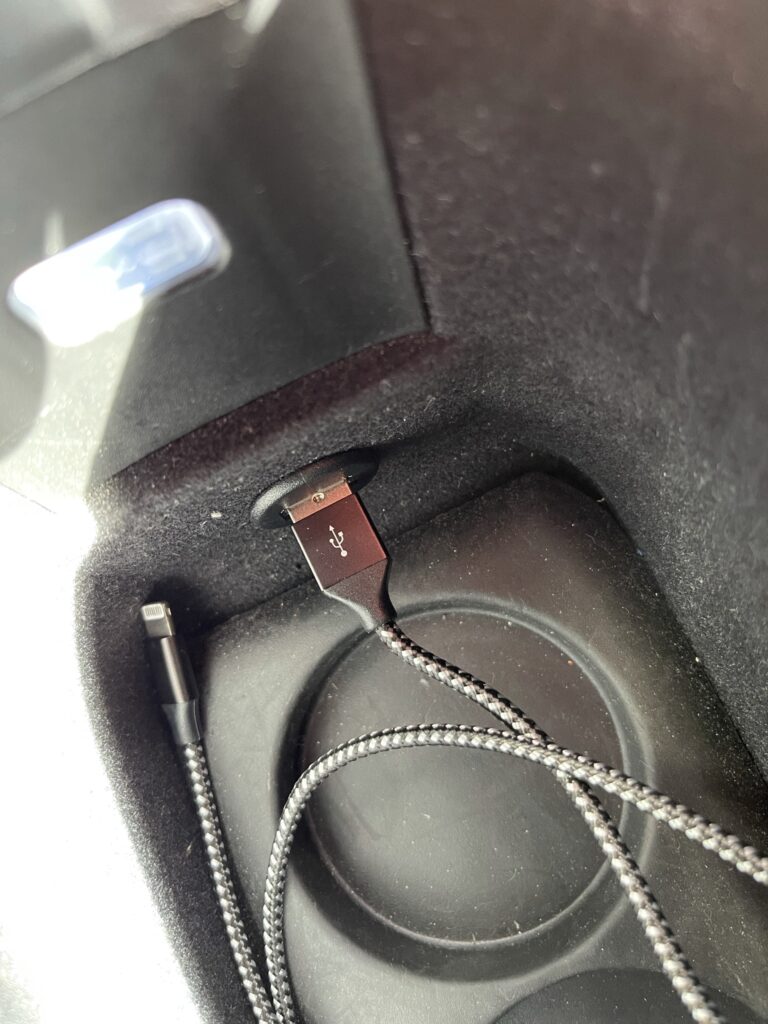
The way this interface works is quite seamless. Like most Apple CarPlay add-on kits, you have to select the factory radio’s AUX input as your source. Once you are on the AUX input, you simply press and hold the telephone button on the steering wheel. That activates the factory screen to switch over to the new Apple CarPlay interface. The connection is wireless with optional charging.

USB flush mounted Maserati Apple CarPlay Installation

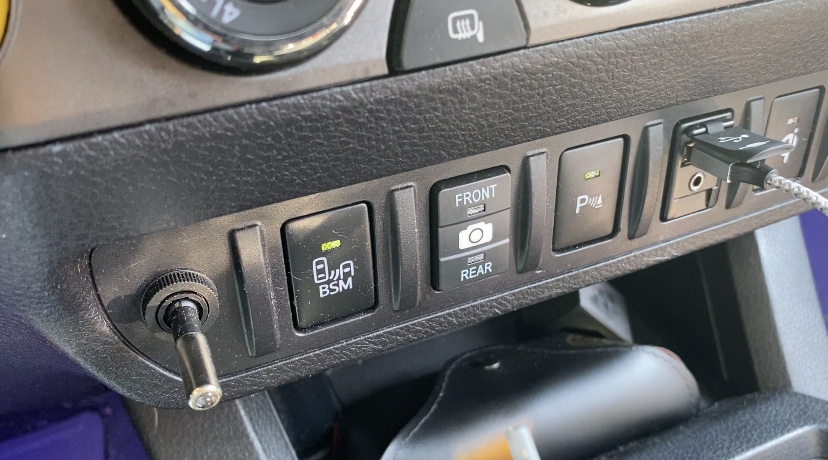
The reverse camera is like most reverse cameras – it’s activated as soon as the vehicle is put into reverse. The front camera similarly is activated as soon as you shift from reverse to drive.

Maserati Reverse Camera Installed

There is also a way to activate the front camera on the fly. Simply press and hold the button again to switch the front camera on. To exit Apple CarPlay and select another factory source like AM/FM radio? Simply press and hold that phone button again.

Maserati Front Camera Installation

Adding Apple CarPlay to your vehicle is a great way to enhance your driving experience without the expense of trading up for a newer vehicle. The technology does have its limitations.

Limitations

You do have to be on the AUX input source to use any of the features of CarPlay. Audio for notifications, phone calls and GPS navigation directions are only available when you are actively using the CarPlay input. Additionally, unlike a factory CarPlay set up, there is just one volume control for music, text message notifications, phone calls and GPS directions. This means you will find yourself manually adjusting volume between calls to music to compensate.

To learn more about adding Apple CarPlay to your vehicle, contact our shop or find a local Naviks dealer in your area.

Maserati Apple CarPlay

Porsche Taycan Radar Detector plus Dash Cam Install

Porsche Taycan Radar Detector Dash Cam Install

This week in the shop

Our crew tackled a 2021 Porsche Taycan radar detector installation plus a front and rear dash camera.

2021 Porsche Taycan 4s K40 plus Blackvue Installation
2021 Porsche Taycan 4s

The Porsche Taycan 4s is a fast car. A very fast car. Like scary fast as in 0-60 in 3.8 seconds with an impressive 472 lb-ft torque. It’s no surprise the owner of this vehicle wanted to invest in a radar detector.

2021 Porsche Taycan 4s – K40 Platinum 100 plus Blackvue Dash Cam Install

Unlike some other electric vehicles on the market, the Porsche Taycan does not come equipped with sentry mode or any type of camera surveillance set up. Thankfully, it’s easy enough to add a dash camera system aftermarket.

Gear Used

For this installation we used the K40 Platinum 100 dash mounted radar detector along with a BlendMount. As much as I would have loved to install laser shifters in this vehicle, that was not on the agenda. This Porsche Taycan 4s is not the client’s daily driver so they didn’t see the immediate need for it.

K40 Platinum 100 Radar Detector

Although the K40 Platinum 100 is windshield mounted style detector, it’s completely expandable. Out of the box it will detect radar and laser – although with laser it may be too late. But if the client’s driving situation ever changes, they can always have us add the laser shifters later on.

Porsche Taycan 4s Radar Detector with Blendmount
Porsche Taycan 4s Radar Detector with BlendMount

Rather than use the standard included windshield mount, we opted to use a BlendMount. This bracket helps us provide a clean installation plus it frees up some of the real estate on the windshield for the BlackVue dash cam.

Porsche Taycan Dash Camera Installation

The dash camera used for this Porsche Taycan is the BlackVue DR750X-2CH Plus with 64 gig SD card. It features a front and rear HD camera with optional park mode functionality.

Dash Camera Settings and Park Mode Functionality

Whenever I have a client interested in a dash cam with park mode functionality, I encourage them to use a separate battery pack for consistent park mode recording. This is especially true for newer vehicles with proximity keys. For park mode to work consistently – where the camera wakes up and starts recording if it detects motion or impact – the camera needs to see 12.5 volts or higher.

Porsche Taycan Dash Camera Install - Rear Window
Porsche Taycan Dash Camera Install – Rear Window

In many newer vehicles we see that there can be wild voltage fluctuations simply when locking your car and walking away. The courtesy headlights may come on momentarily dropping voltage below 12 volts only to come right back up as soon as the headlights turn off. This isn’t the case for every vehicle.

Porsche Taycan Blackvue Dash Cam Settings
Porsche Taycan BlackVue Dash Cam Settings

Our Taycan 4s client was initially more focused on recording while driving vs while the car was parked. Most of the time it would be parked at a safe location so he opted out of the battery pack option. As luck would have it, right before the installation appointment there was an incident that piqued his interest in park mode.

K40 Platinum 100 Radar Detector with Dash Camera - 2021 Porsche Taycan
K40 Platinum 100 Radar Detector with Dash Camera – 2021 Porsche Taycan

After attending a Porsche meet, a group of club members went into a restaurant to dine. When they came back out they were horrified to see someone had backed into a member’s brand new Porsche and taken off. After this experience, park mode became a feature he was interested in after all. Since it will be used only periodically, I showed the client how to turn park mode on and off in the app.

12 Volt Accessories for Electric Vehicles

Although this is an electric vehicle, it still has a 12 volt battery and electronic system. This is how we can add aftermarket accessories such as a radar detector or dash camera to an electric vehicle like the Taycan. Skilled technicians like those at our shop use a multimeter and probe to investigate, test and find switched ignition power source.

2021 Porsche Taycan 4S

With the installation complete, the client can drive with a little more piece of mind. If you’re interested in a radar detector or dash camera for your Porsche Taycan, contact our shop today for more information.

Porsche Macan Apple CarPlay

Porsche Macan Apple CarPlay

This week in the shop – 2016 Porsche Macan Apple CarPlay installation.

Recently a client reached out to us about a problematic radio in his Porsche Macan. He was experiencing issues with the factory PCM Bose radio. It was pretty much shot – continuously rebooting and shutting down. After being quoted an astronomical price from the dealer, he reached out to us to explore his options. We could have sent the PCM radio out to be repaired. However, he would still be stuck with dated technology. In this case the client preferred the option of fitting his Porsche Macan with a new Apple CarPlay/Android Auto radio.

Porsche Macan Apple CarPlay with aftermarket Alpine iLX-W650 radio.
Porsche Macan Apple CarPlay installed – Alpine iLX-W650

The radio in this vehicle is part of the whole operating system in the car. Even basic functions like warning chimes are on this data circuit. If you remove the radio, it’s like removing a computer in a network of computers. When the flow of information is broken features are often be lost. For that reason it’s important to use parts that can retain the flow of CAN information as well as various features on the MOST network.

Porsche Macan Alpine iLX-W650

Very specific parts required

In order to install Apple CarPlay in this Porsche Macan, we used the Metra 95-9616B. This installation kit included everything we needed to replace the radio in 2015-2016 Porsche Macan equipped with:

  • Bose amplifier
  • Park Sensors
  • Reverse Camera
  • Steering wheel controls
Porsche Macan Apple CarPlay installation kit Metra 95-9616B.
Porsche Macan Apple CarPlay radio upgrade – Metra 95-9616B installation kit

It is designed to retain the flow of data and various features that function through the factory radio. Yet, there is one component in this kit we don’t recommend using: the USB retention adapter.

Apple CarPlay and Android Auto requires a massive data transfer between the radio and your phone. We have found in various installations that many OEM USB ports are not capable of high speed data transfer. Sometimes they get hung up transferring that data. When that happens Apple CarPlay and Android Auto can flake out. That is why we prefer to route a new high speed USB to the factory USB location.

In addition to the Metra 95-9606B installation kit, we also used:

What is lost – what is retained

Access to vehicle settings

Once the radio is replaced, you do lose access to any vehicle information that was previously accessible through the factory radio. In this particular installation, that didn’t really matter to the client because they had already lost that access due to a faulty radio.

Radio information in multifunction displayer

Some European vehicles have what is called a multifunction display which shows up in the instrument cluster. This MFD can display stereo information such as what source you are listening to. If your Macan is equipped with this feature and you install an aftermarket Apple CarPlay stereo, you will no longer see any type of stereo information displayed in this menu.

Porsche Macan Apple CarPlay - Bose amp retained, but fader control is lost.
Porsche Macan Apple CarPlay Installation – Bose amp retained, but fader control is lost.

Fader control

The stock Bose amplifier is digital. When that digital signal is retained it is converted to 2-channel analog. This means the aftermarket radio can support balance – left to right audio adjustment, but you will lose fader control – front to rear. All the speakers will play and the Bose amp and speakers are retained. You just lose the ability to fade between the front and rear speakers through the aftermarket head unit.

Porsche Macan aftermarket stereo installation - reverse camera retained.
Porsche Macan aftermarket stereo installation – reverse camera retained.

Reverse Camera

We were able to retain the stock reverse camera as well as the audio and visual from the park sensors. Both features are displayed through the aftermarket stereo reverse camera input. If an object is detected on the front sensors, the display will automatically switch over to the sensor display.

Porsche Macan - park sensors retained Alpine iLX-W650.
Park sensors retained – Porsche Macan Alpine iLX-W650 installed

Park sensors

If you are backing up and an object is detected on the rear sensors, you can switch the display on the radio from the reverse camera image to the park sensor display. Simply press and hold the scrolling steering wheel control button on the left of the steering wheel.

Fit and Finish

If we had laser etcher at the shop, I would have loved to have put the Porsche logo on the top panel of the kit. It seems like weird dead space. I imagine that would have added a significant cost for the manufacturer to an already quite costly installation kit. The matte black finish matches quite nicely. I’m glad this client chose the iLX-W650 out of the various options we provided. It has a very minimalistic, sleek look to it which closely compliments the interior vehicle esthetics.

Are you in the market to fit your Porsche Macan with Apple CarPlay and Android Auto? Contact our shop today to learn more.

Alpine iLX-F411 Toyota Tacoma

Alpine iLX-F411 Toyota Tacoma

Two cameras – one input

This week in the shop we installed an Alpine iLX-F411 in a 2017 Toyota Tacoma. The client did have one concern about the installation. Their vehicle was fitted with a front and rear camera. Why the concern?

Alpine iLX-F411 Toyota Tacoma Install - with existing front rear camera
Alpine iLX-F411 Toyota Tacoma Install – with existing front rear camera

This $1100 radio with a big, beautiful 11-inch screen has only has ONE camera input. Unless of course you buy the Alpine KCX-C2600B universal camera switcher. But who wants to do that? The KCX-C2600B includes a separate dash mounted button to allow you to switch between camera views since the radio does not have any on screen control over the non-existent additional camera inputs.

Pre-existing front rear camera switch

Thankfully, we have seen this before so we had an idea of what we would be dealing with. We had previously installed the 9-inch Halo in a Tacoma a couple years ago and that truck had a switch very similar to this. In that particular Tacoma, there was not only a front and rear camera, but also a third camera we tied into. Again with a radio equipped with just one camera input. Alpine – come on – people want more than one camera input. Just give it to them.

Alpine iLX-F411 Toyota Tacoma Install - with existing front rear camera switch
Alpine iLX-F411 Toyota Tacoma Install – with existing front rear camera switch

For that particular vehicle we made up our relay system to switch between the three cameras. There was a switch to go between front and rear and an additional switch to go between the two different rear cameras. Fun times with relays! However, for this Alpine iLX-F411 Toyota Tacoma install, we weren’t sure if we’d really have to make anything until we opened it up and saw how it was interfaced with the factory screen.

Alpine iLX-F411 Install – 2017 Tacoma with front and rear camera integrated switch

After opening it up, we saw how it was connected to the factory radio and it was actually a super simple in and out style T-harness with standard video connections. Thankfully we were able to simply re-use the existing switch with the single reverse camera input on the Alpine iLX-F411. It was one of the rare moments during an installers life where the wiring worked out to be much easier than anticipated.

Maestro recommended!

For the Alpine iLX-F411 Toyota Tacoma install, I recommend using the iDatalink Maestro. This interface will not only retain steering wheel controls and the OEM reverse camera, but it also retains access to vehicle settings. Some clients aren’t even aware of this menu because it’s on the second page of settings in their factory stereo, but check it out.

Toyota Tacoma - Retain access to vehicle settings menus with an aftermarket stereo using iDatalink Maestro
Toyota Tacoma – Retain access to vehicle settings menus with an aftermarket stereo using iDatalink Maestro

There are a whole bunch of personalization settings, door lock settings, lighting settings, park assist settings, etc. in this section of the factory radio. Unless you use an iDatalink Maestro module to retain those settings, they will be gone – no longer accessible once you replace the radio. Additionally, the Maestro module keeps data flowing through the factory radio so you don’t have to hear the dealer complain about any communication error codes stored in your computer because you installed an aftermarket radio. Use the right parts and keep all the features and data flowing.

Alpine iLX-F411 vehicle settings retained Toyota Tacoma

Bigger is better

Isn’t there a saying, bigger isn’t always better? I think in this case, bigger is better. What do the readers think? Correct me if I’m wrong. In my opinion, the larger the screen is, the easier it is to see what you’re trying to do with it. Therefore the less distracted you might be as a driver. With a screen this big, you may even be able to see what podcast you’re trying to select using your peripheral vision while you stay focused on the road ahead.

Alpine iLX-F411 Toyota Tacoma installed

In terms of features you do get quite a bit for your money with the Alpine iLX-F411.

  • Wired Apple CarPlay
  • Wired Android Auto
  • SiriusXM Ready
  • Front, Rear and Subwoofer pre-amp rated at 4 Volt
  • AM/FM Radio (not HD)
  • 11-inch WGVA screen (wide graphics video array 480 x 800)
  • Single Din Chassis
  • 5 Band EQ
  • Built in crossovers HPF and LPF
  • Digital Time Alignment
  • 45 watts x 4 peak, 16 x 4 RMS per channel
  • Bluetooth
  • Single reverse camera input (compatible with KCX-C2600B switcher expansion module)
  • Customizable icons and display
  • HDMI input and output
  • 3.5MM AUX input
  • iDatalink Maestro Compatible

What’s missing?

I am disappointed with the 5 band EQ vs typical Alpine 9 band, but that appears to be what Alpine is using with most of their newer touch screen operating systems. For the less tech savvy/audiophile consumers, they may find the 5 band EQ much easier to use. The other major bone of contention is the connection for Apple CarPlay and Android Auto is wired, not wireless. In fact Alpine hasn’t had a wireless model since the iLX-107 a few years back. Perhaps when the chip shortage, cost of raw materials and global shipping headaches settle – which I don’t think will be until late 2022 – they may introduce a new model with the feature.

Still, overall, the Alpine iLX-F411 does have a lot going for it. It’s quite versatile in how it can be mounted allowing it to fit in a lot of vehicles that wouldn’t normally accommodate such a large screen. The fit and finish of the edges of the screen are quite nice with a satin metallic trim. From a screen resolution and overall value stand point? If you can get your hands on one and you’ve got the double din chassis to fit it, I am more inclined to go with a Kenwood DMX1037s which features:

  • Wireless Apple CarPlay and Android Auto
  • High resolution display
  • 13 Band EQ
  • FOUR camera inputs

Although I’m a bit torn. I do love the volume knob on the Kenwood DMX1037s, but I think Alpine’s screen edges are softer and cleaner. The gloss black on the Kenwood DMX1037s can make it stick out a bit on certain dashes. Whereas the Alpine’s softer edges seem to blend in better on most vehicle dashes.

What features matter most?

Buying an aftermarket head unit always includes some kind of trade-off unfortunately. The trick is to consider what features are most important to you and base your decision off that. Is it sound quality? Screen quality? Ease of use? Audio control? Overall appearance? Camera inputs? What features are most important to you?

Local to Brookfield, CT? To learn more about what options we have available for your vehicle, contact me or visit our shop.