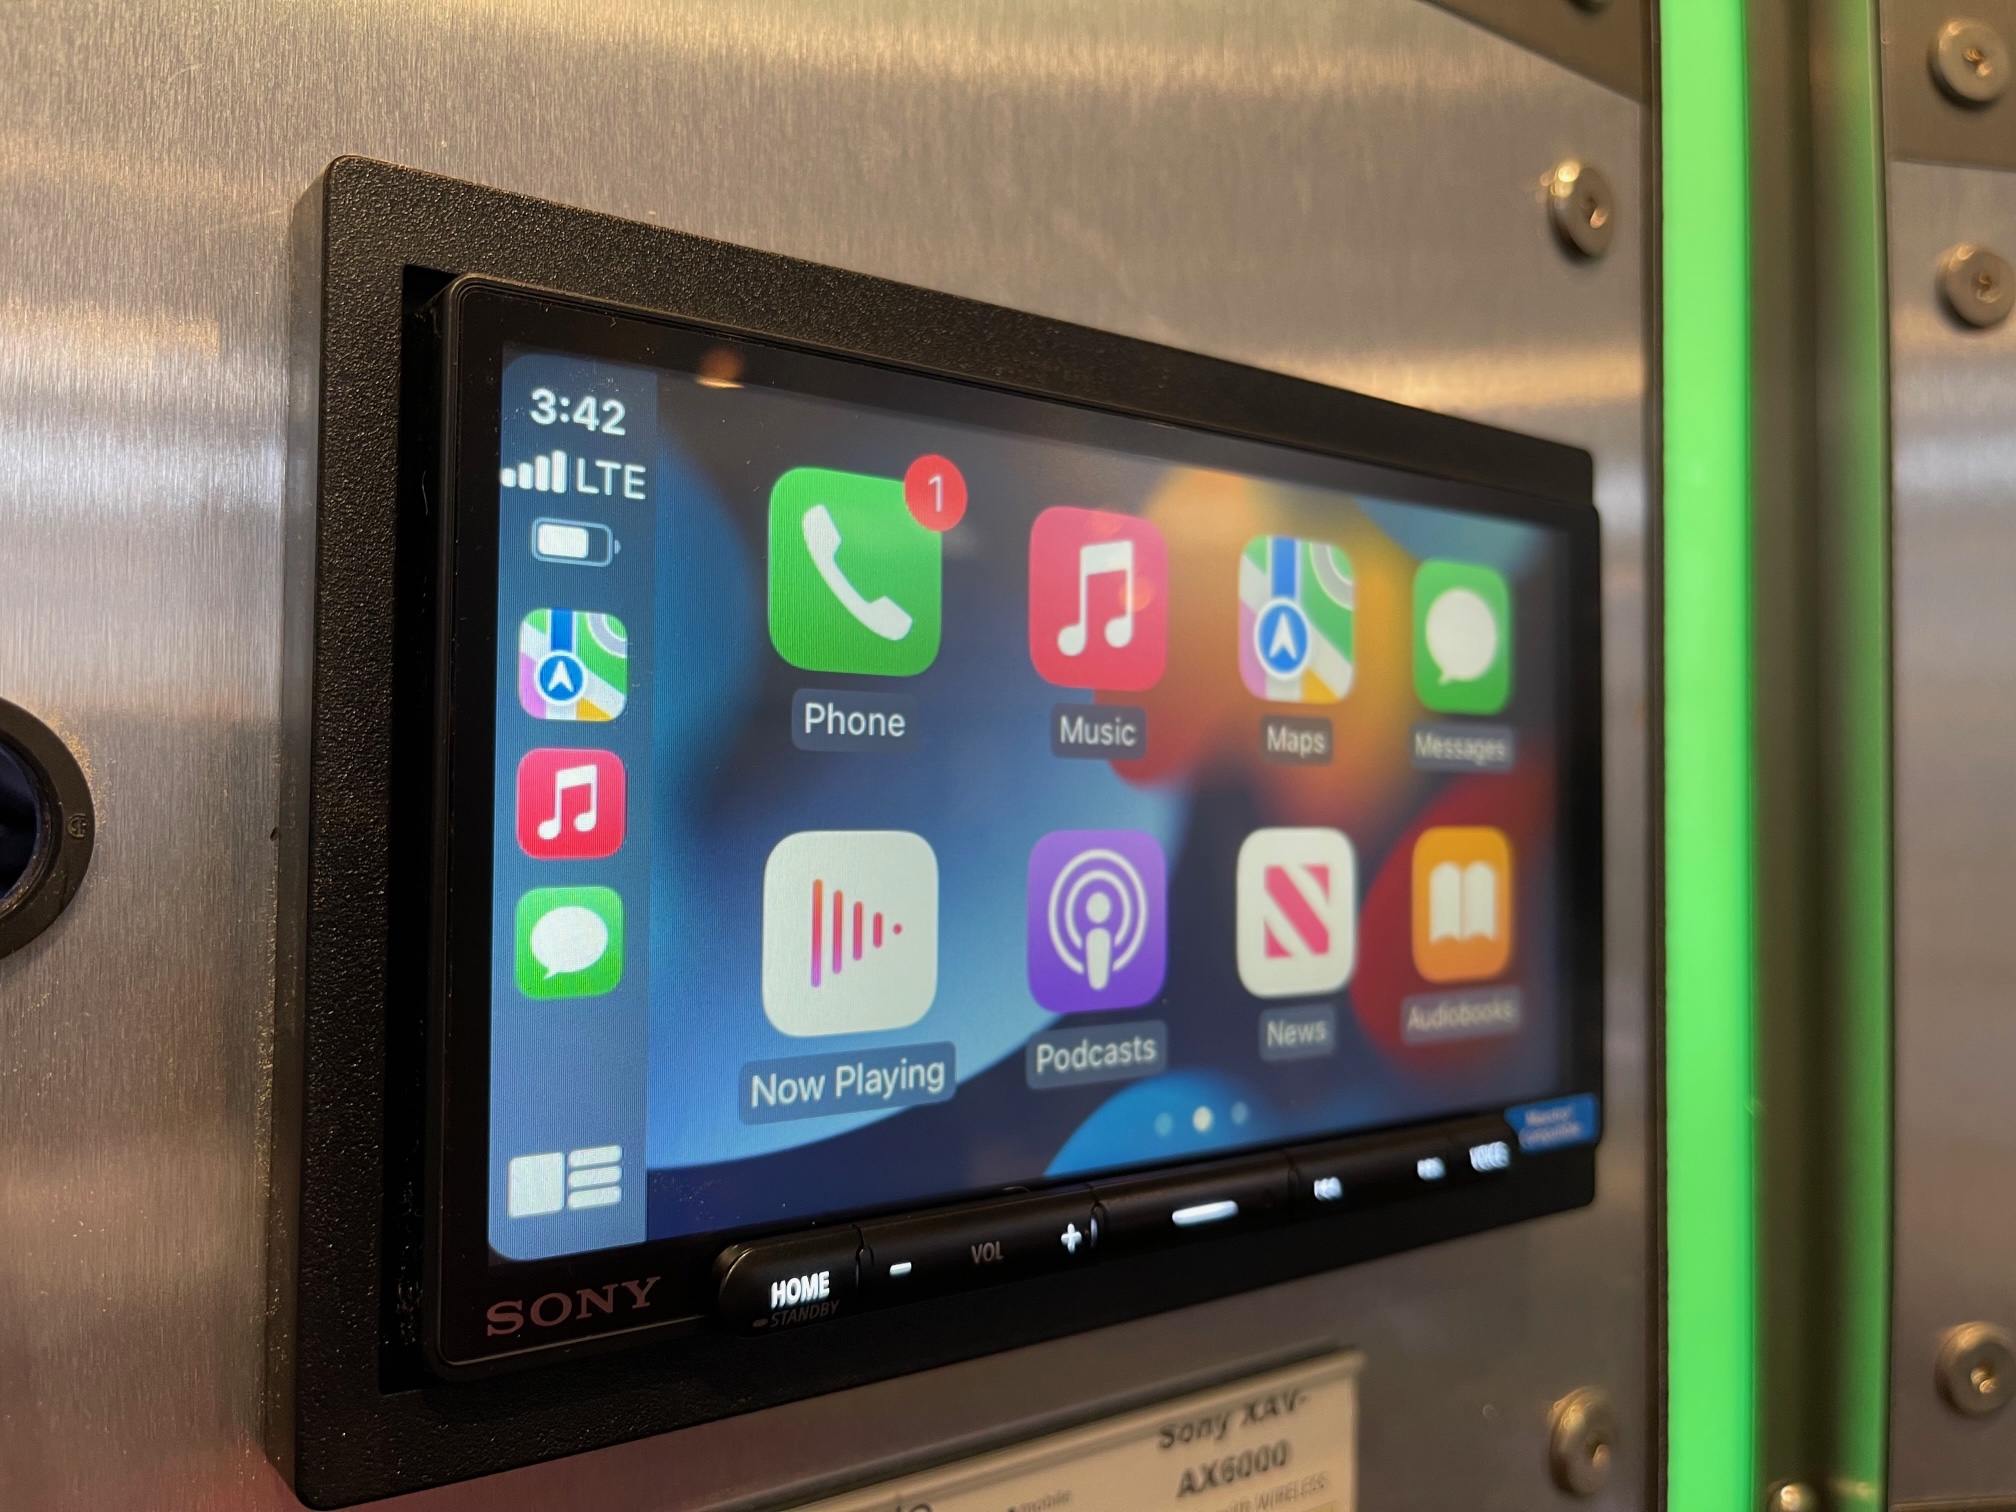
Recently Sony released 2 new Wireless Apple CarPlay and Android Auto models, the XAV-AX6000 and XAV-AX4000. I’ve always been a huge fan of Sony. John and I have had a few different Sony models in both our vehicles throughout the 20+ years we’ve been working together. Sony has always been big on quality and value which is a hard combo to find – especially these days! I recently took the time to break it all down in this Sony XAV-AX6000 vs XAV-AX4000 review on YouTube. But some people, myself included, prefer to read about these things. If that includes you this is your post!
Sony XAV-AX6000 vs XAV-AX4000 – Similar features
Let’s start by reviewing what these models have in common.
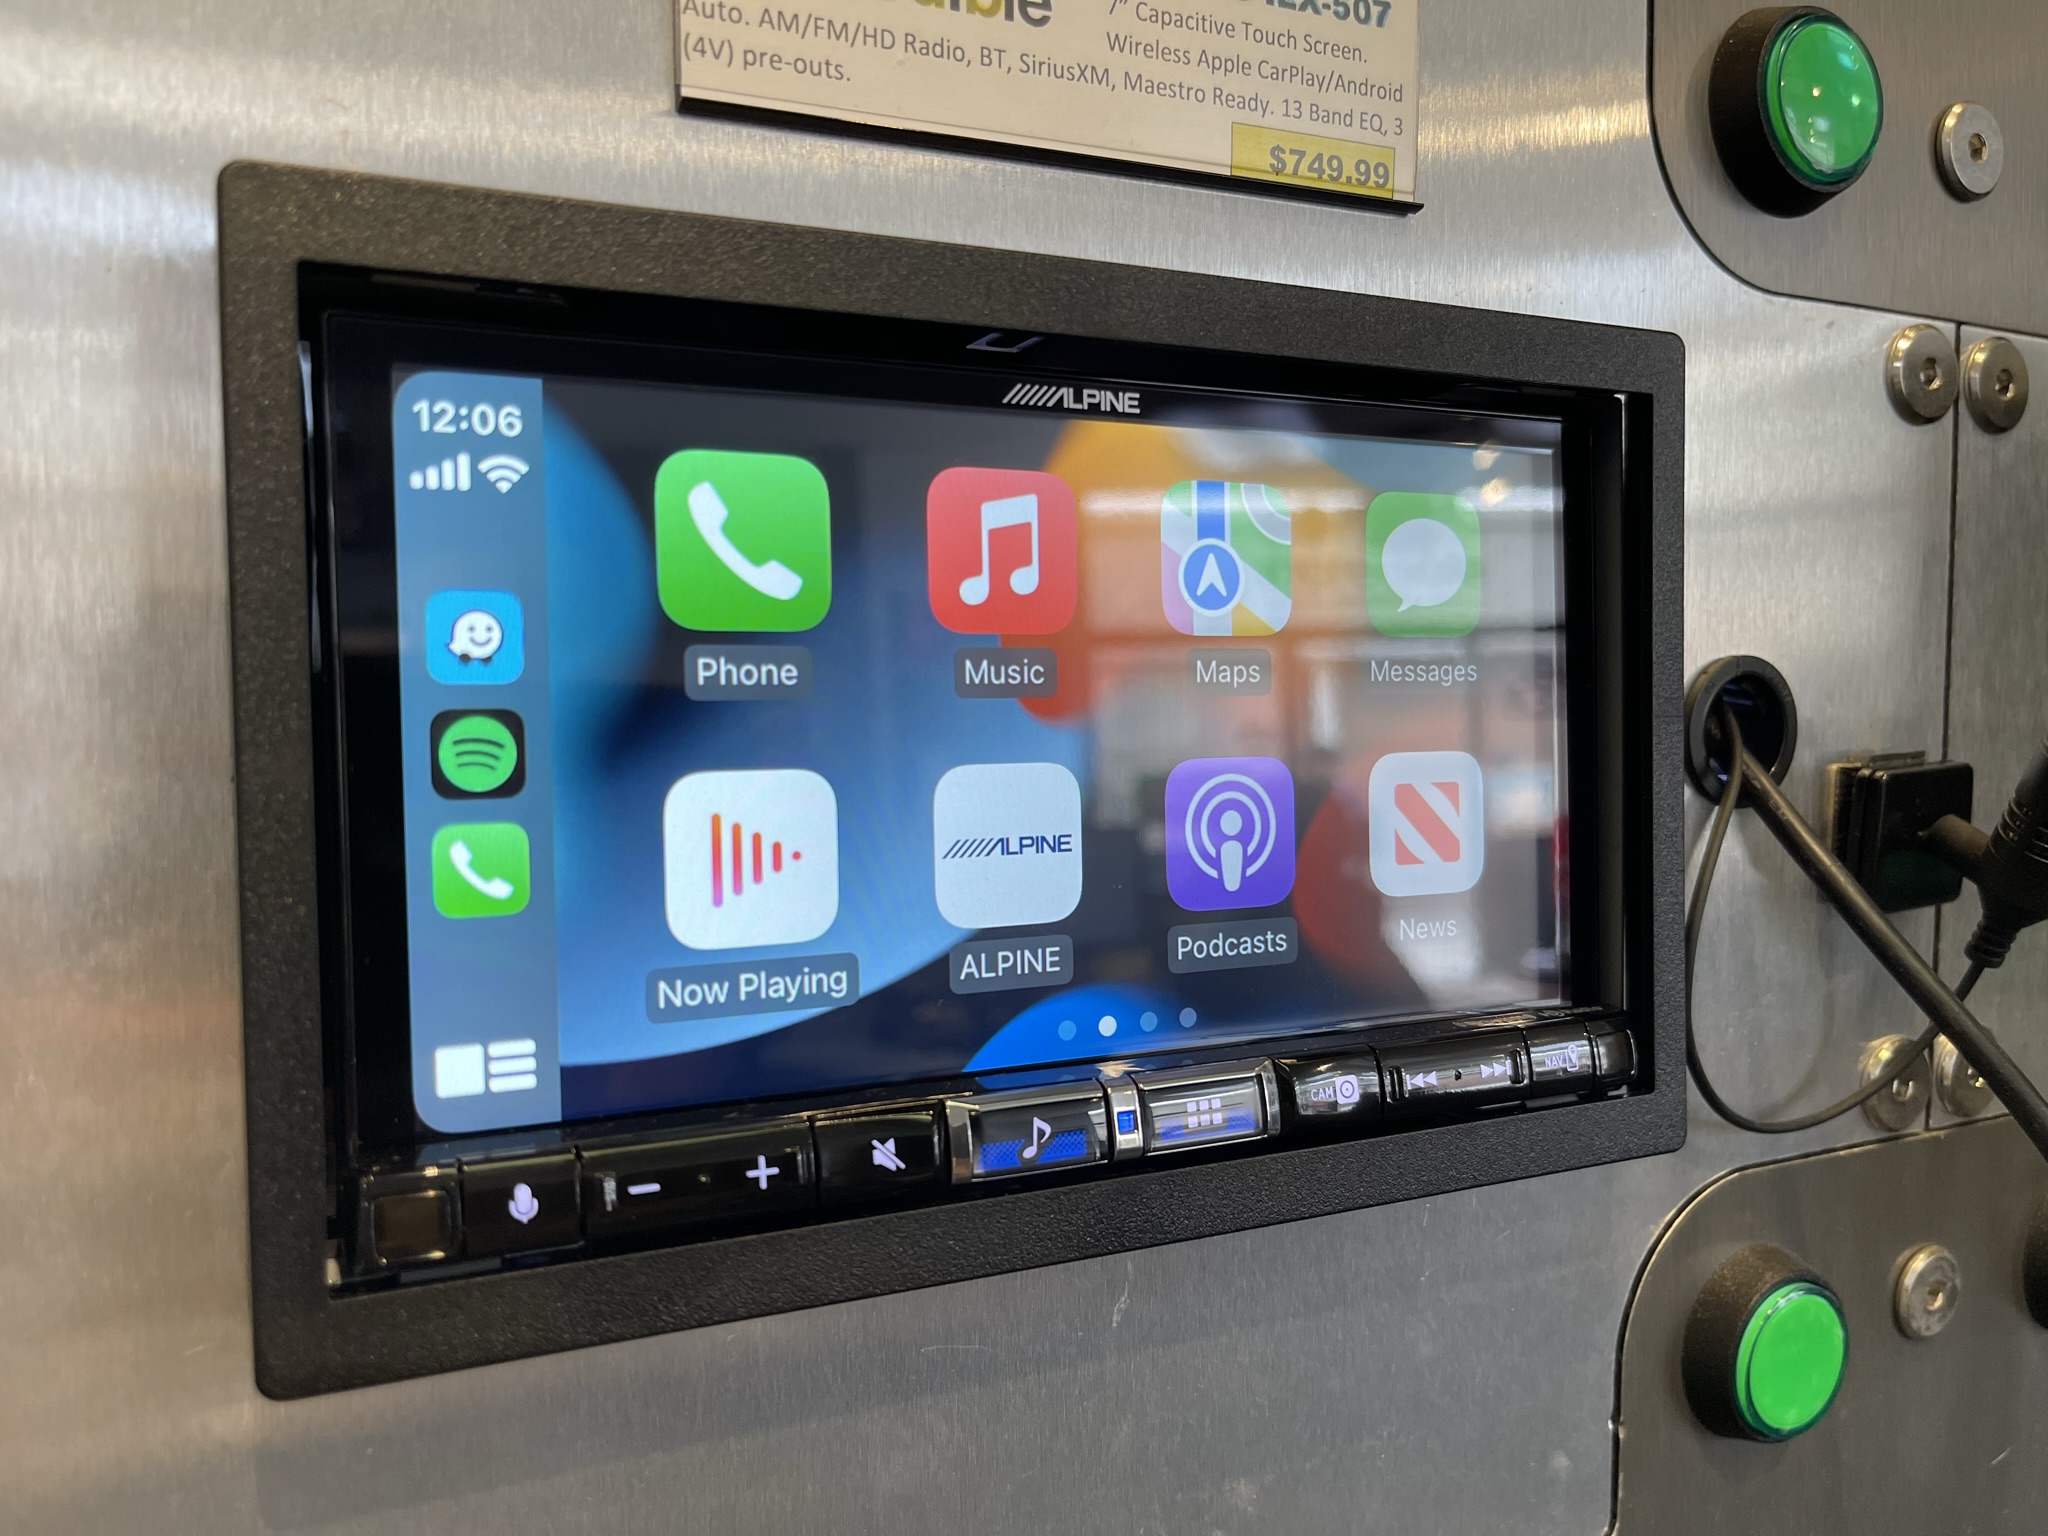
- Wireless Apple CarPlay
- Wireless Android Auto
- iDatalink Maestro Compatible
- SiriusXM Ready
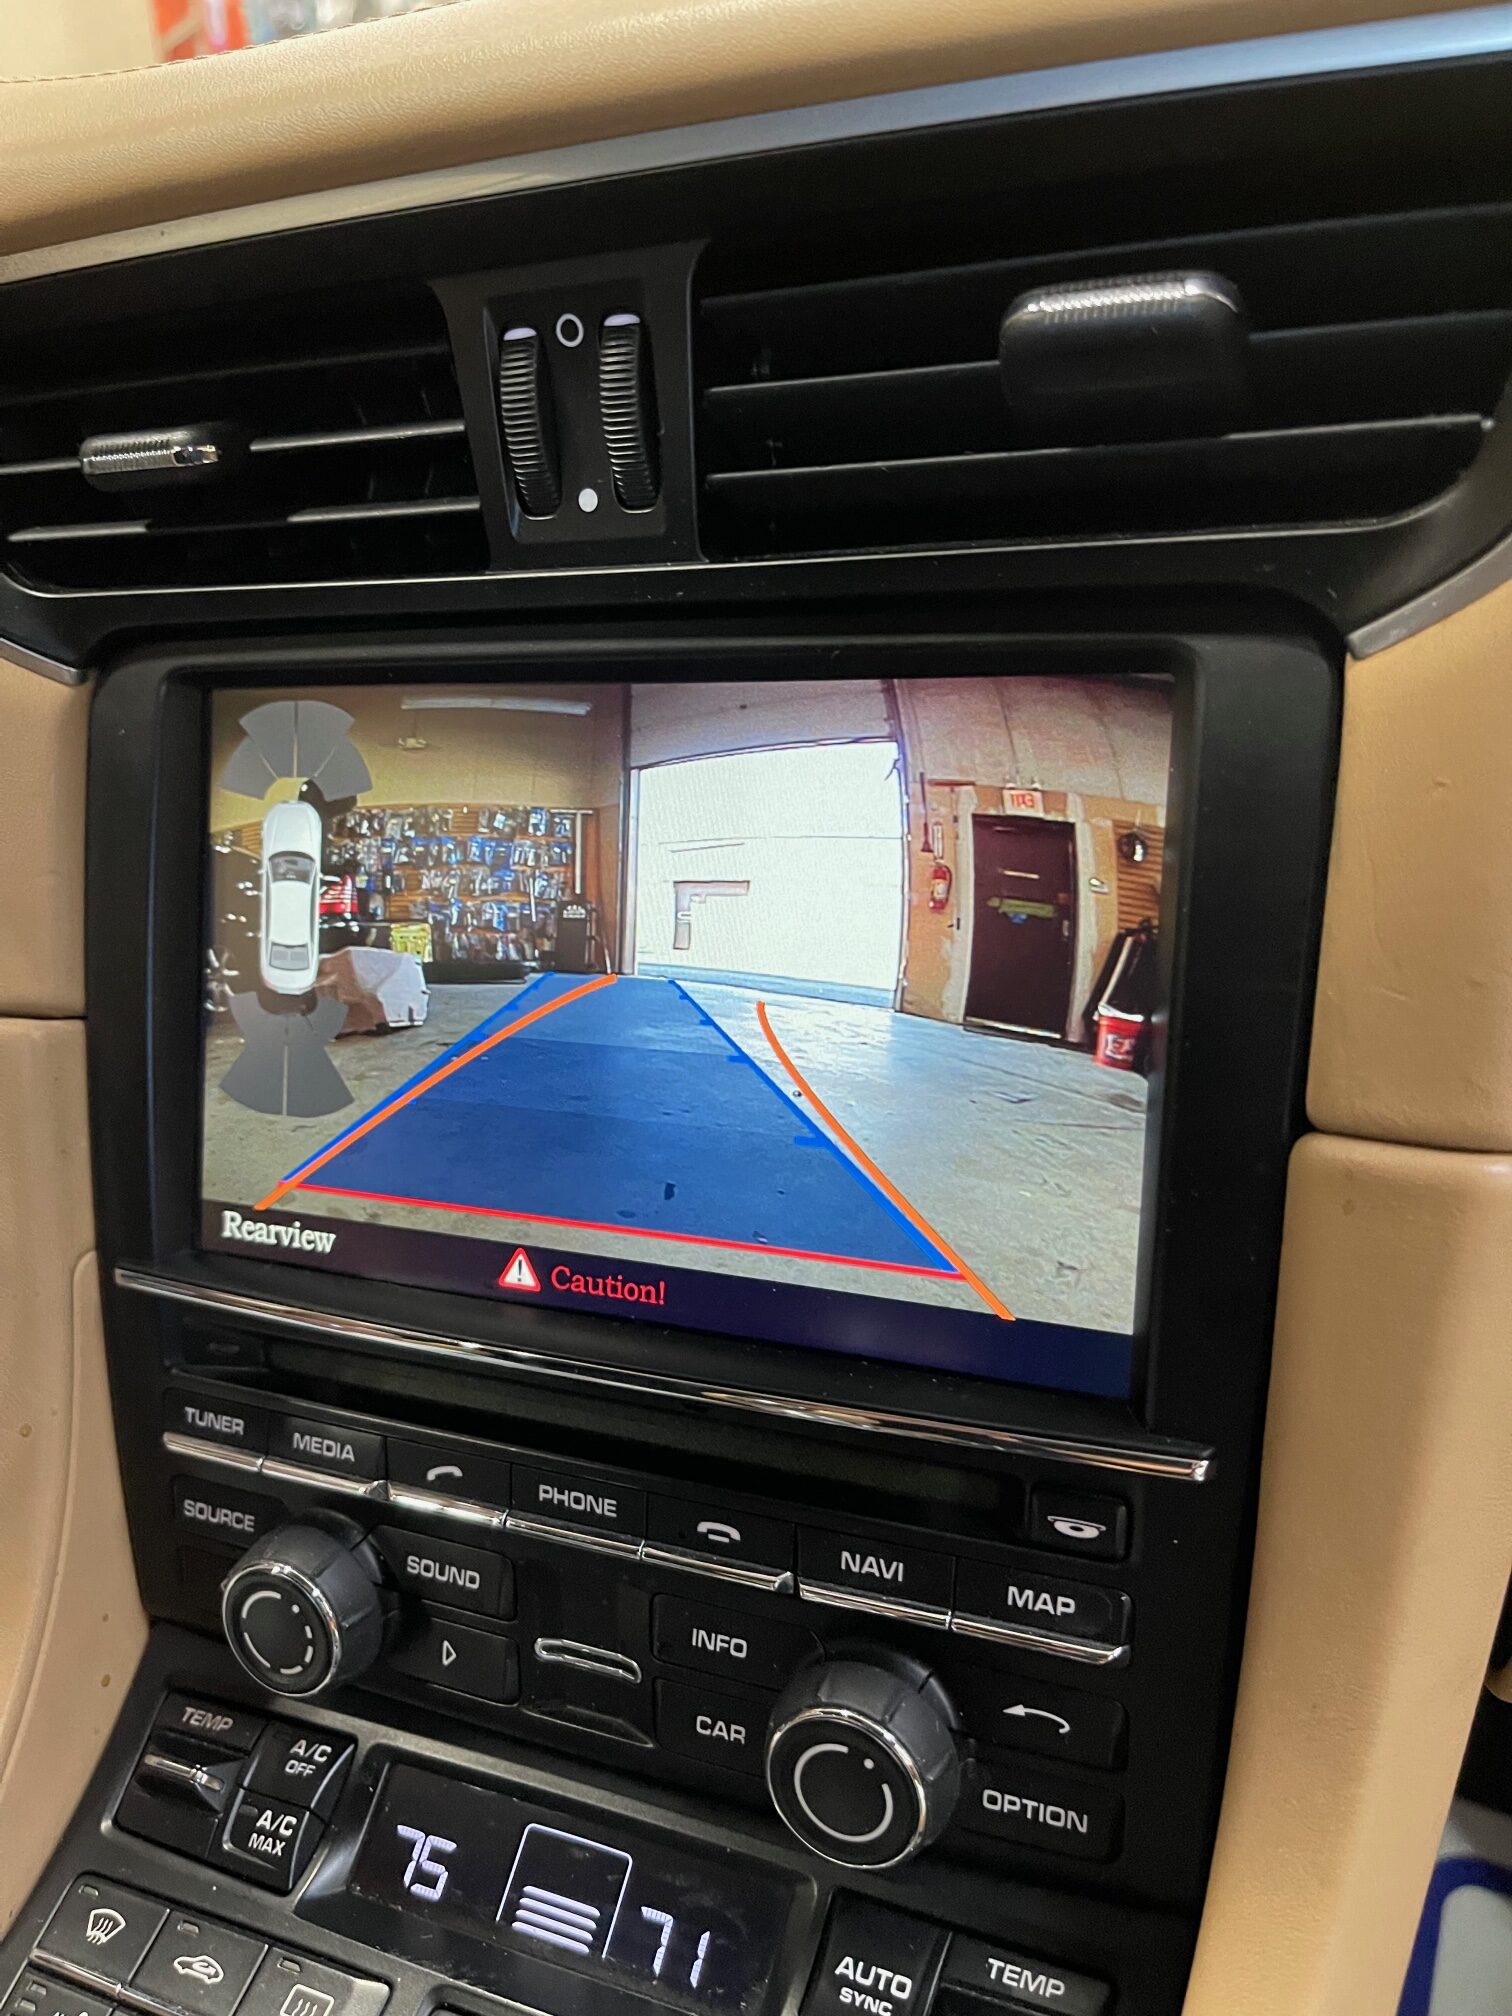
- Reverse Camera input
- AM/FM Radio (no HD)
- USB C input (extension cable included) with 3 amp charging
- 6.95″ touch screen
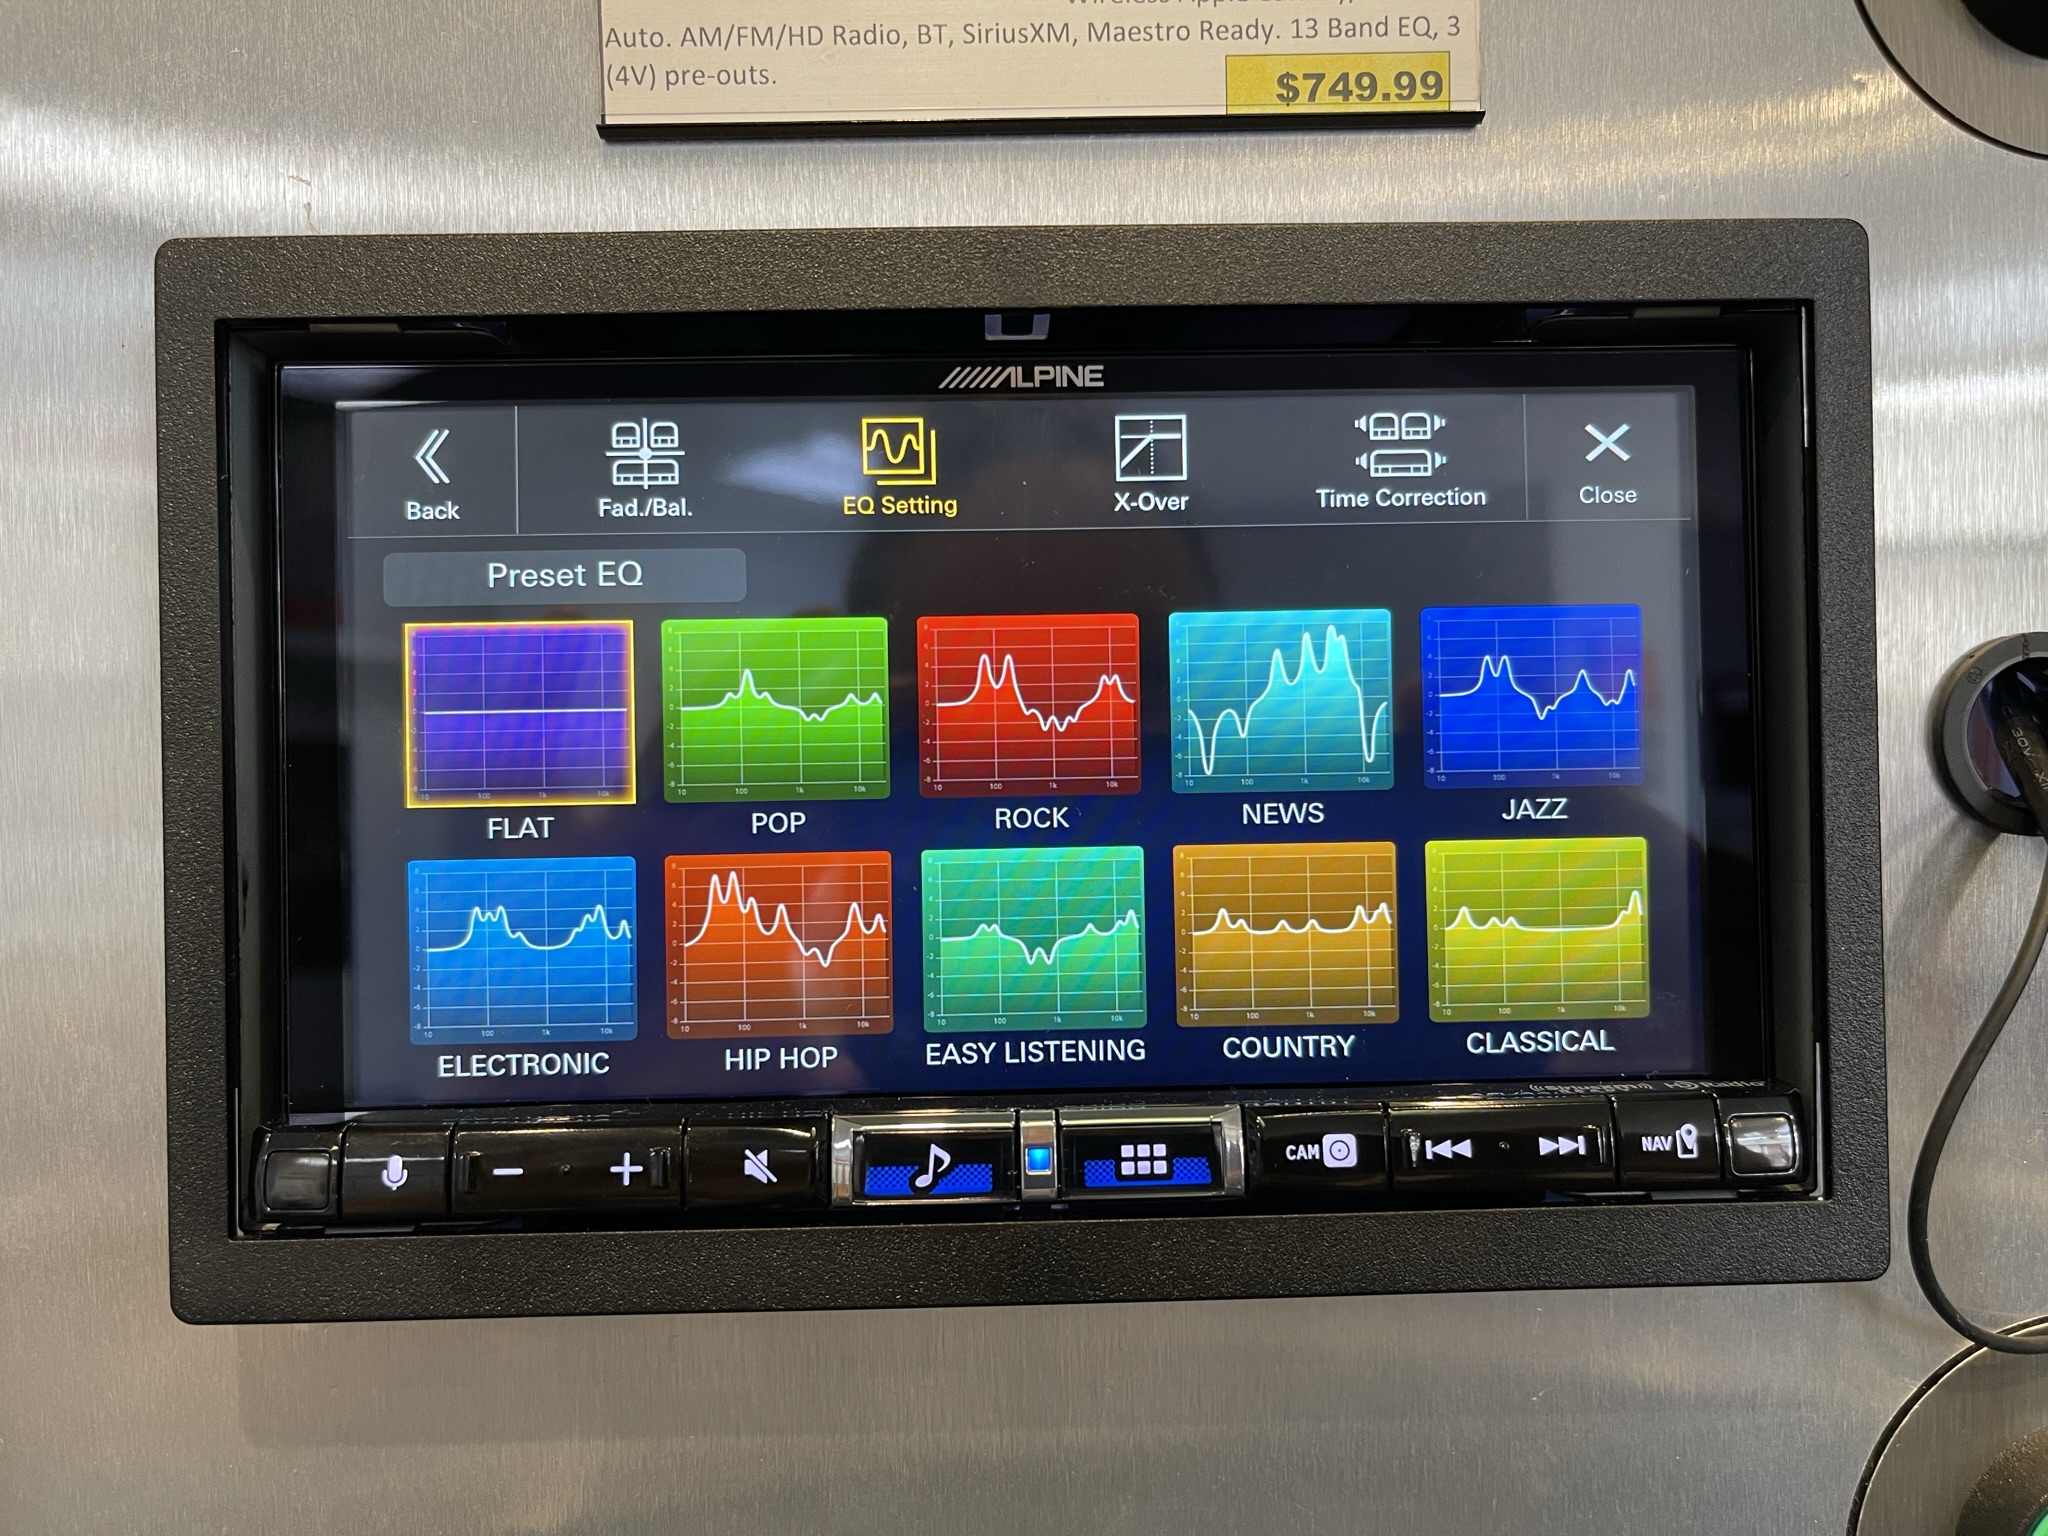
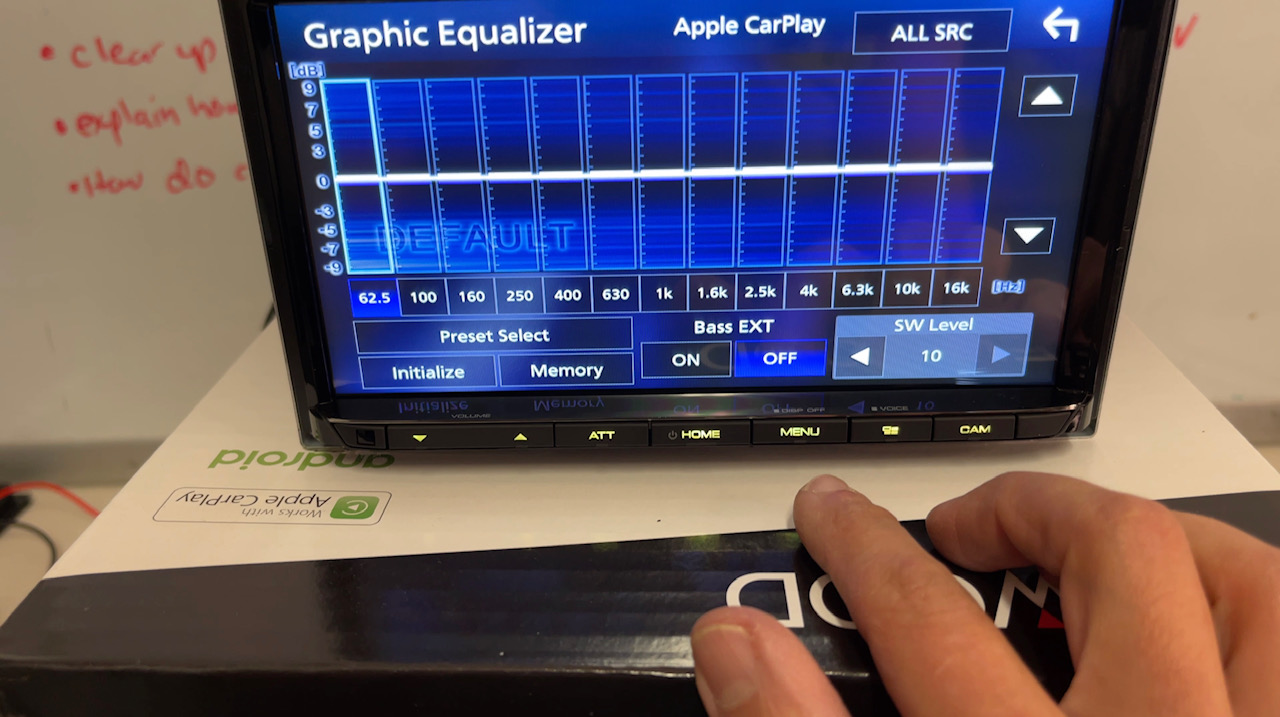
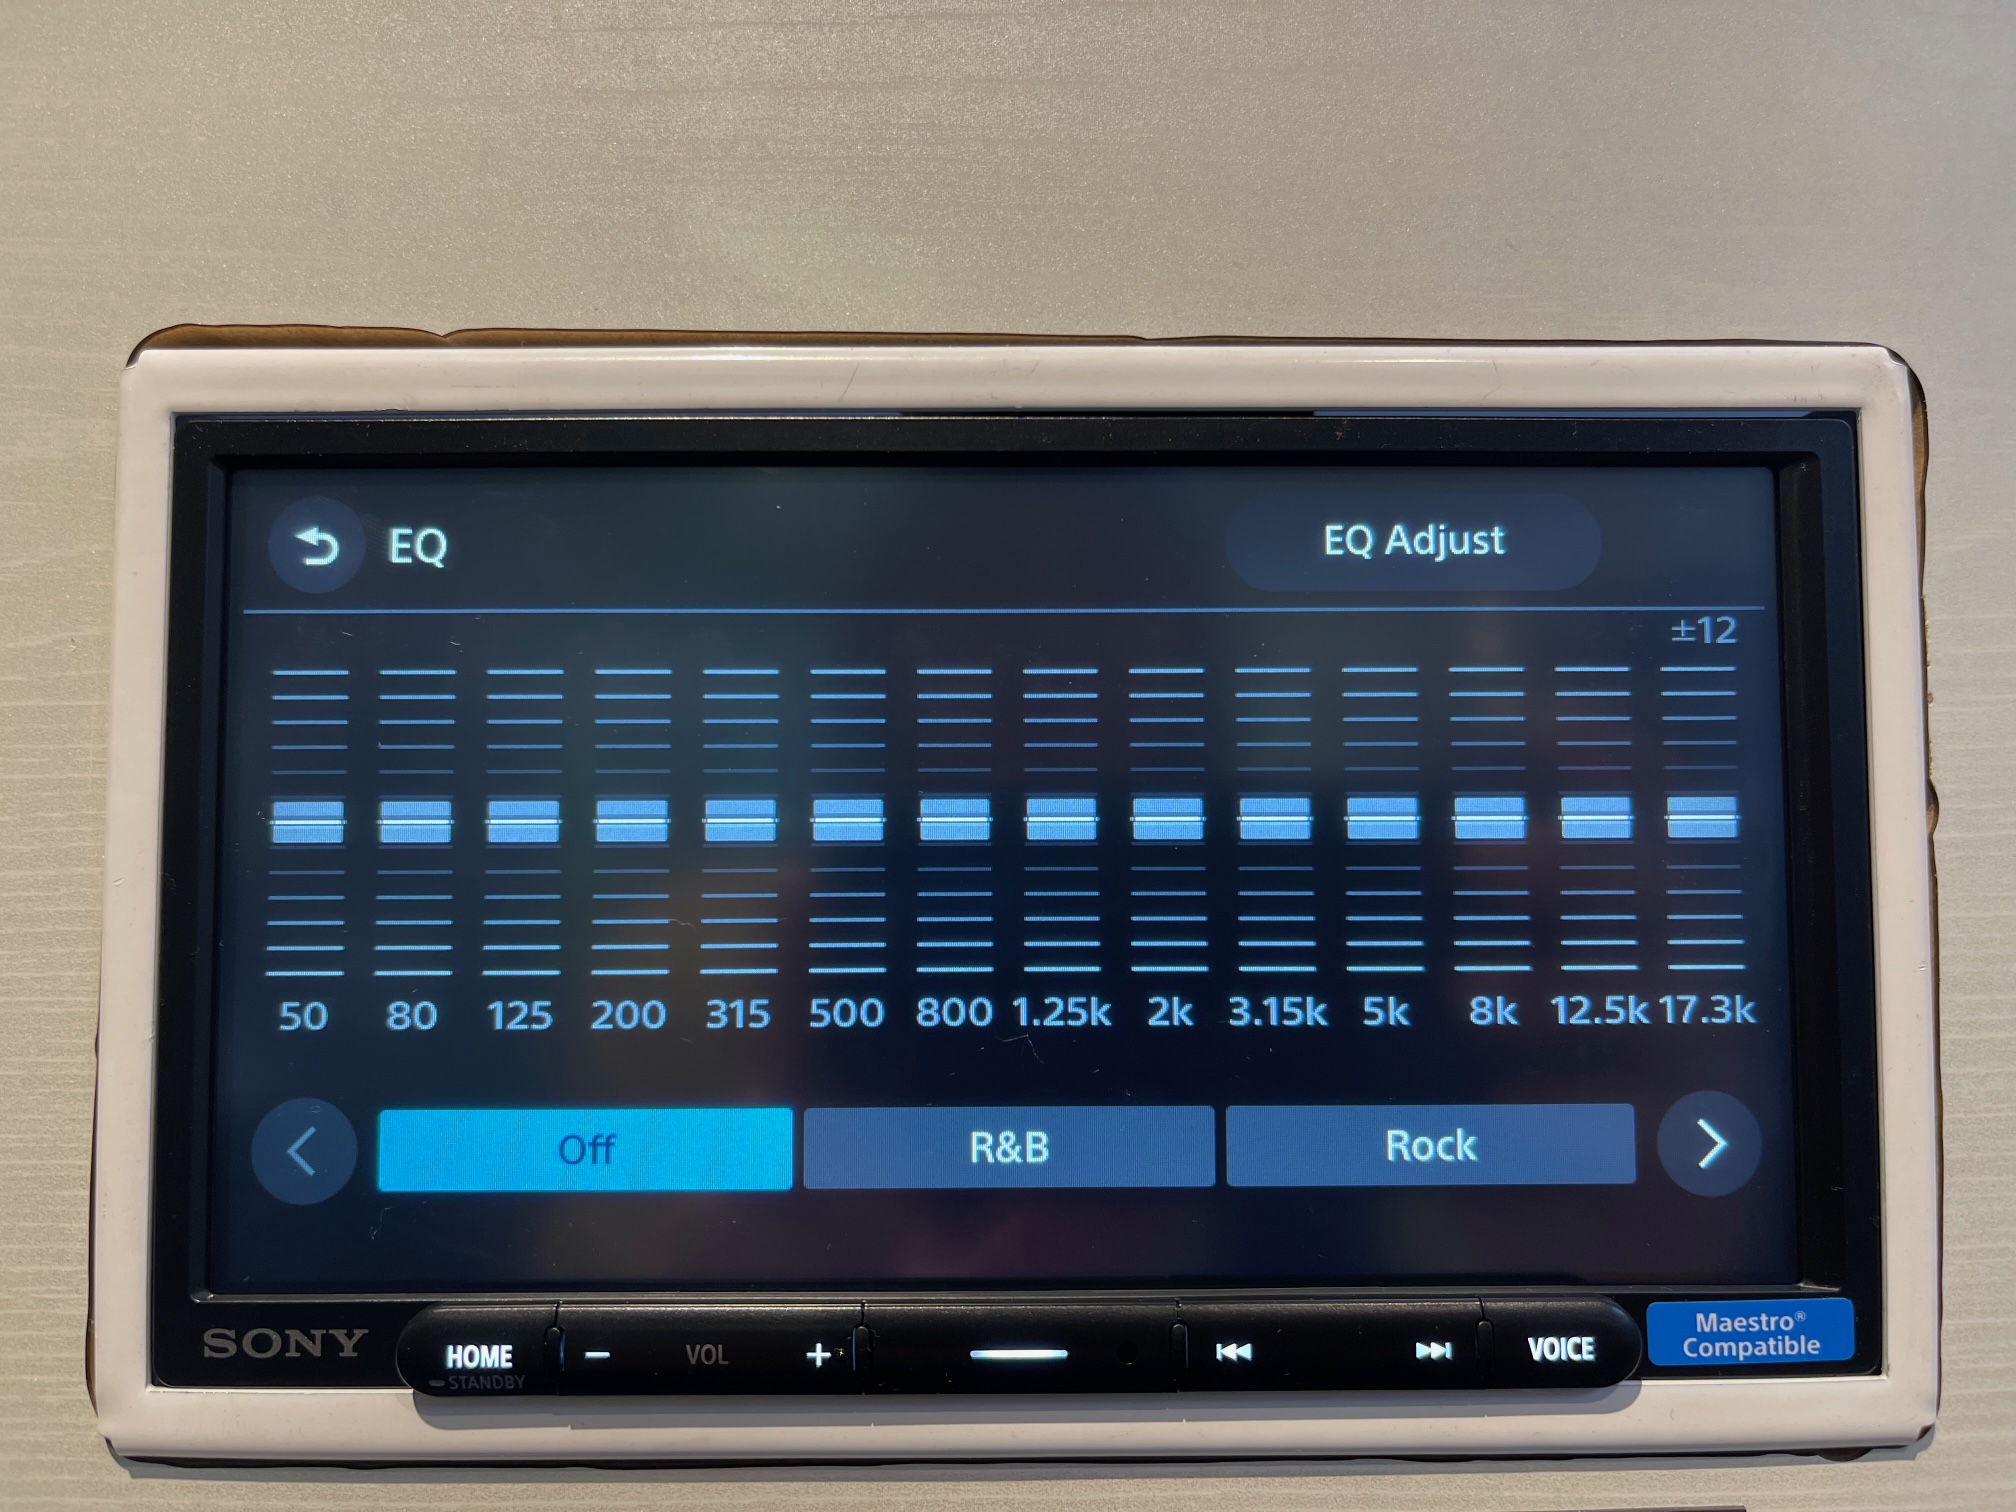
- 14 Band EQ
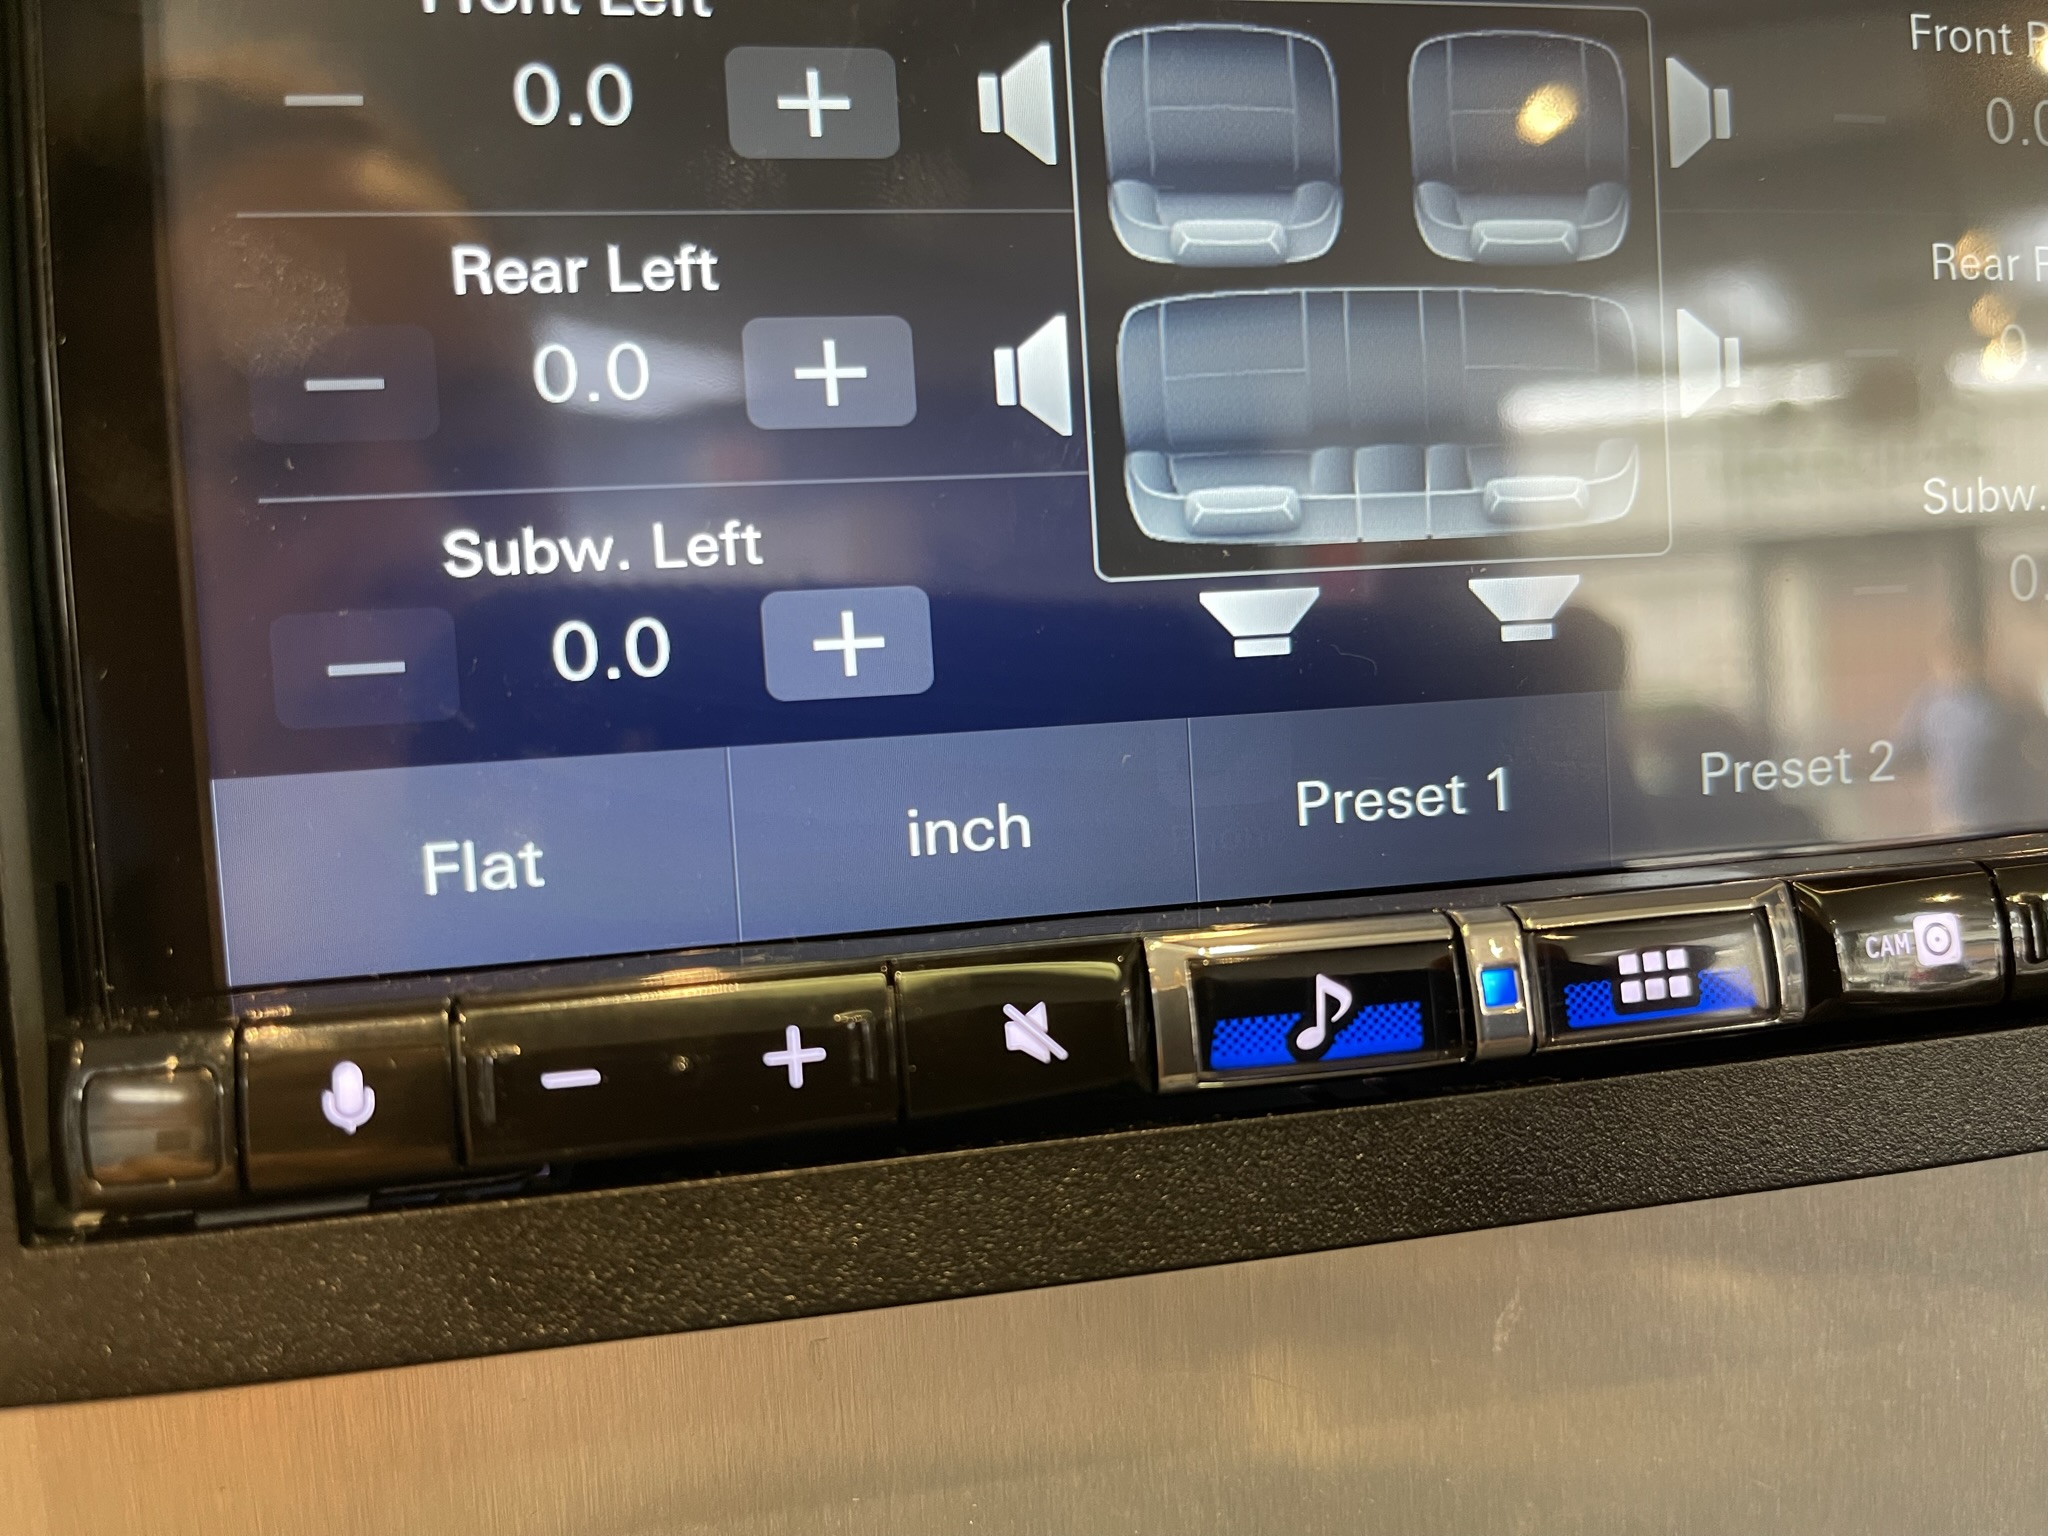
- Digital Time Alignment – either preset or manually adjust
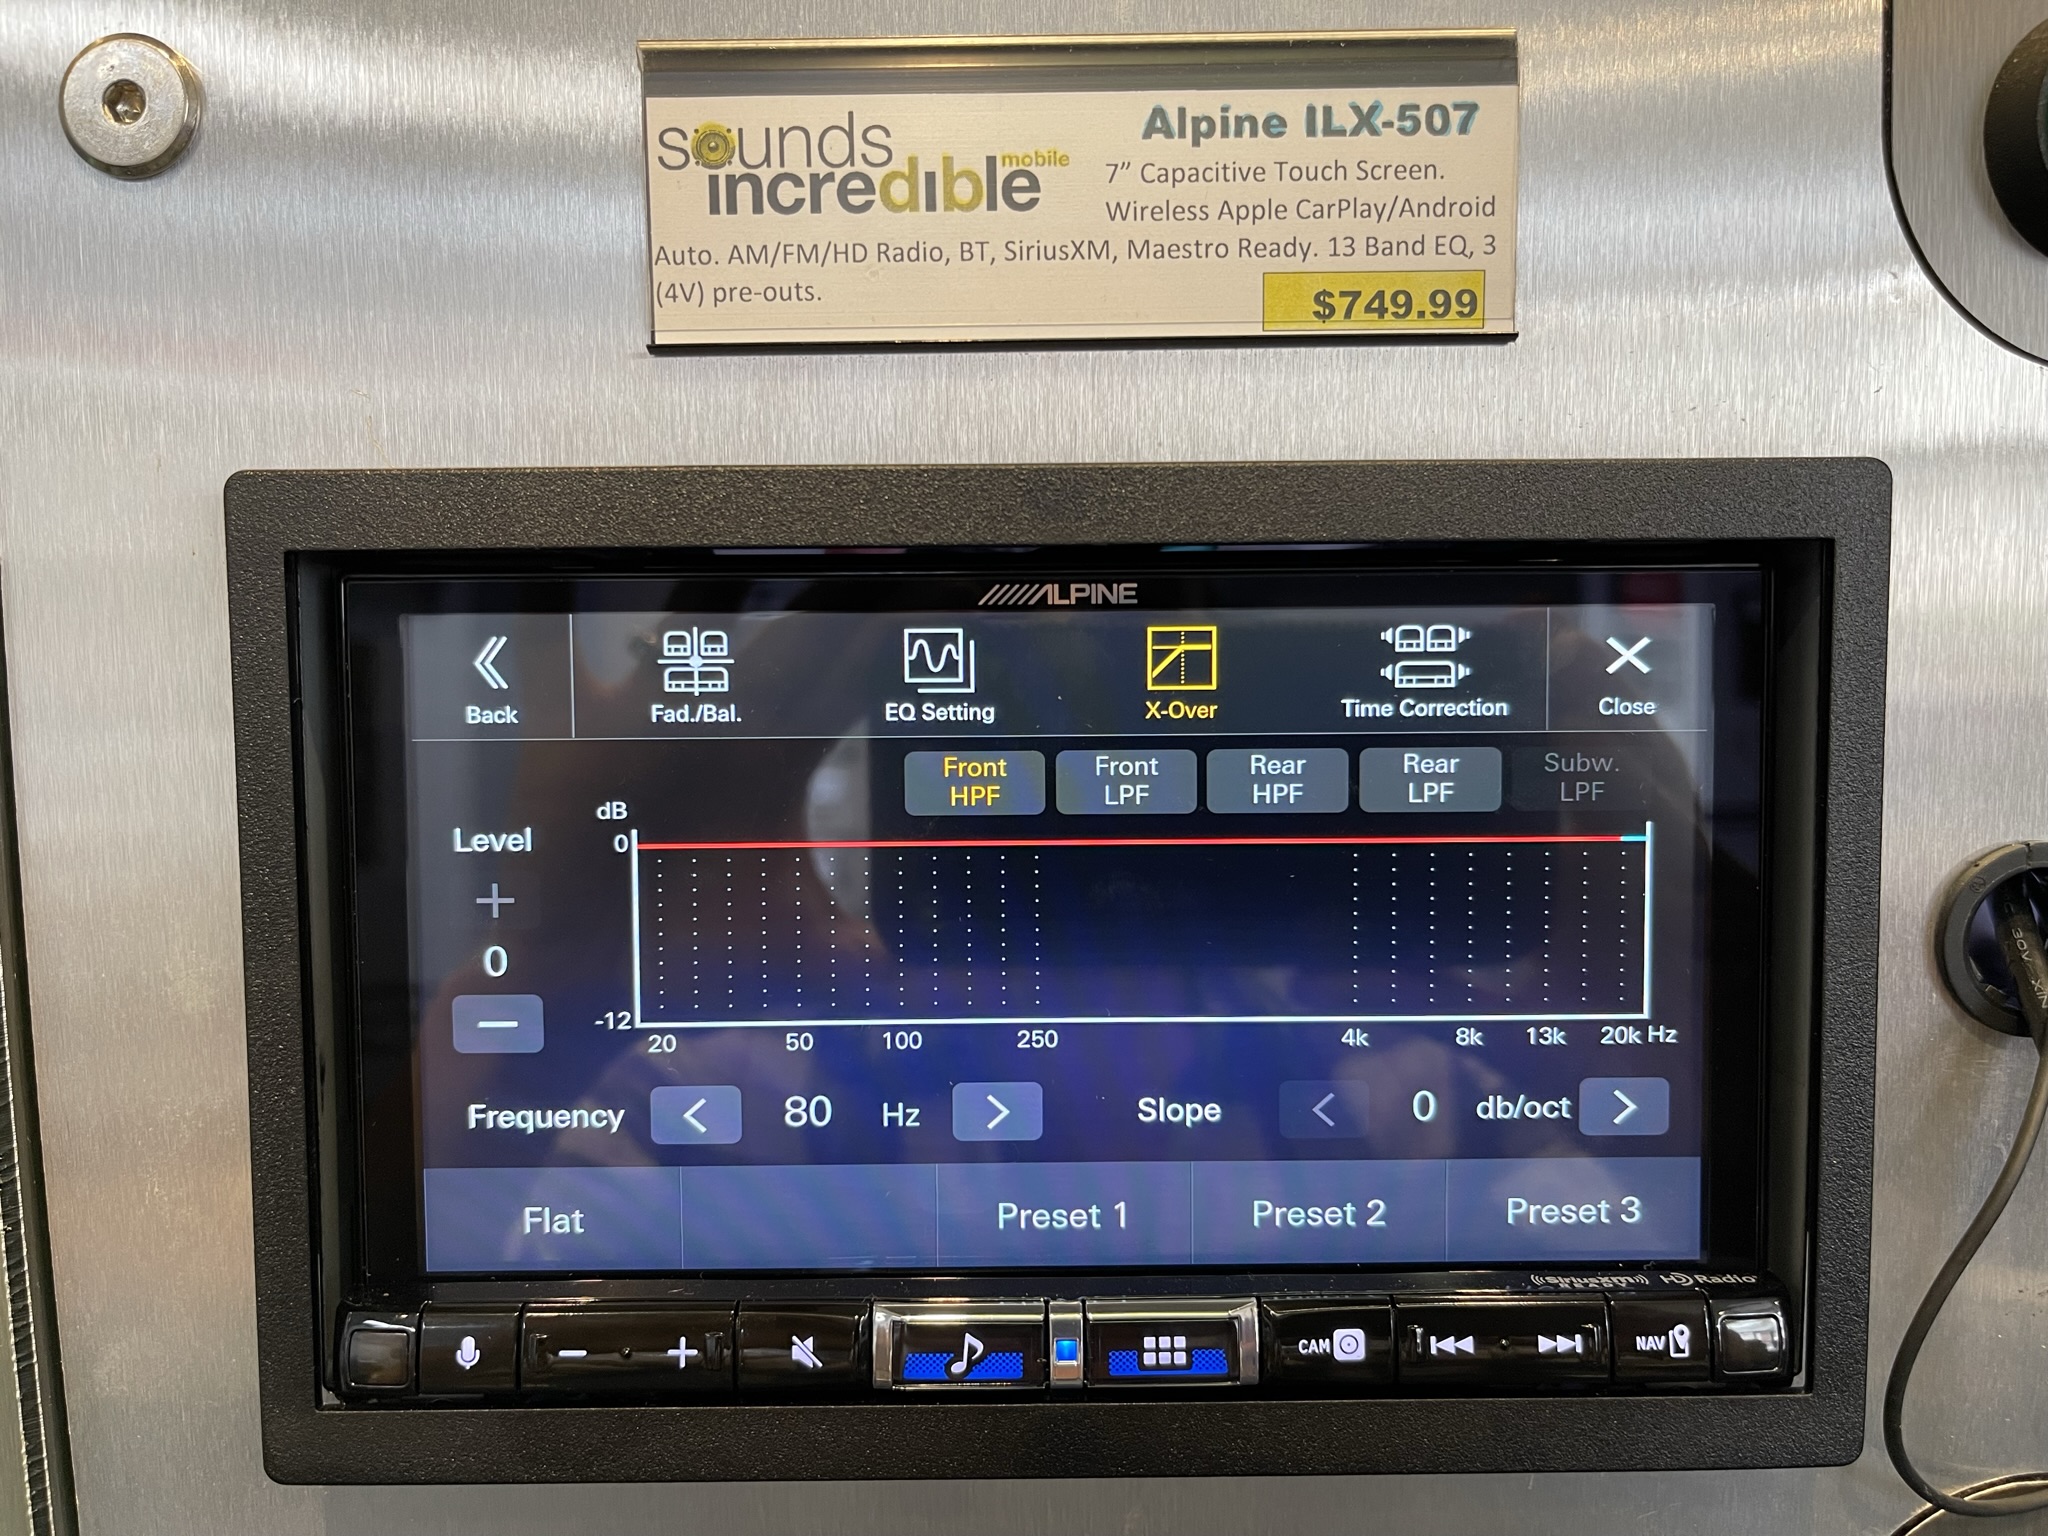
- Built in crossover adjustments up to 48 dB per octave
- Subwoofer phase adjustment – love that!
Finally – iDatalink Maestro Compatibility
I was really happy to see this feature finally added into the Sony line up. Now, it may not be the prettiest integration, but if you’re mainly using Apple CarPlay or Android Auto that aspect looks the same regardless of what head unit you have.
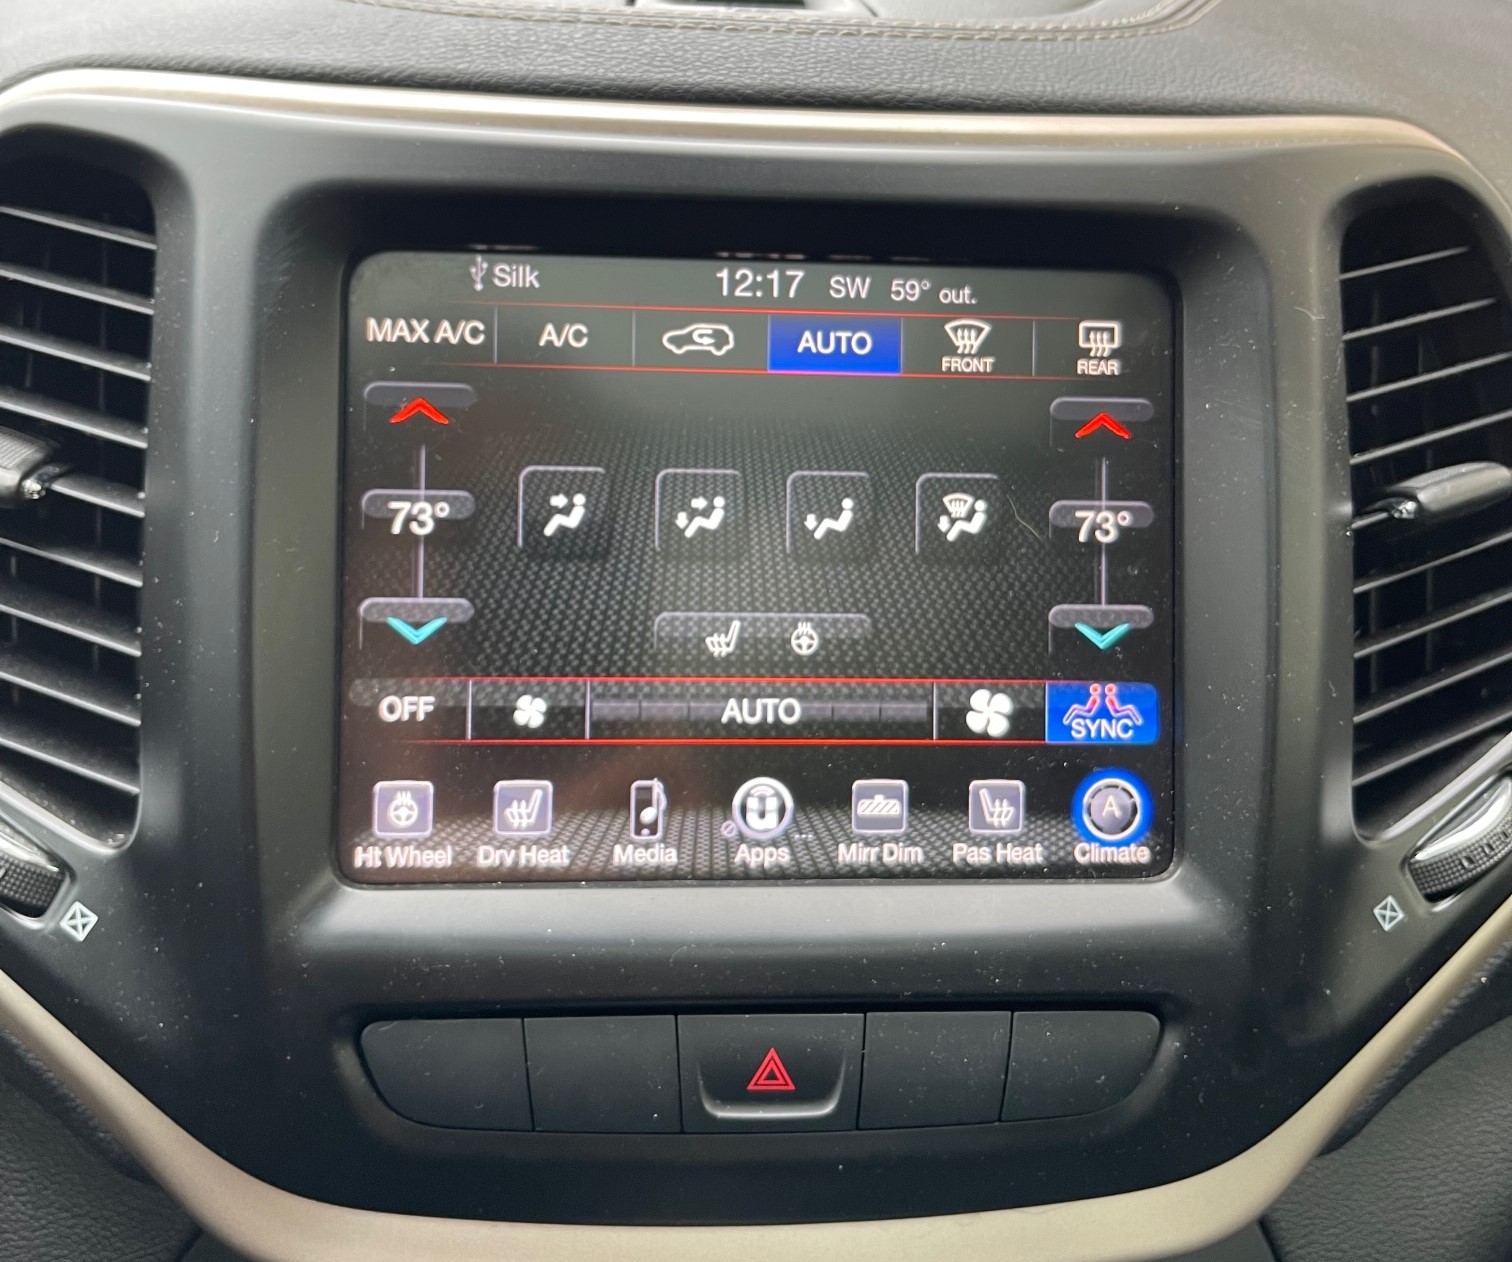
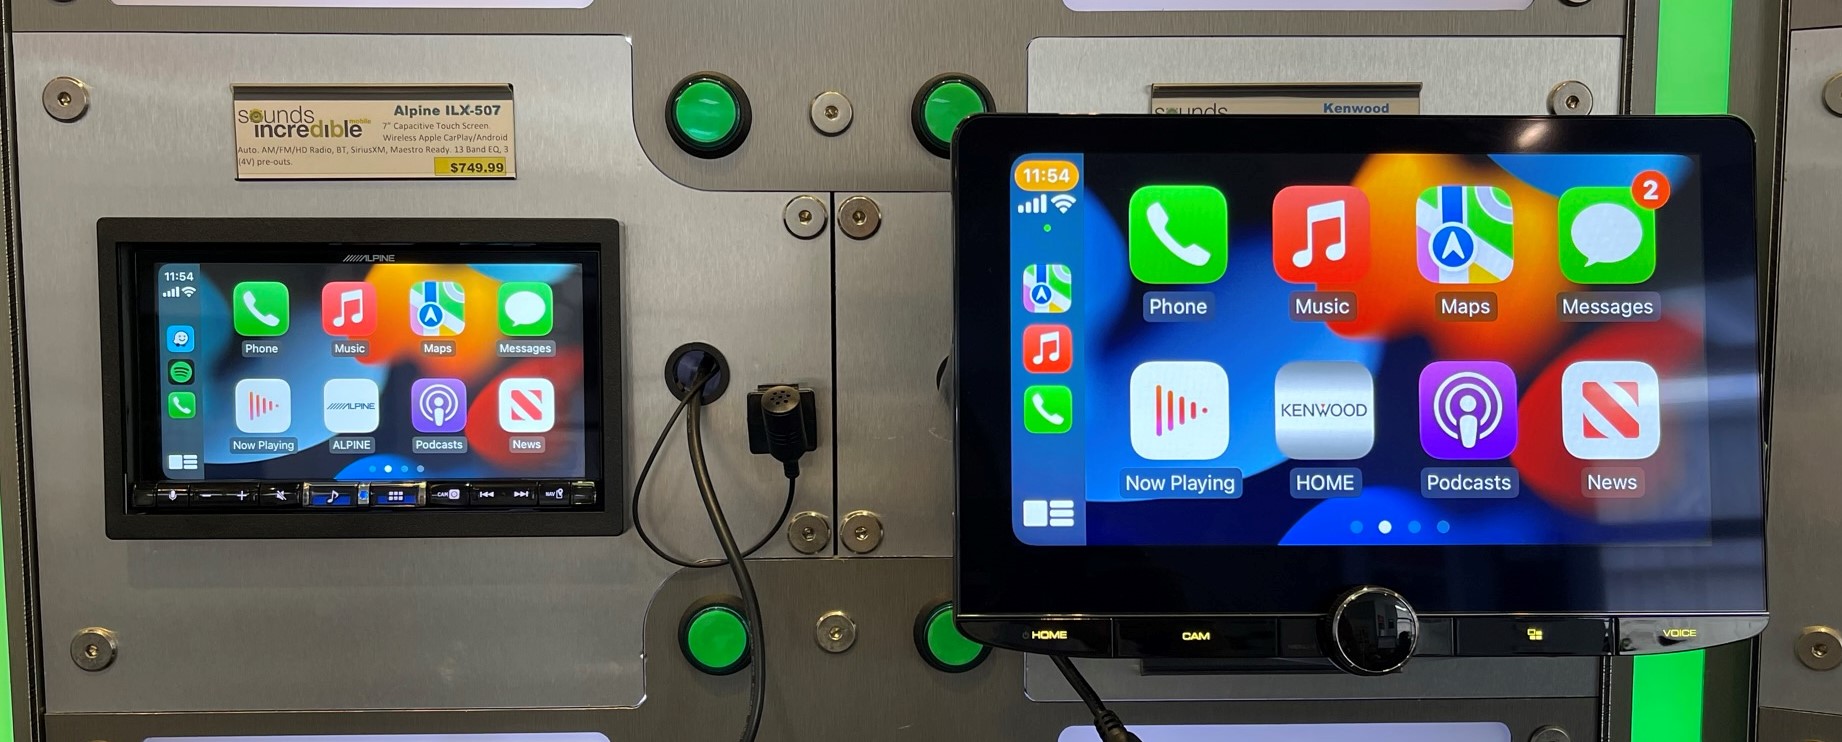
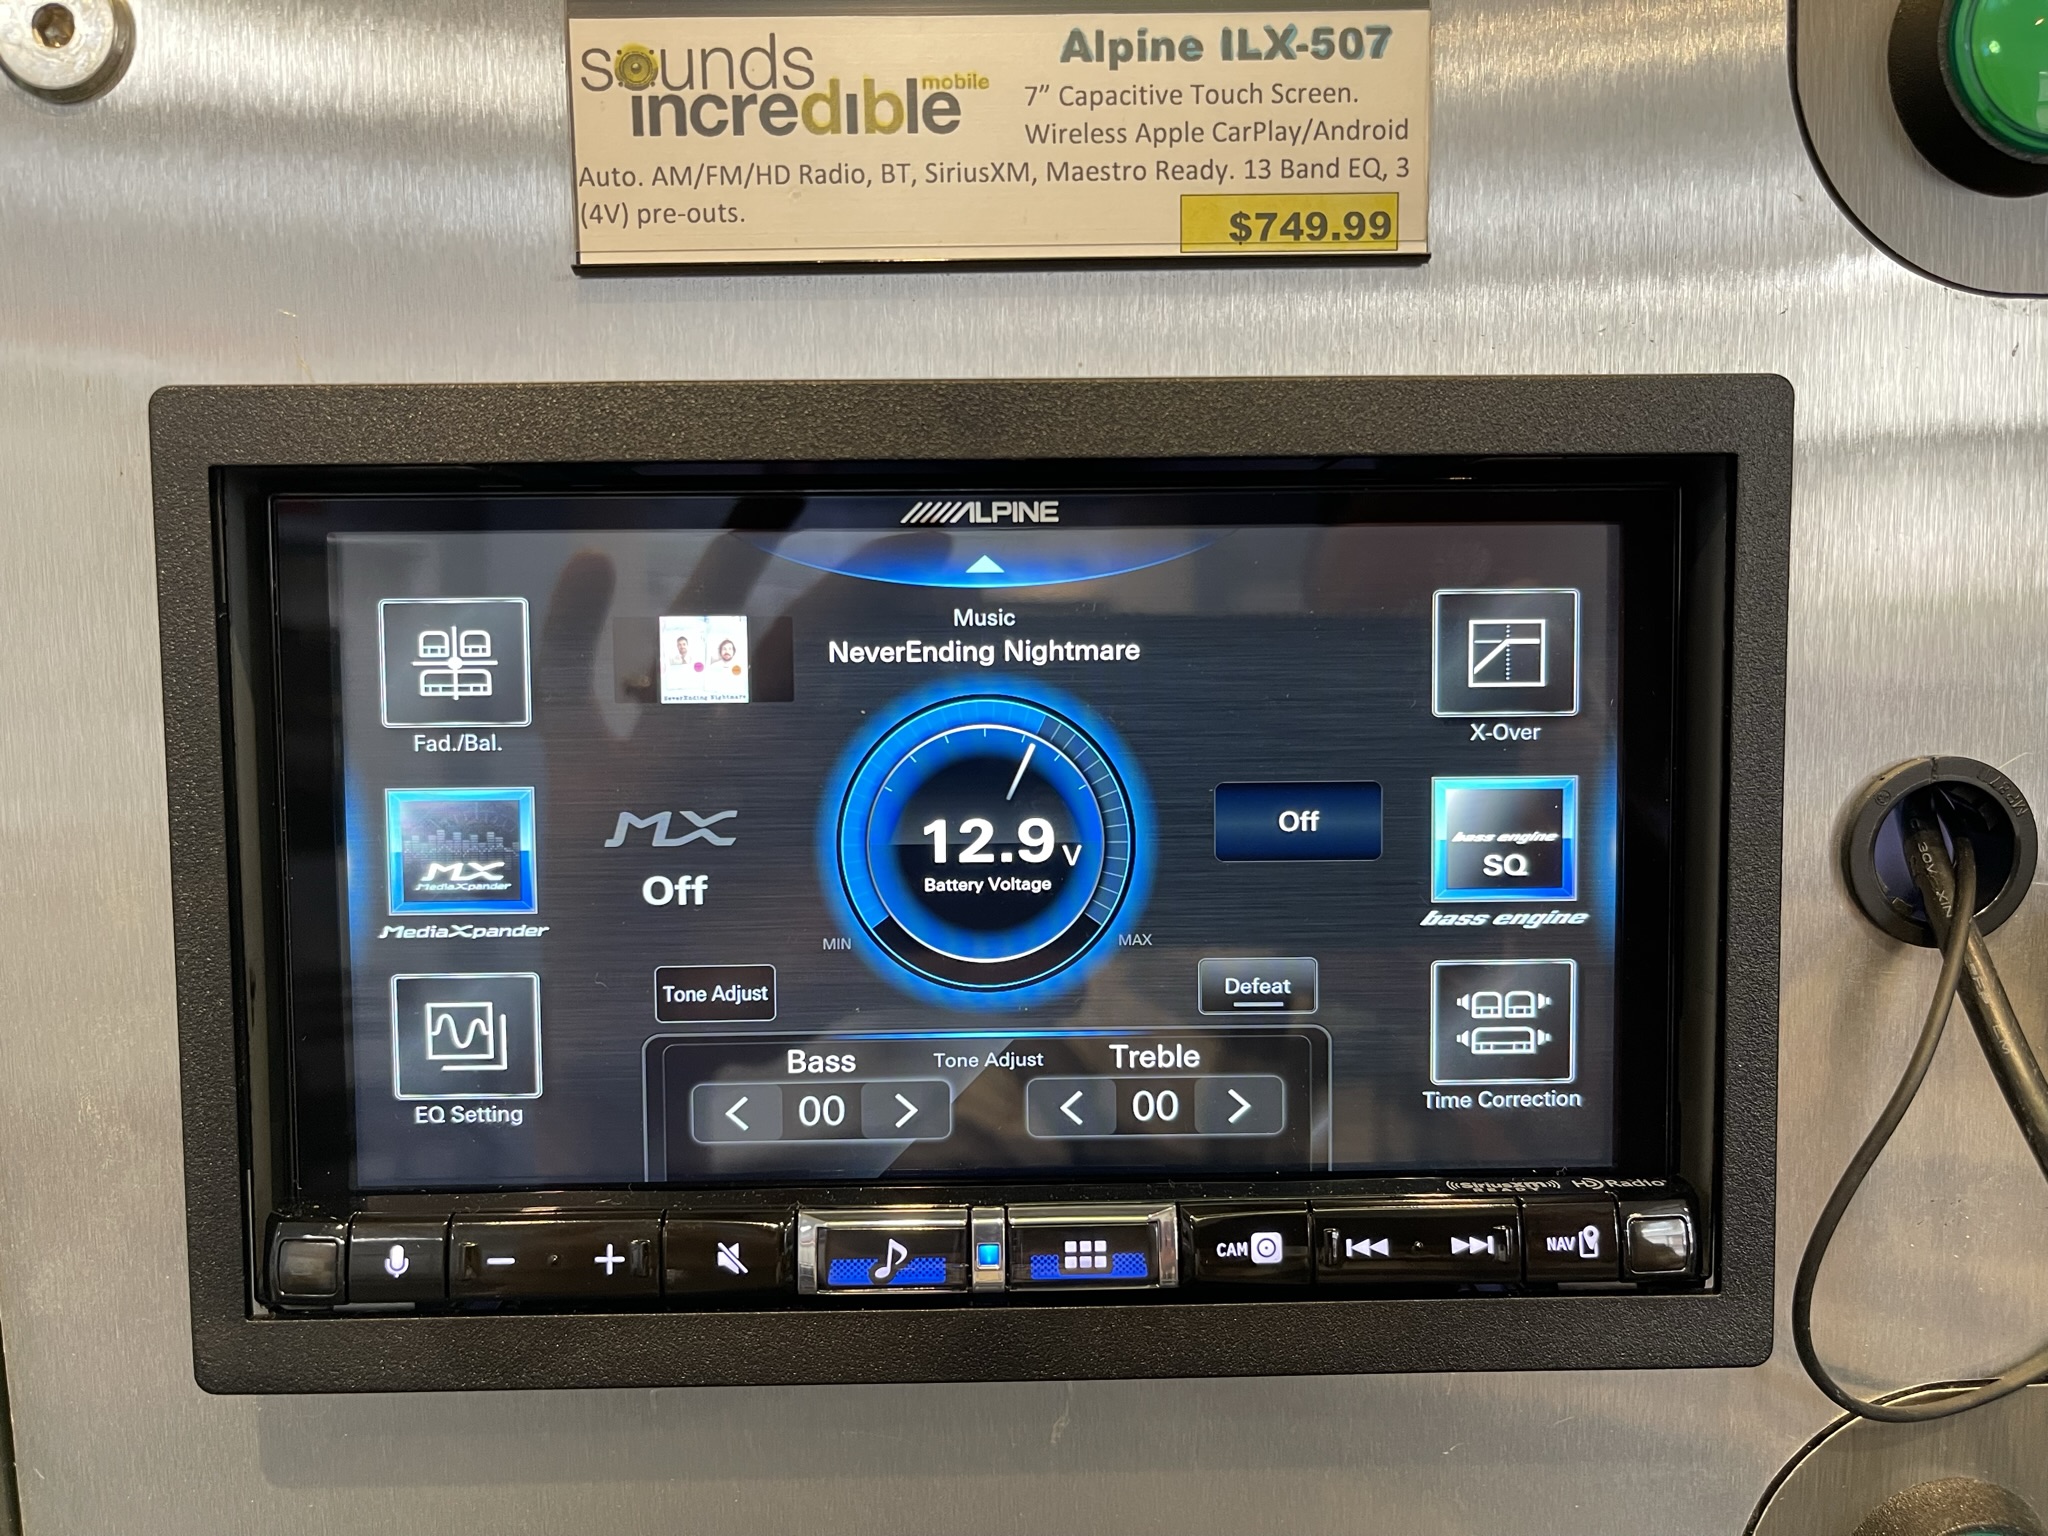
Previously if you wanted wireless Apple CarPlay or Android Auto, and you had a car that needed an iDatalink Maestro like a 2016 Jeep Cherokee, you were spending beaucoup bucks to get both features with Kenwood or Alpine ($750 – $800). Now with the XAV-AX4000 (with a regular retail price $599.99) you can get into these features at a much more reasonable price.

As mentioned, it’s not the most esthetically pleasing graphic user interface – I think Alpine does a better job with their Maestro HVAC graphics, BUT this is definitely practical. It gets the job done and you’re able to retain features and functions which is the main point of the Maestro.
XAV-AX6000 vs XAV-AX4000 – What’s missing from both?
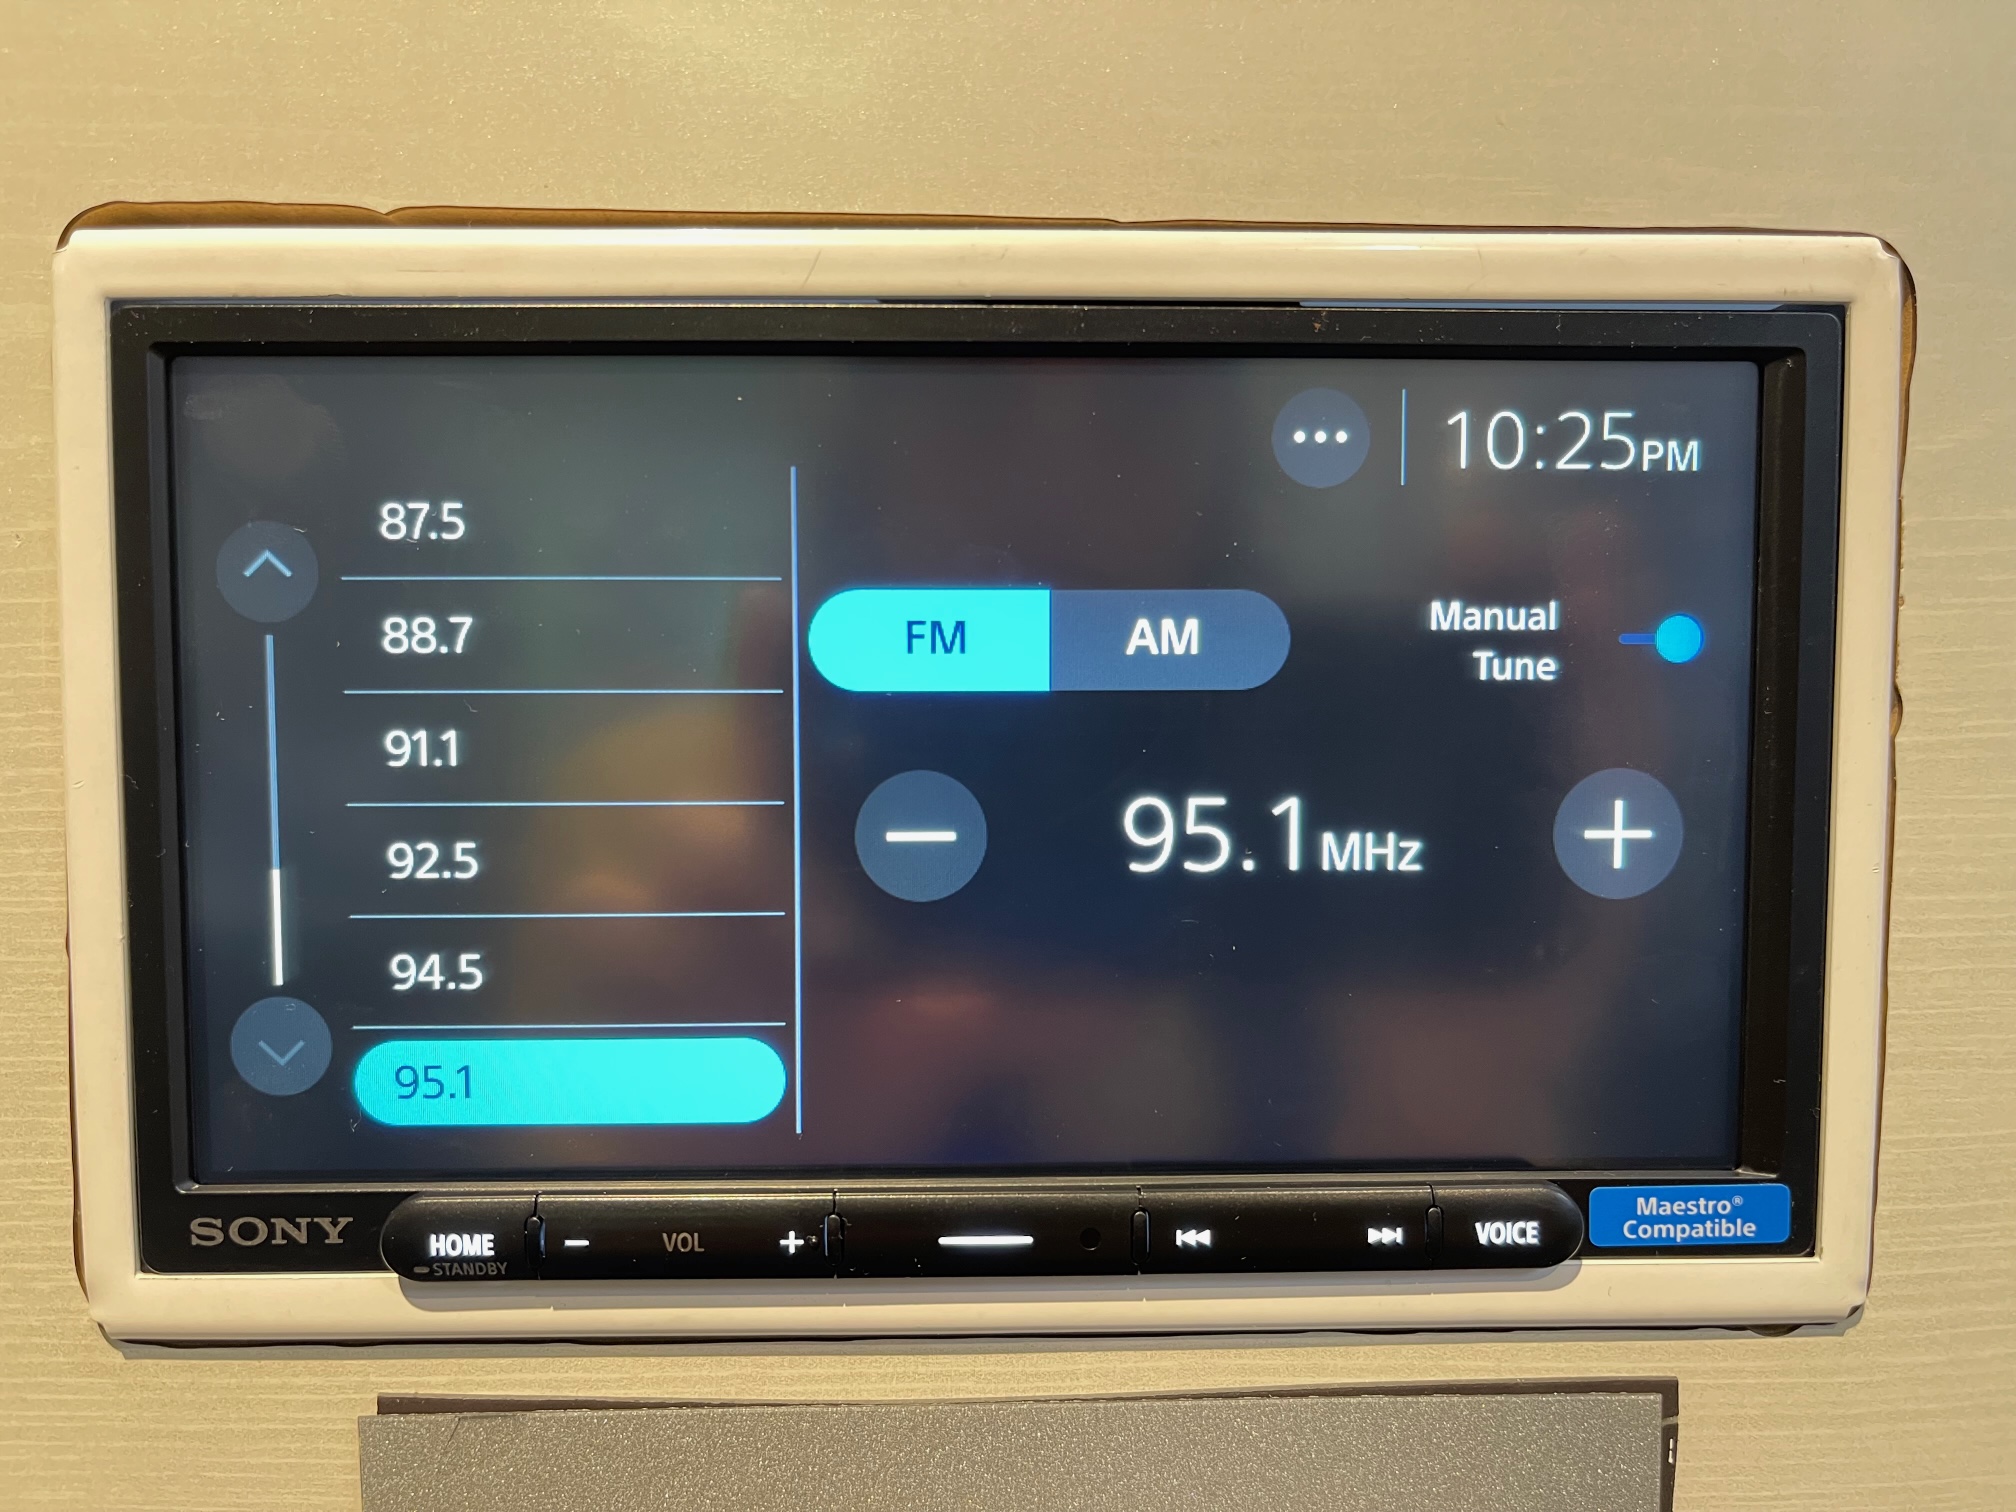
I was surprised to see that neither of these models features HD Radio. However, that could be considered a luxury feature and these are value priced models. Besides – who needs FM/AM Radio anyways when you have wireless Apple CarPlay and Android Auto? Exactly. If you are the type of person who still listens to FM/AM radio you will be pleased to know the reception in both models is quite impressive which is typical of Sony. However, they do have scrolling presets. Not a fan of scrolling presets!
Aside from missing HD Radio, the other potential drawback to be aware of on both of these models is this – reverse camera input only. I find that most clients are totally fine with this. They’re usually just looking to retain their factory reverse camera and not necessarily add a front park assist camera. However, there are those clients out there. You know the kind with young new drivers behind the wheel for the first time. Deep down in their hearts if they could, they would wrap their kid in bubble wrap and strap a helmet on their head before they leave the house. These parents want every possible safety feature added to their older cars such as a front camera, park sensors, blind spot sensors, etc. Alas – there is no front camera input on either the XAV-AX6000 or XAV-AX4000 so if you are that parent, consider an Alpine or Kenwood receiver instead.
So what’s the difference?
I thought you’d never ask. For one, there is a subtle difference in the screens. The XAV-AX4000 has a resistive touch screen whereas the XAV-AX6000 uses a capacitive touch screen. From a functionality standpoint (which you can see in the YouTube video here), they are both similarly responsive and accurate to touch.
I find that the XAV-AX6000 is only slightly more vibrant and saturated in color. I expected a more dramatic difference in the contrast, vibrancy and saturation. Perhaps due to the matte finish, it’s a bit muted.
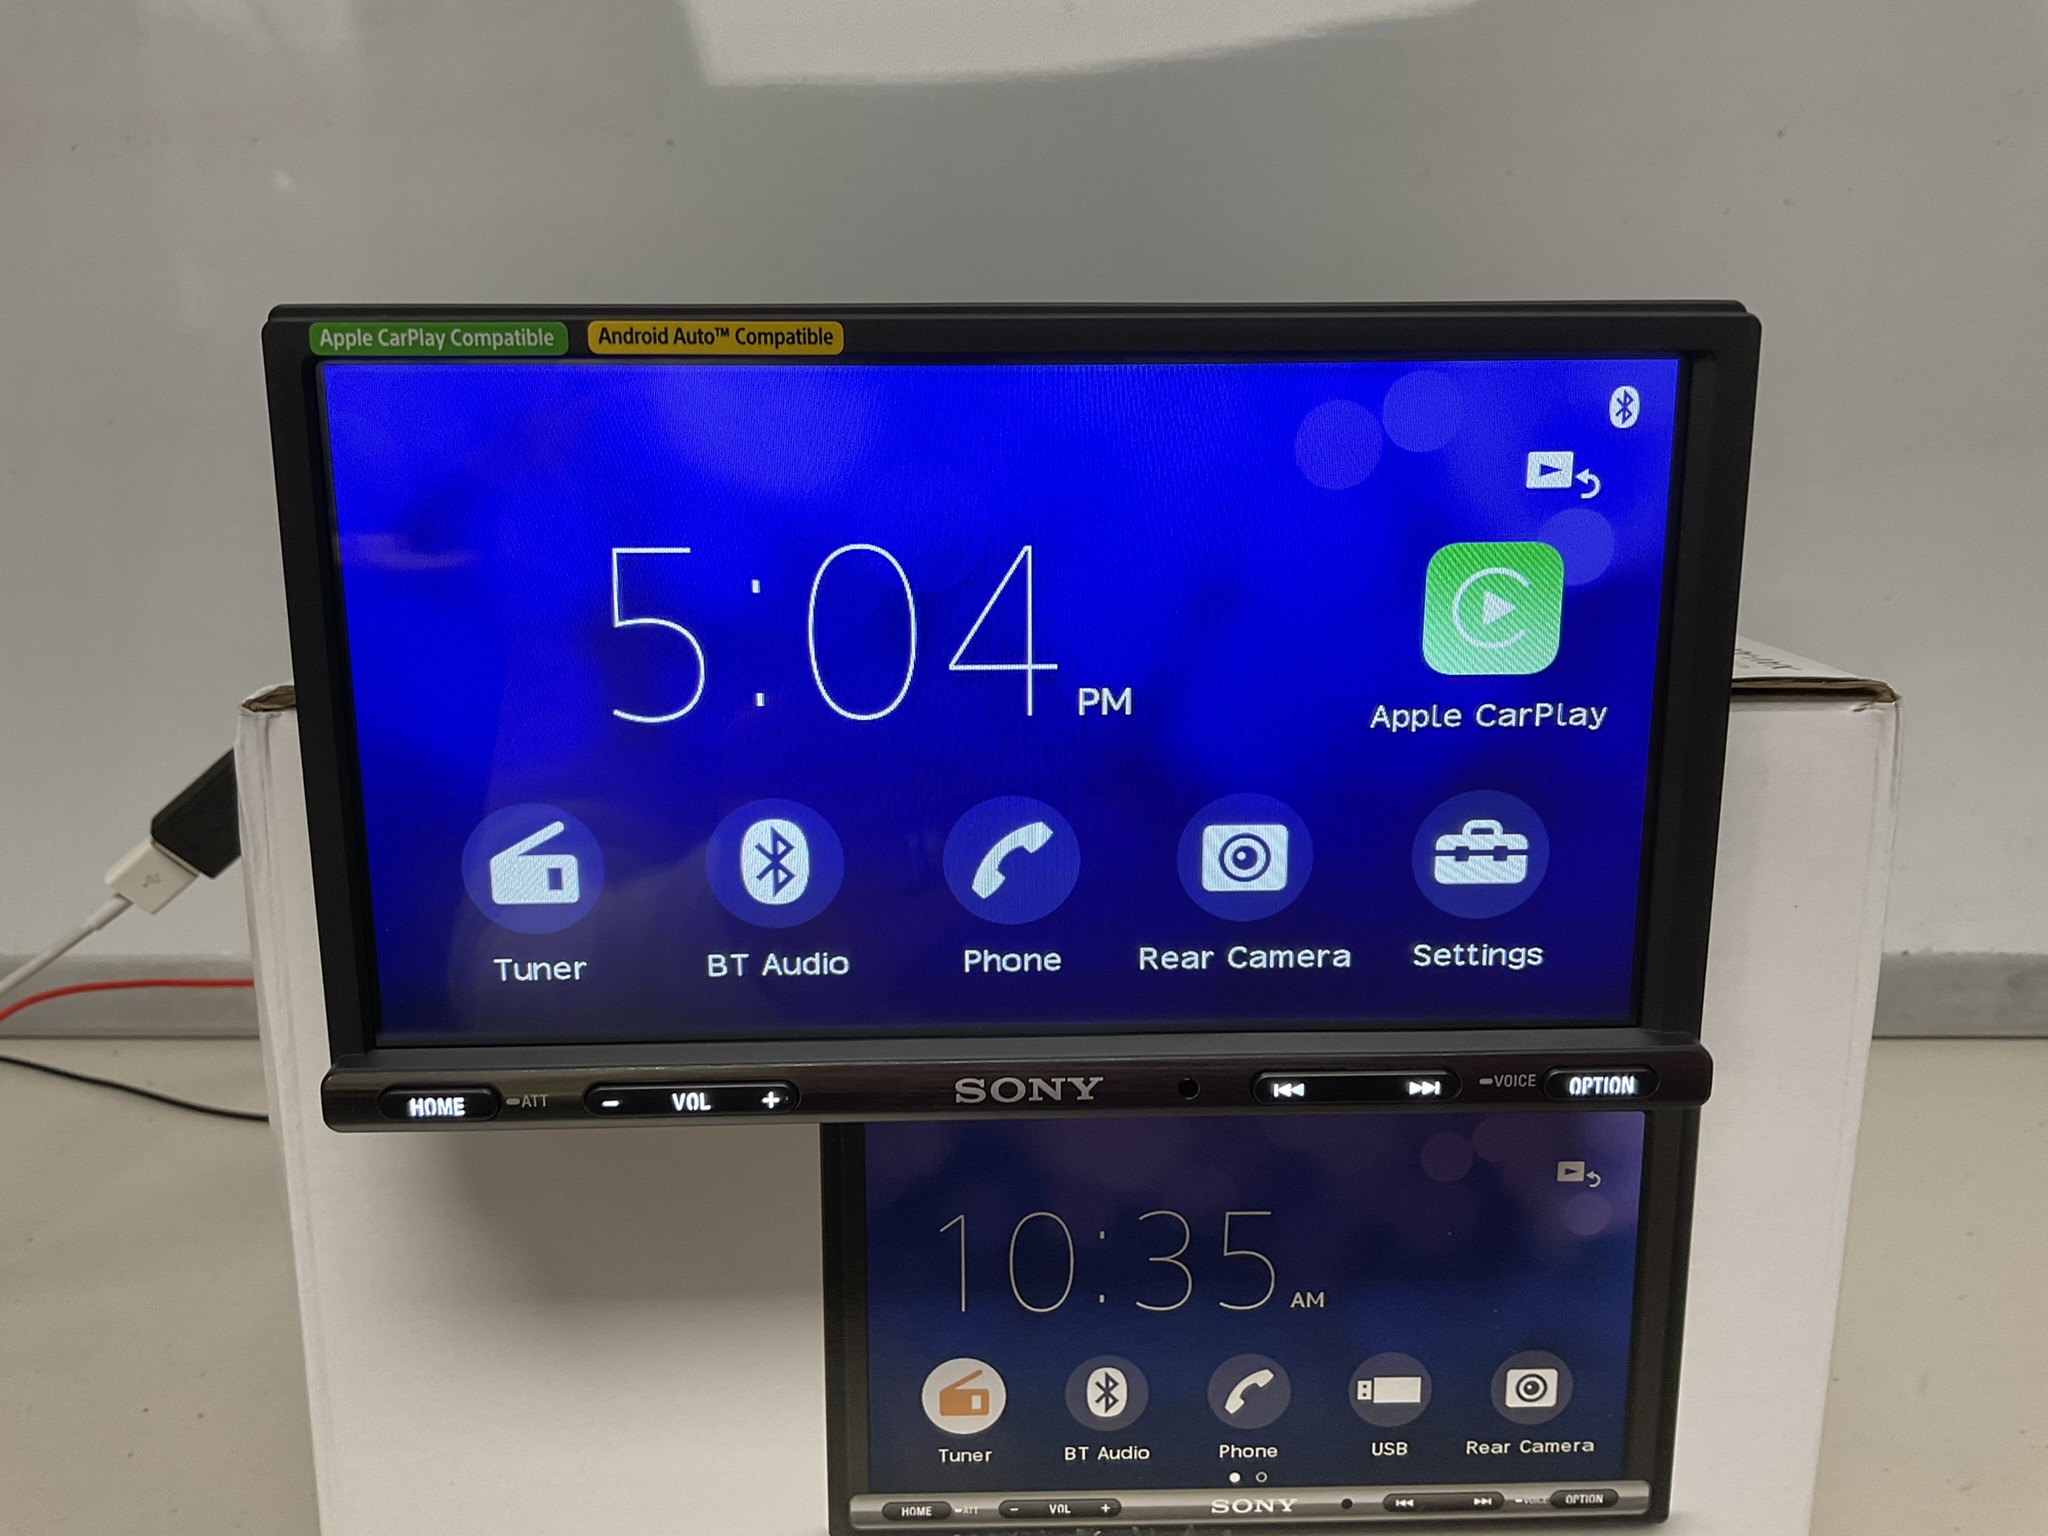
Other than the actual difference in screen type, the XAV-AX6000 has what they call an edge to edge bezel-less screen whereas the XAV-AX4000 has a small frame/trim around the screen. See below.

What else?
There are 3 other major differences between these two models. One of which I consider kind of a bonus feature, but some clients will really appreciate it. The XAV-AX6000 features an HDMI input. Keep in mind, it is a micro HDMI input so there is a little bit of cable adapting to actually mirror your iPhone or Android, but it can be done. To learn more about that, check out the short video below where I wrestle with an Android to get mirroring working thru a nice flush mount HDMI adapter. Turns out I needed to turn off Bluetooth on the Android in order to get the HDMI working properly.
As for the other 2 major differences? A whopping 3 year warranty is included on the XAV-AX6000. The XAV-AX4000 includes a standard 1 year warranty. Lastly, the XAV-AX6000 boasts 5 volt pre-amp outputs for front, rear and subwoofer – perfect for building your hi-fidelity aftermarket sound system. The XAV-AX4000 on the other hand features a standard 2 volt pre-amp outputs, also for front, rear and subwoofer.
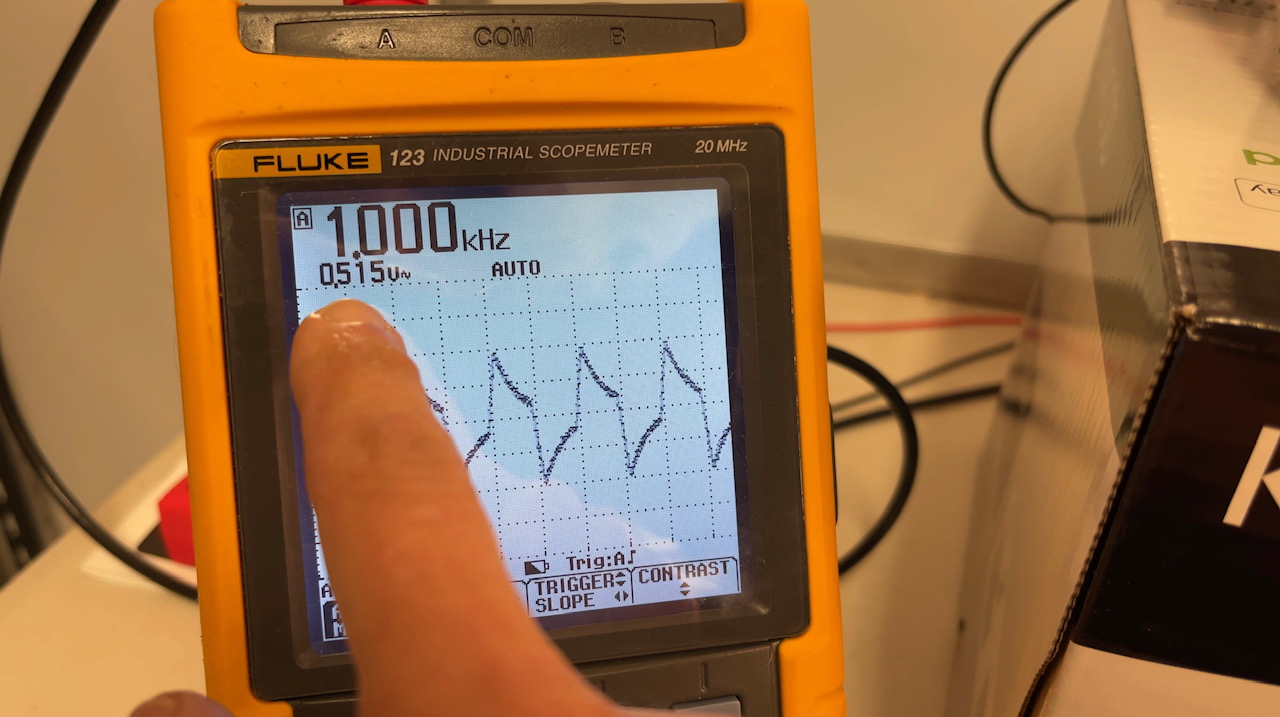
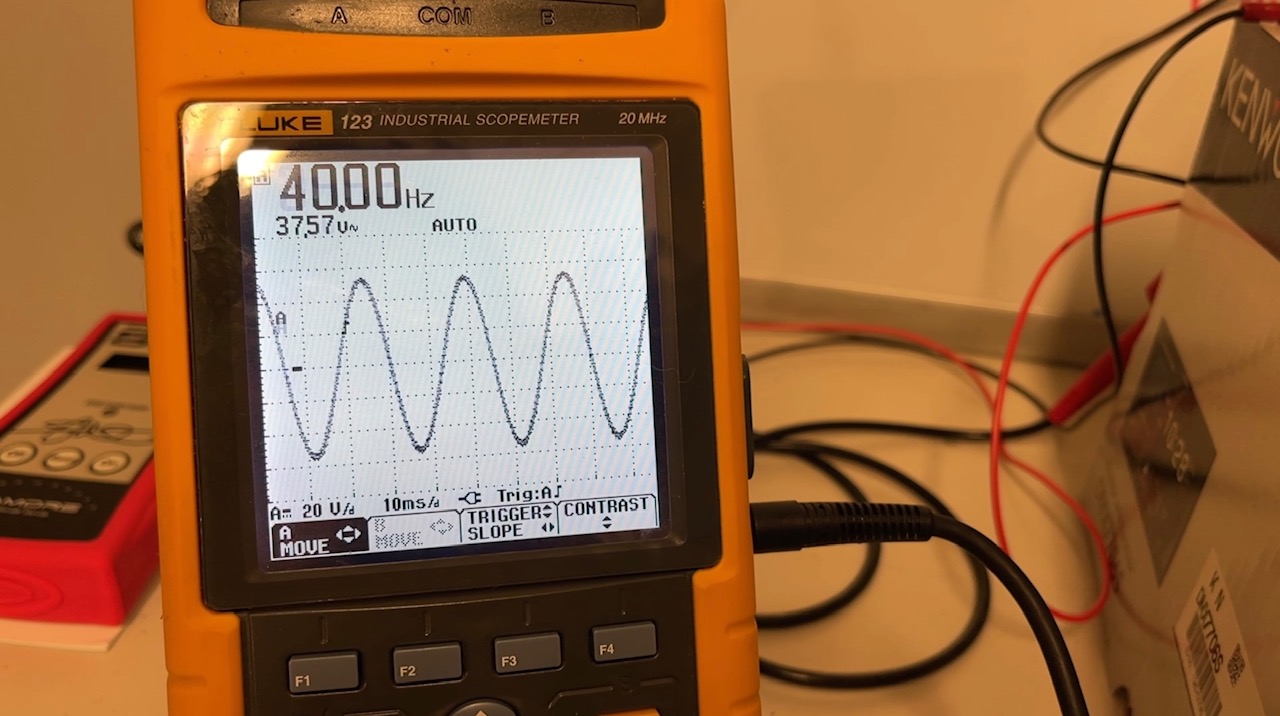
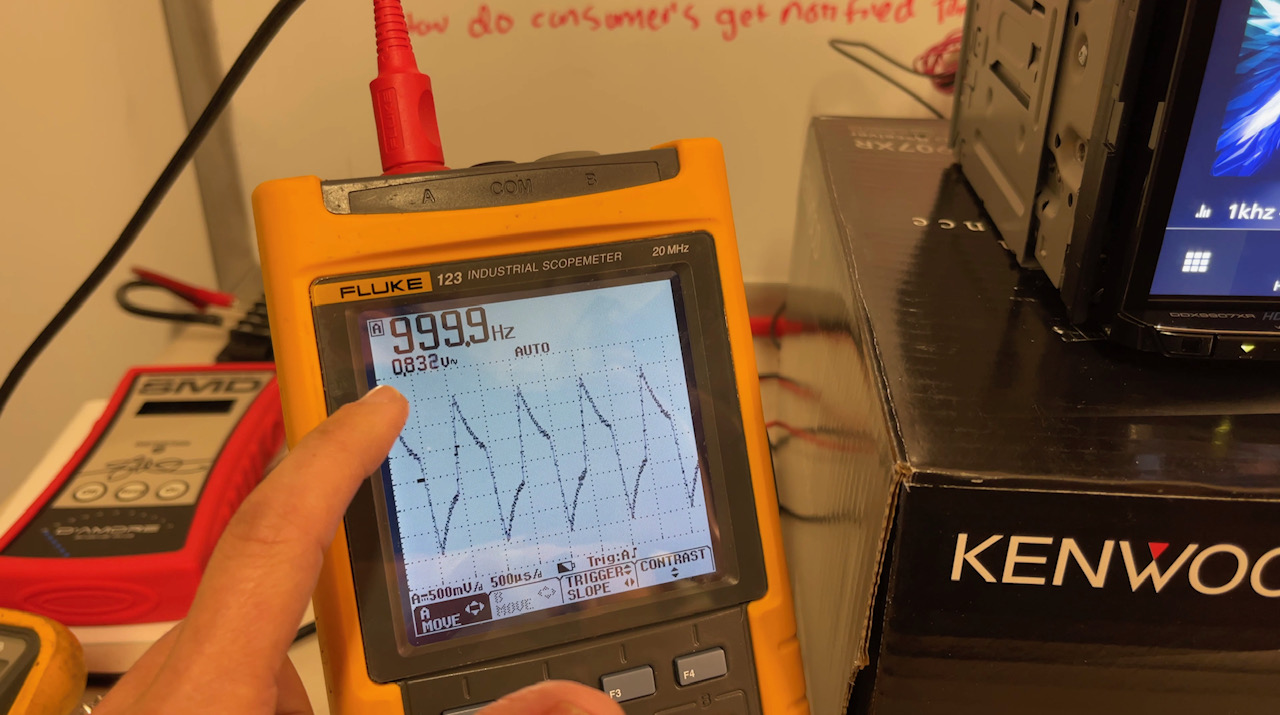
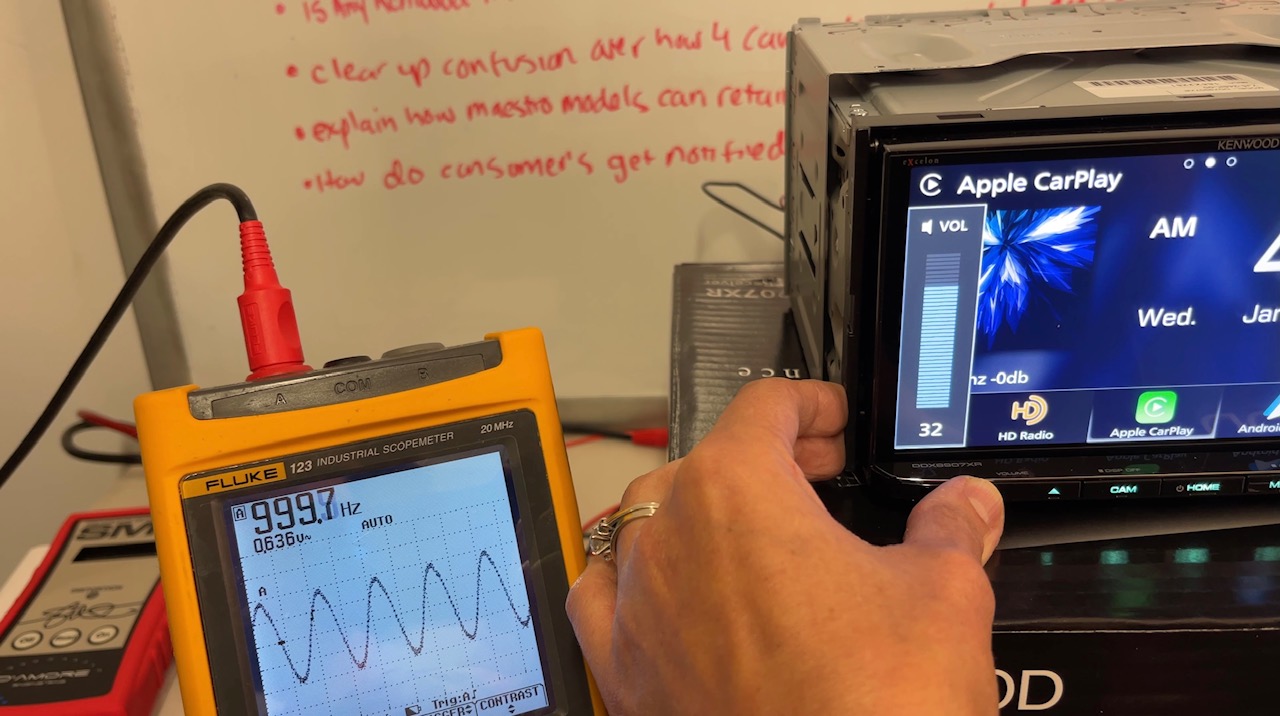
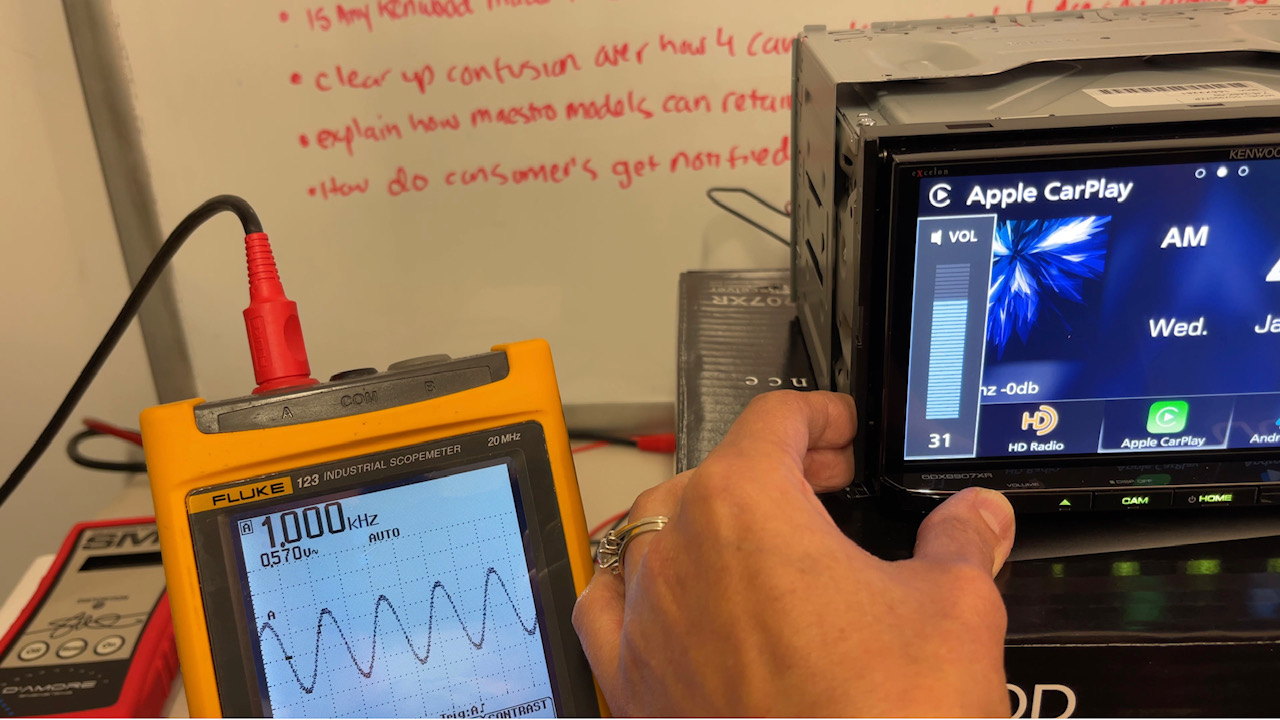
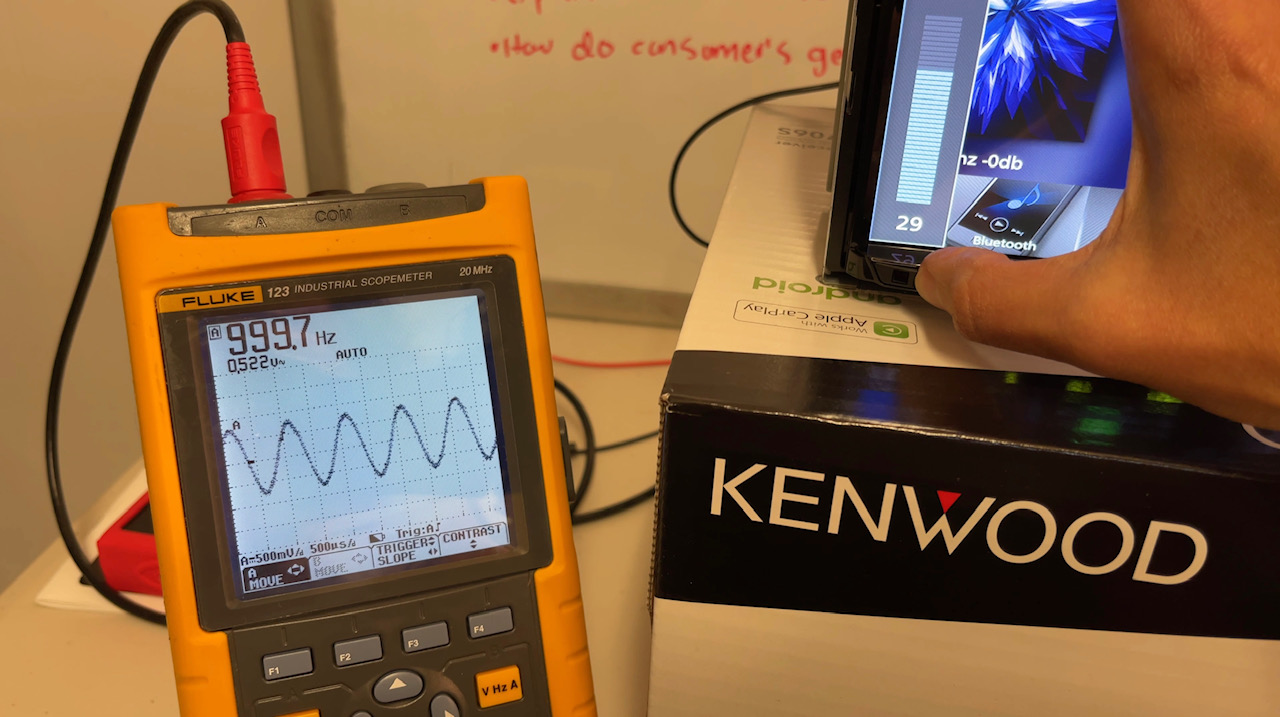
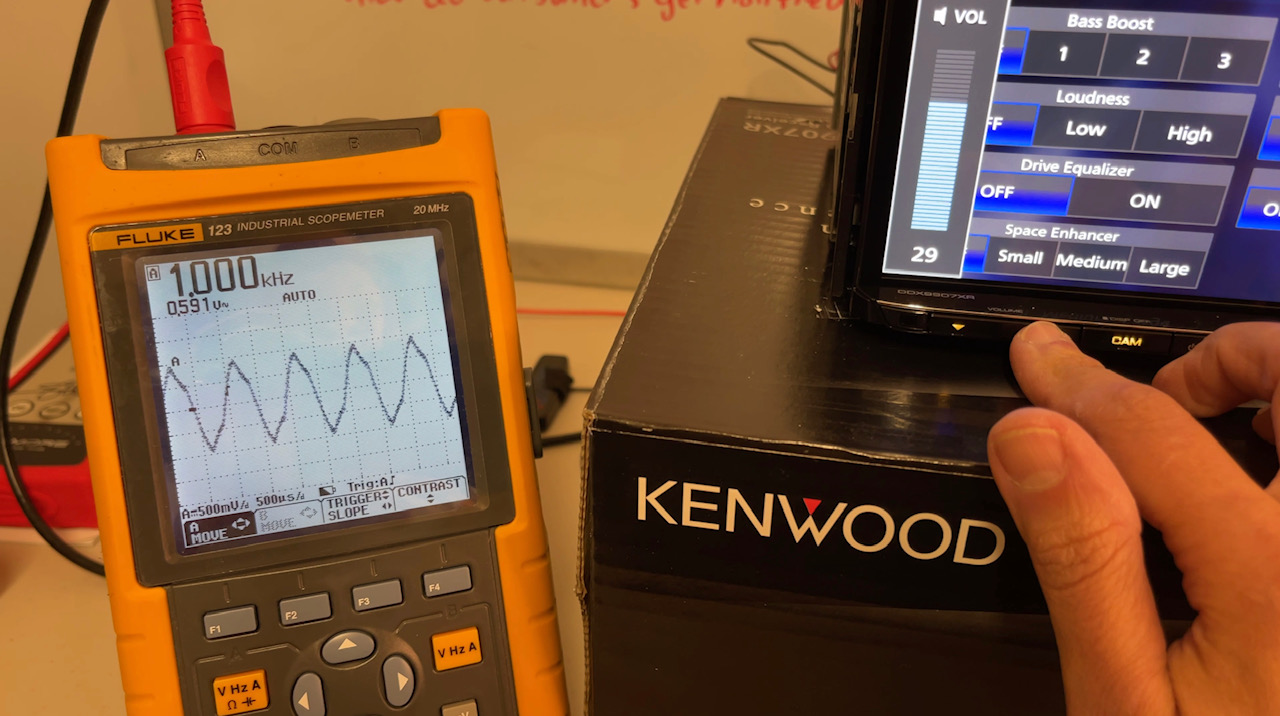
But is the XAV-AX6000 really 5 volt?
I’m about to find out this weekend when I break out the old Fluke 123B Oscilloscope, but you’ll have to check out my YouTube channel for that. I am curious to see how it performs! With most head units, when rated at 4 volt for example, I expect to see a measurement of 4 volts on each side: 4 volts on the front left RCA pre-out and 4 volts on the front right RCA pre-out. Since the XAV-AX6000 has a mono RCA pre-out – should I expect to see 10 volts when I measure the single mono pre-out? You’ll have to tune in to find out.
Wireless Sound Quality
The other really interesting tidbit I discovered during this Sony XAV-AX6000 vs XAV-AX4000 review is the fact that the Apple CarPlay connection is done entirely wirelessly! That USB C is just there for charging (3 amps) and establishing the initial connection. Sony has implemented their proprietary LDAC technology in both of these receivers enabling high resolution audio streaming up to 990 kbps at 24 bit/96 kHz.
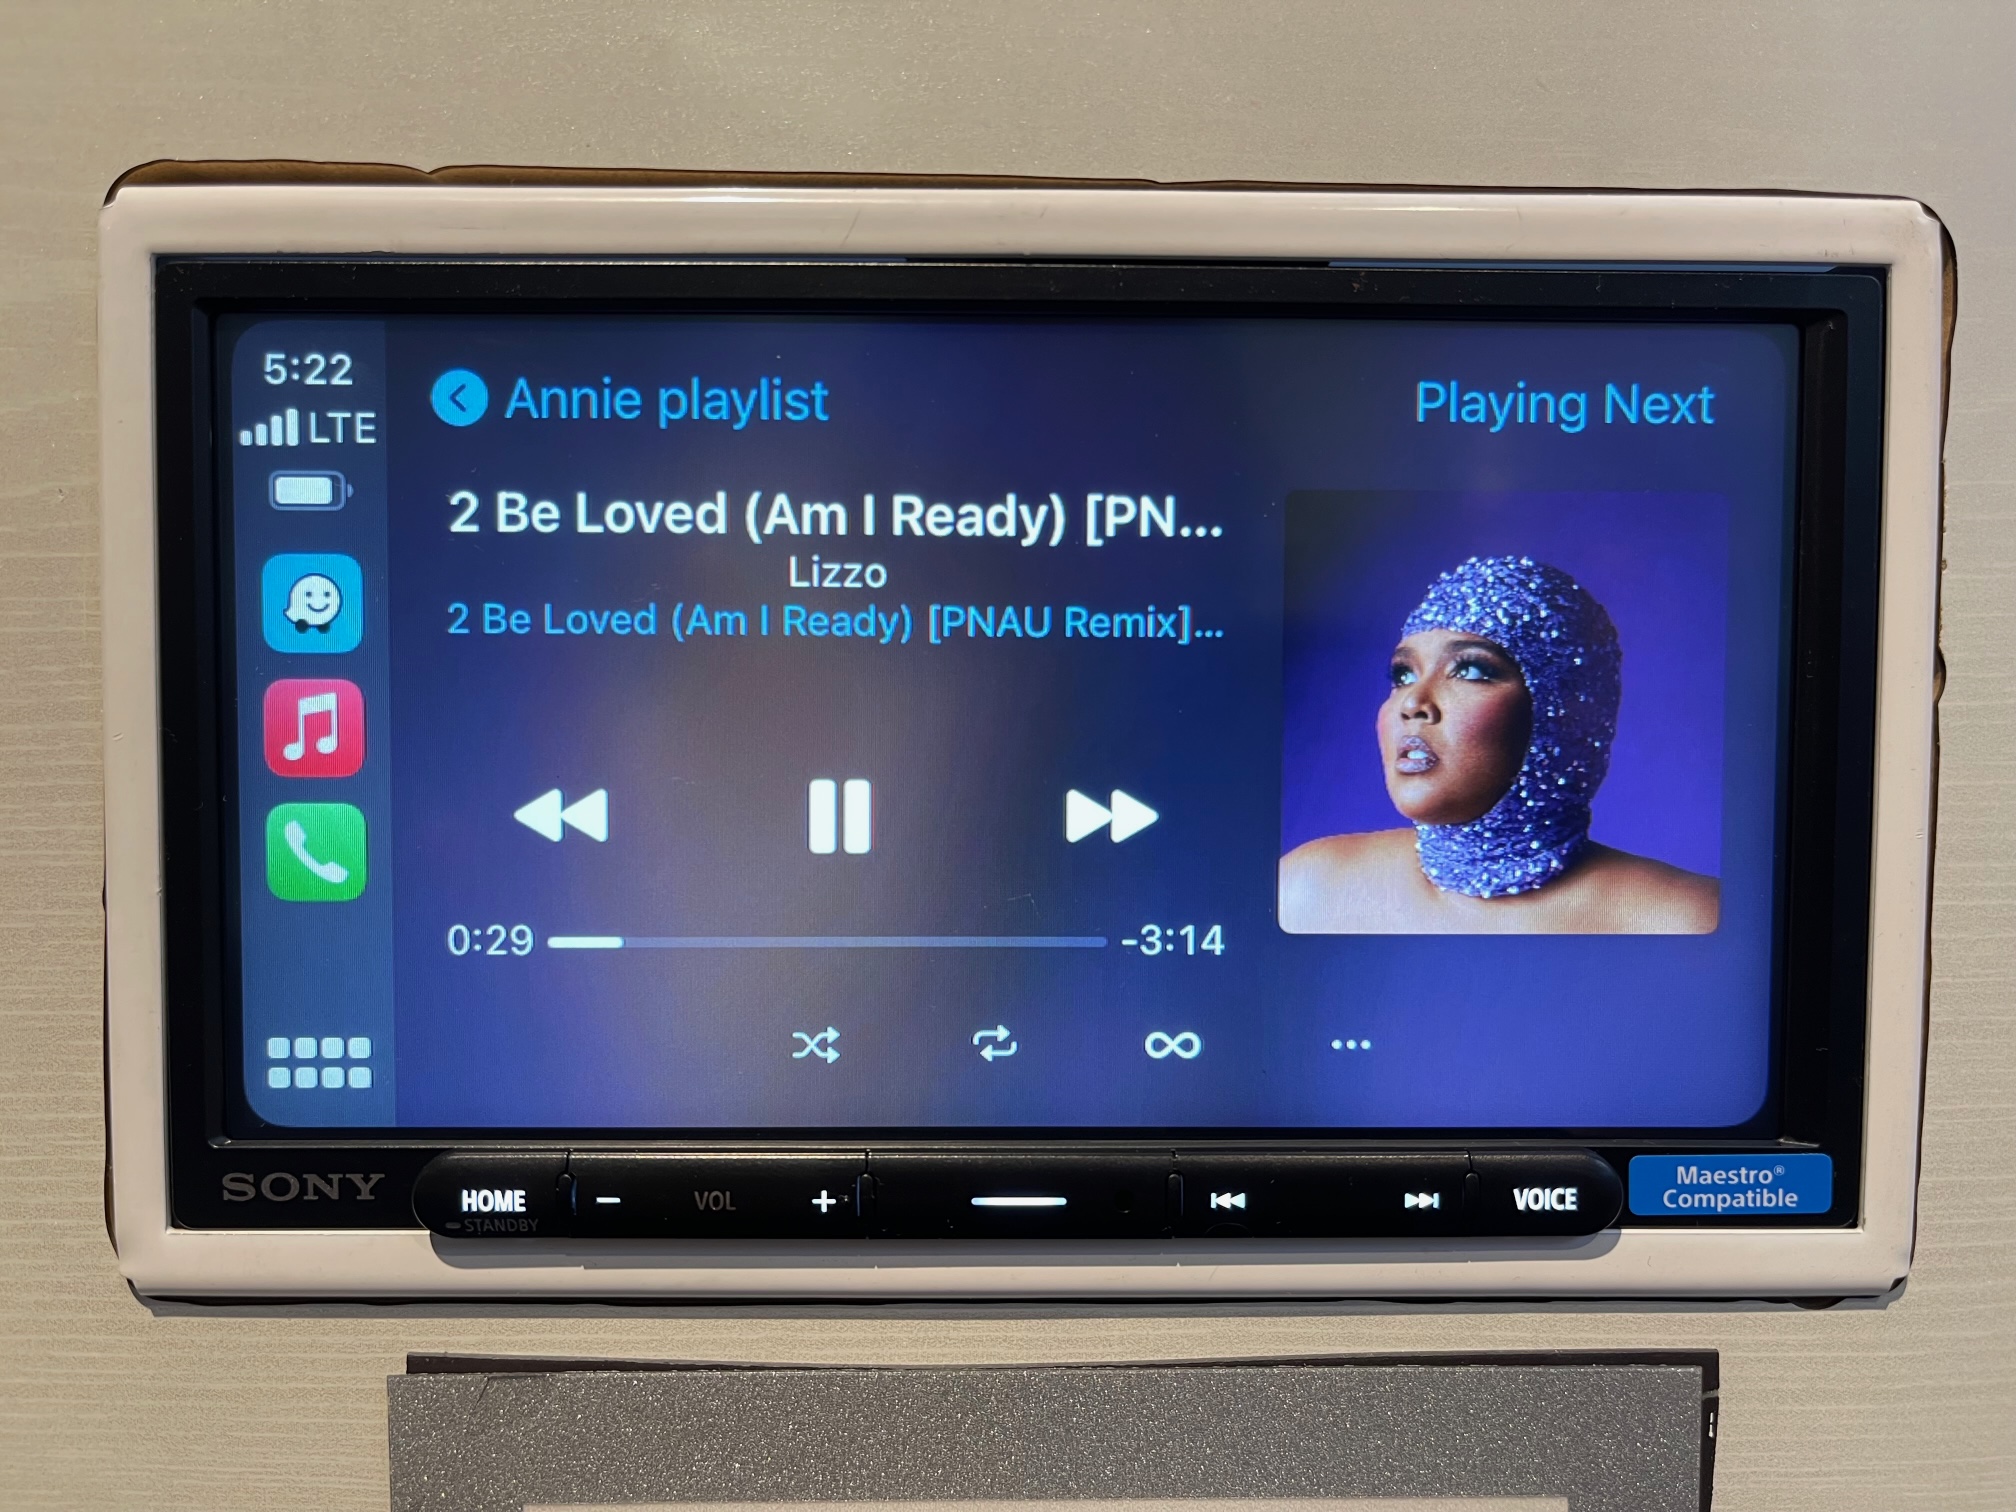
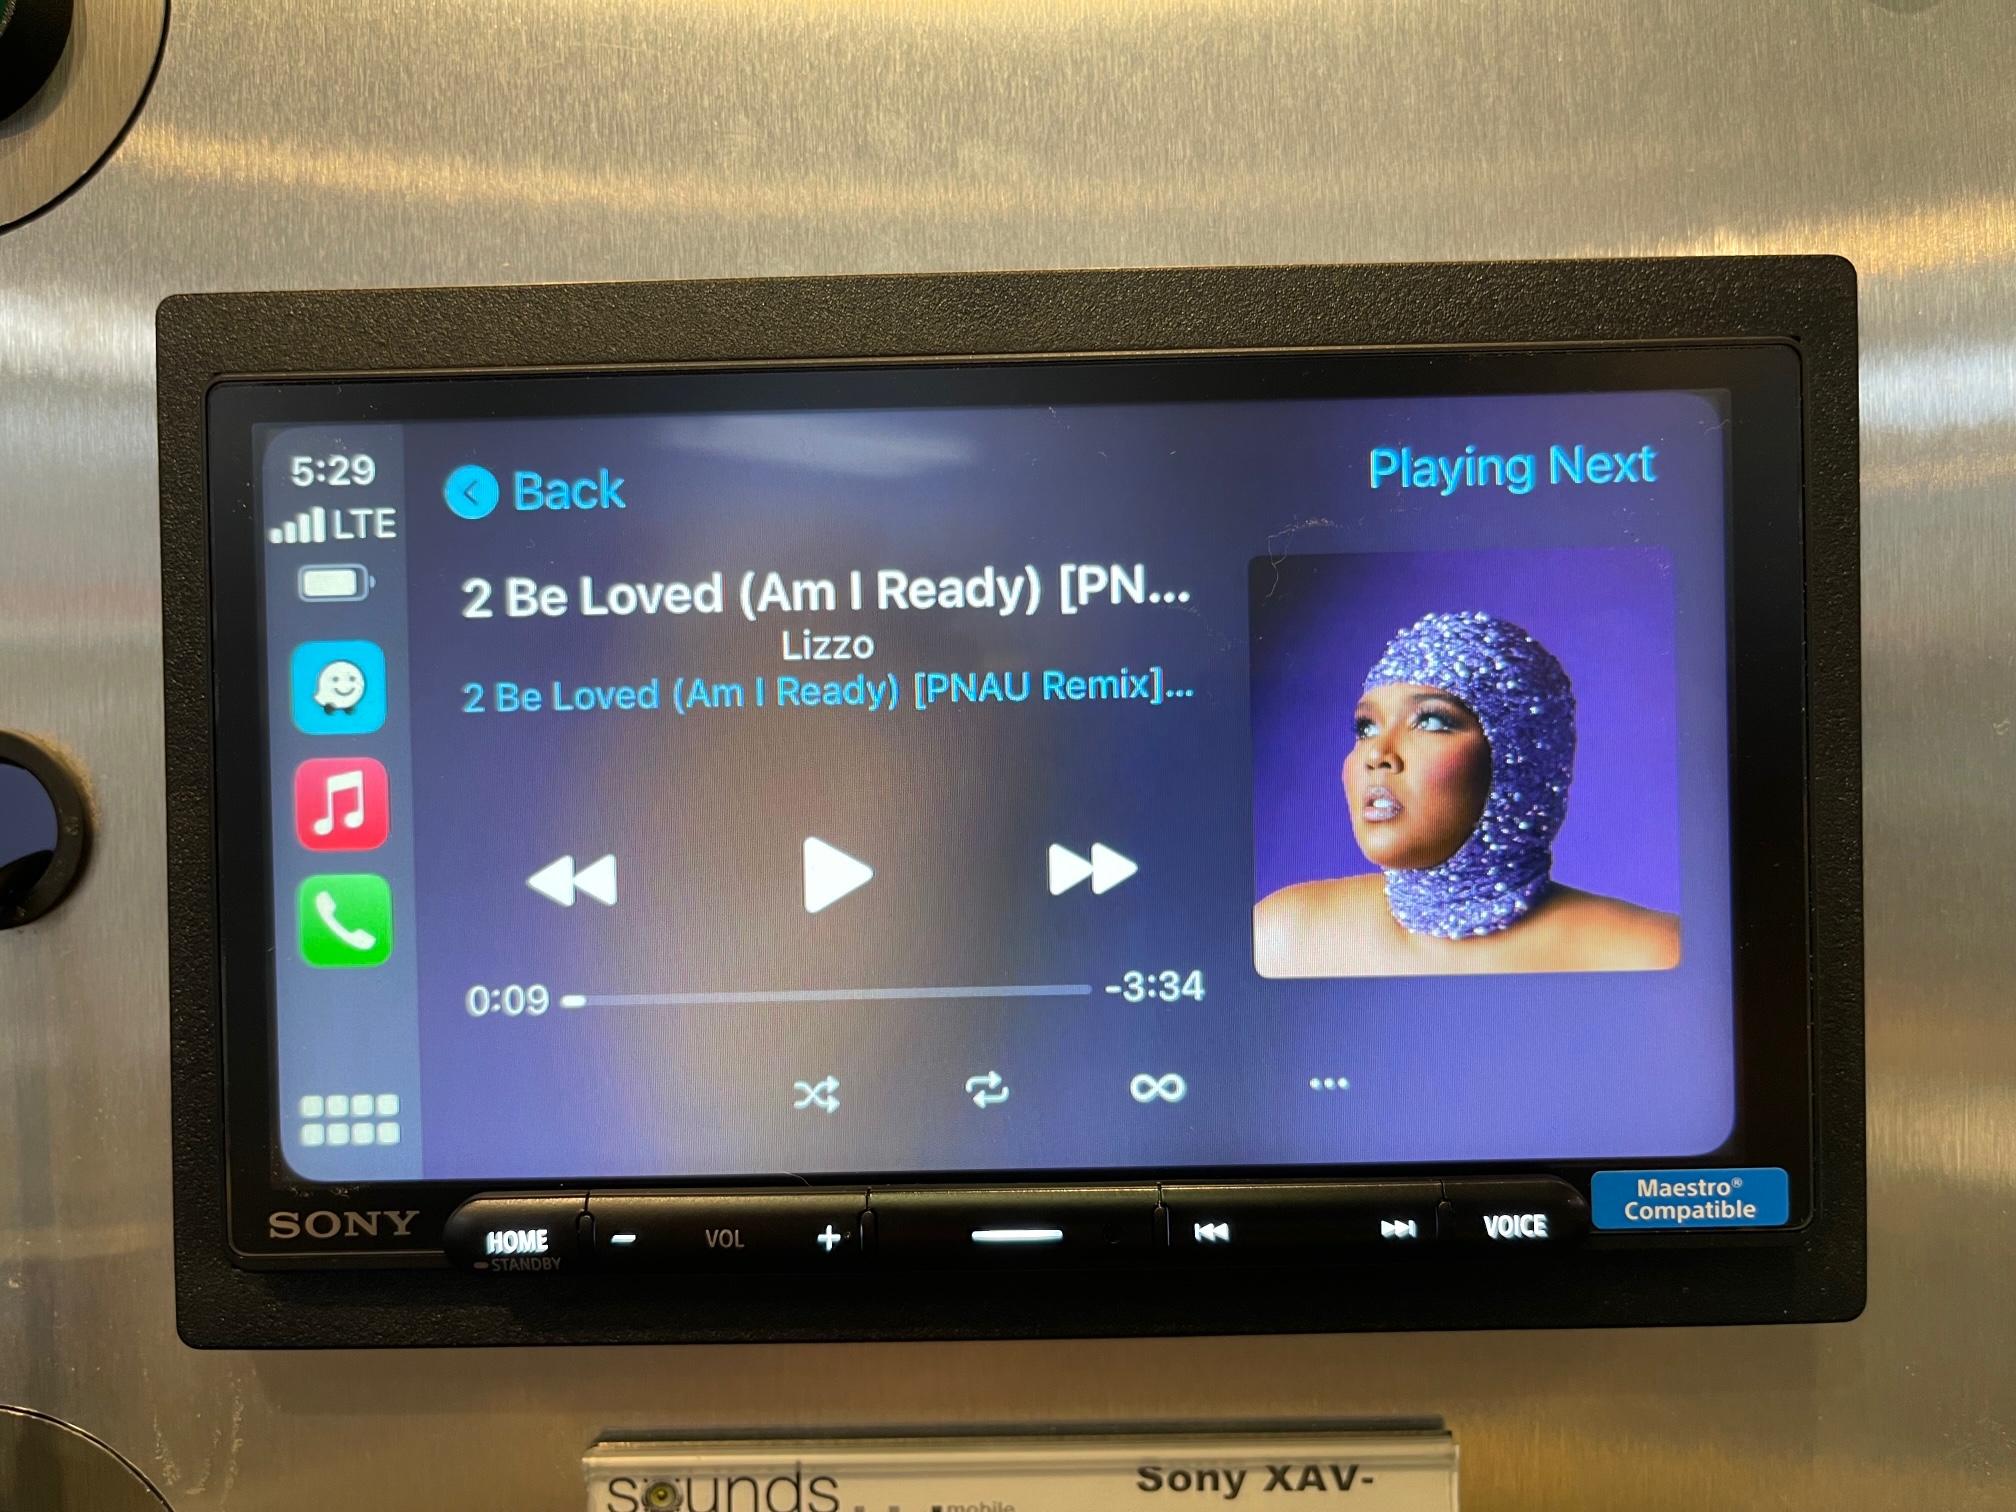
I did spend some time listening to the XAV-AX6000 and I must say, I was quite impressed with the sound quality. For this listening test I used a couple tracks: “Old Man” by Neil Young and “2 Be Loved” by Lizzo. The audio was piped thru some Focal Flax series components running off an older Alpine PDX-F4 amplifier.
I used Apple Hi-Res Lossless for this A/B comparison. The audio coming from the Sony XAV-AX6000 was almost indistinguishable to the audio coming from the Kenwood eXcelon DMX709s which features a wired connection and is capable up processing audio files at 24 bit/192 kHz.
Value That is Hard to Beat
The value on both of these wireless Apple CarPlay and Android Auto iDatalink Maestro compatible head units is pretty phenomenal. We’ve sold quite a few of both and so far all clients are happy. You really can’t go wrong with either model, but the XAV-AX6000 clearly has a few perks that are worth the extra $100. Many clients opt for the XAV-AX6000 just for that 3-year warranty. What do you think? Which wireless Apple CarPlay/Android Auto model stereo are you putting in your car?