Using JBL Basspro Hub and false floor technique
Recently we had a client inquire about adding a stealth and secure subwoofer to their 2008 Audi TT. Prior to tackling the Audi TT subwoofer install, we previously upgraded the in dash head unit with a Pioneer that is Apple CarPlay and Android Auto compatible.
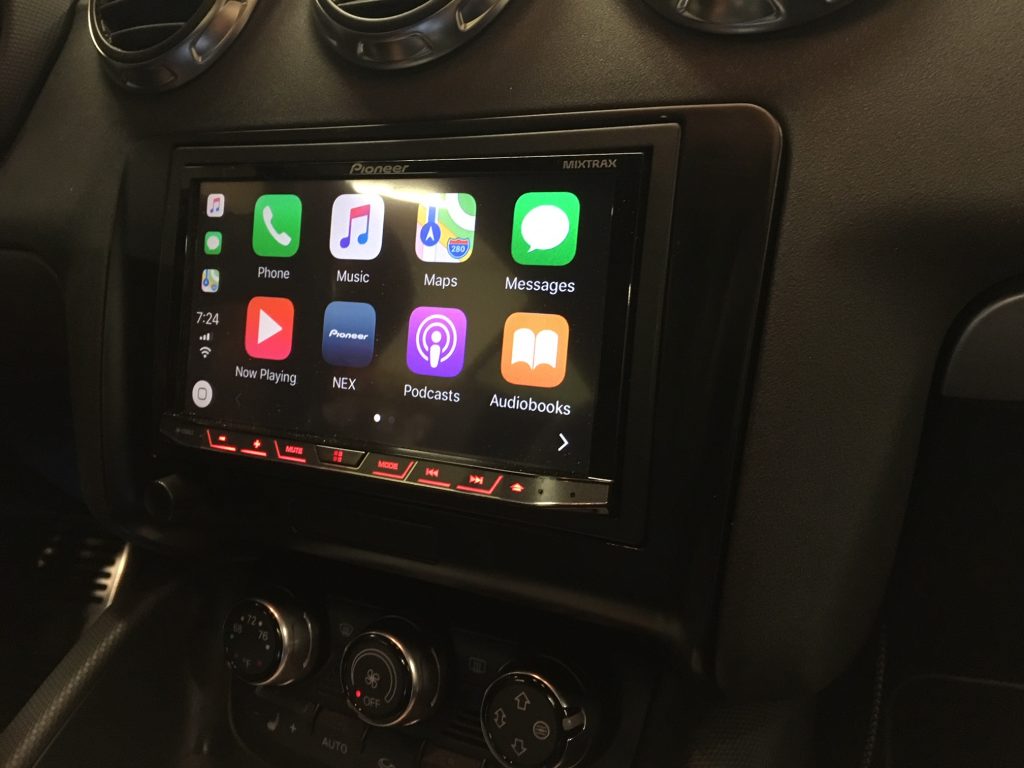
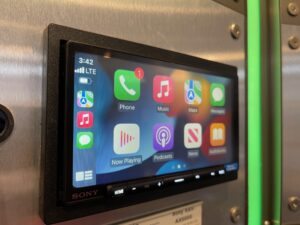
Upgrading the sound? Start with a good head unit and the right installation parts.
Whenever you are looking to upgrade the sound in your vehicle, it’s always a good idea to start with a good solid source unit and build it up from there. In this particular vehicle we used a Pioneer AVH-4201NEX with Metra 95-9108 dash kit. We used a head unit that was Android Auto compatible (and worked well with the client’s phone – we tested prior to selling and installing) and it also had to be iDatalink Maestro compatible in order to retain key vehicle features like steering wheel controls.
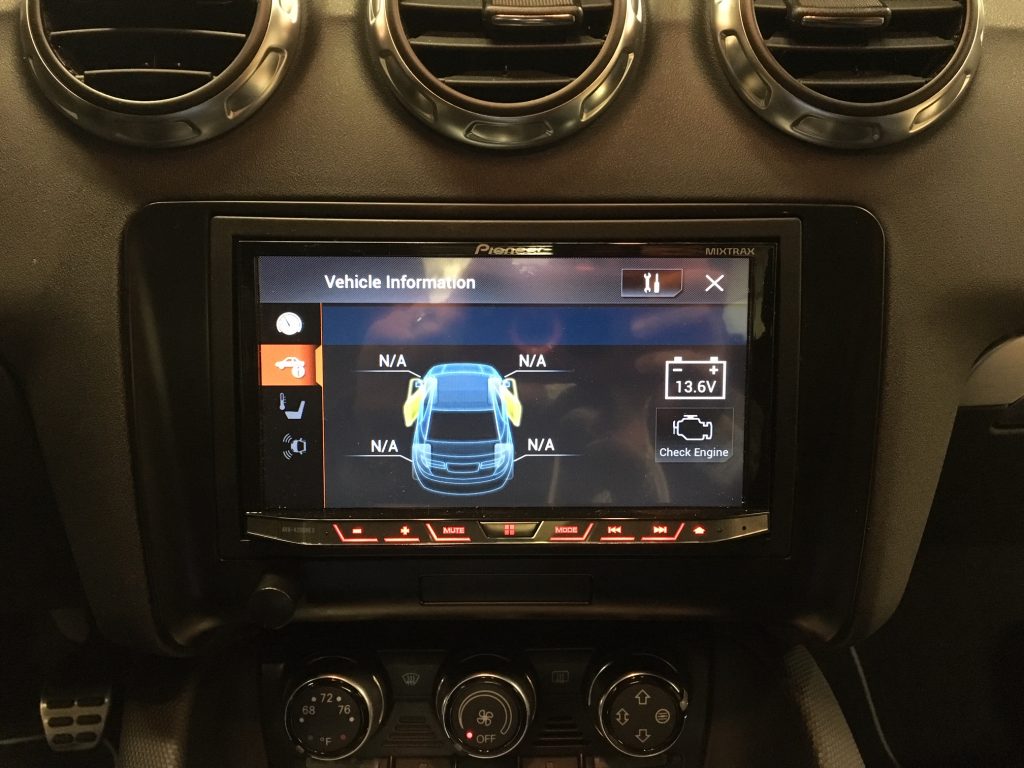
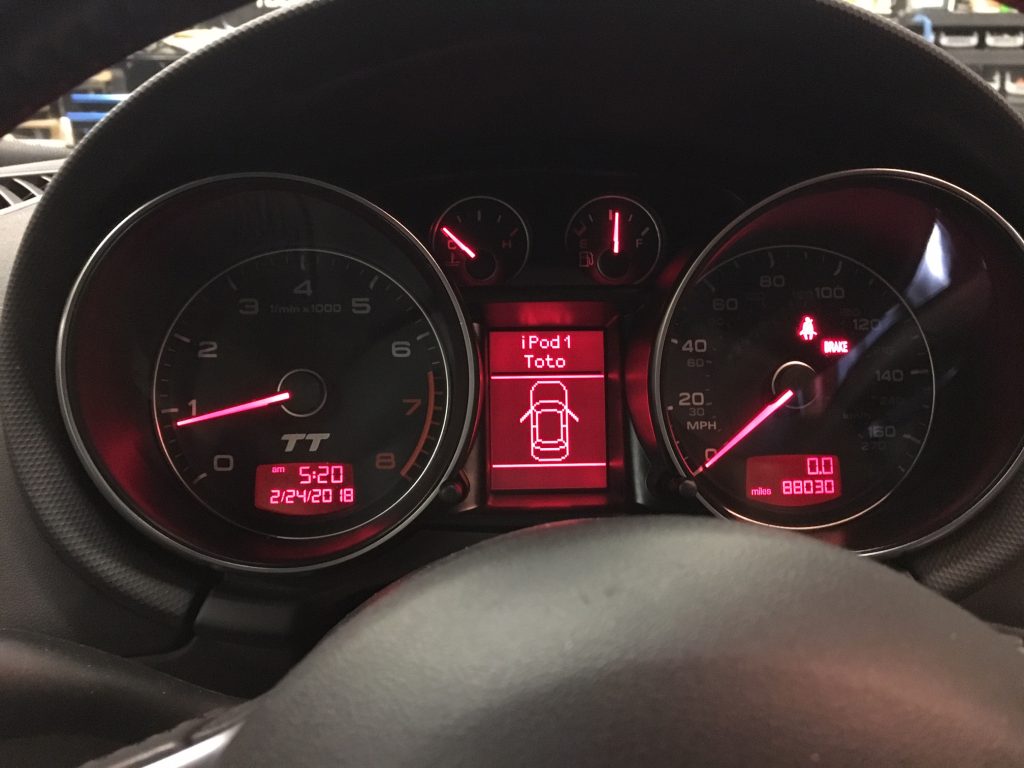
In addition to retaining steering wheel controls, the Maestro provides access to vehicle information on screen like battery voltage and the ability read and reset basic check engine errors. With this particular vehicle and radio, it was even able to retain the OEM cluster radio display seen below.
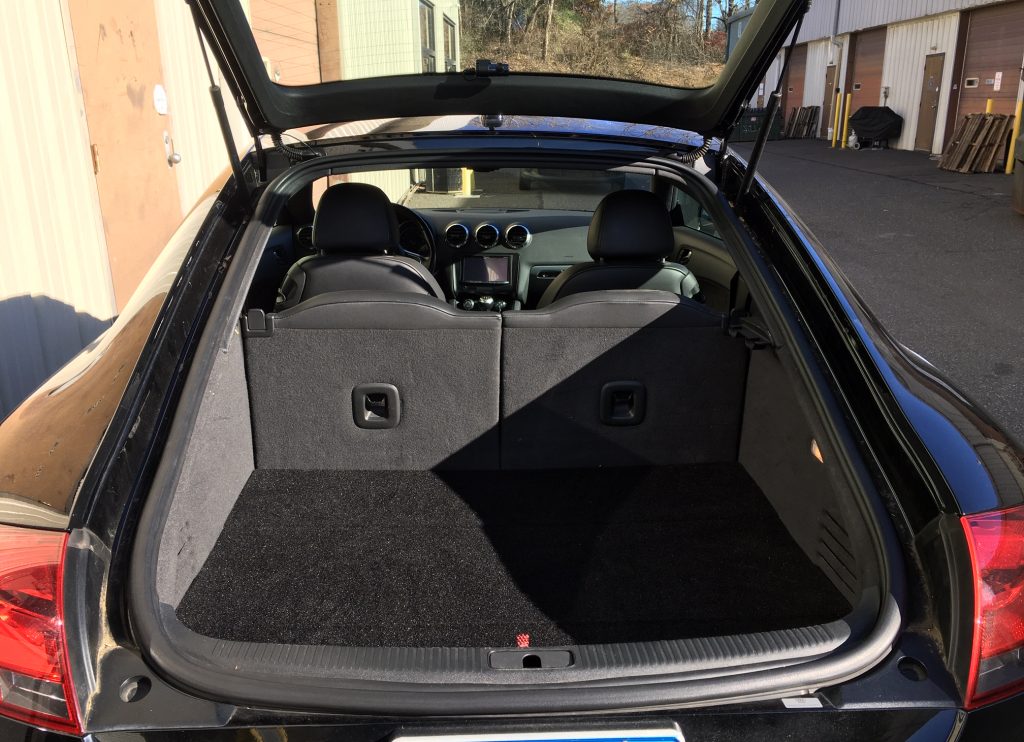
Looks great – but where’s the bass?
Despite having an upgraded aftermarket head unit and speakers, this car was definitely missing some bass. A traditional subwoofer enclosure just wouldn’t cut it, especially on track days. The client needed the space and was concerned about taking it in and out of the vehicle on track days. We definitely had to think outside the box for this Audi TT subwoofer install.
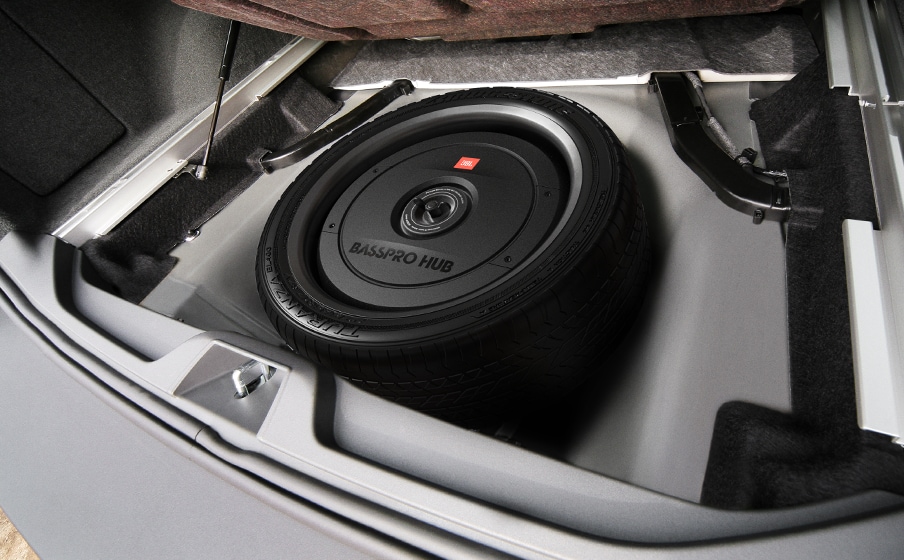
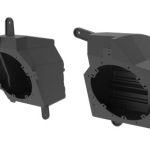
Having sold and installed the JBL Basspro Hub in a few vehicles, I thought this would be the perfect product solution for the Audi TT subwoofer install. For anyone not familiar with the Bass Hub Pro, it’s a phenomenal product. It’s a self contained 11″ subwoofer with 200 watt amp designed to fit inside the spare tire.
What if you don’t have a spare tire?
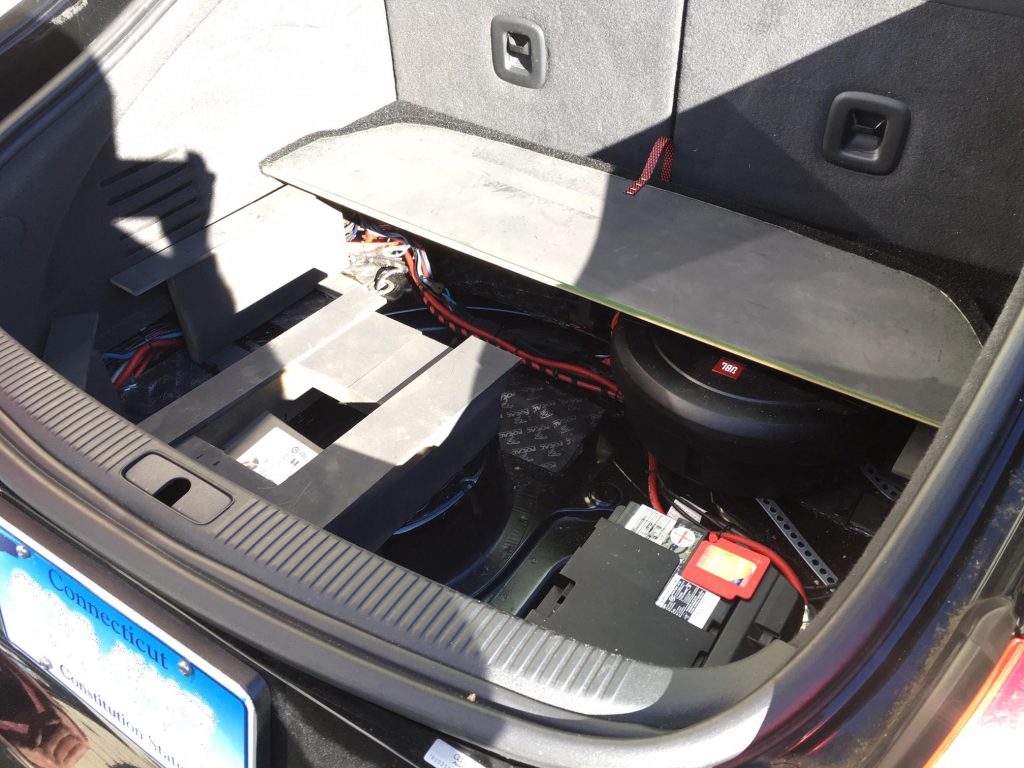
There was a slight problem with installing this subwoofer in the 2008 Audi TT. It didn’t exactly fit. The client had already removed their spare tire and wasn’t planning on putting it back in. Our solution? Build a false rear floor and make room for it under the new rear floor.
John made a 3 part removable panel. He even included a hidden storage compartment behind the rear seat backs (only accessible when the seats are down).

He added an easy grab handle allowing access to the vehicle battery underneath.
The result for this Audi TT subwoofer install was clean, tight, deep punch bass that didn’t sacrifice any space.
Add the bass without taking up space
For anyone interested in adding a quality subwoofer that is truly stealth to their sedan, coupe or hatchback, consider the JBL Basspro Hub. This sub does a great job of filling out and adding the depth, kick and snap that is naturally missing from most stock sound systems. No spare tire? No problem. As you see, it’s possible to can get a little creative in your install process to come with a solution. Perhaps a false floor design would be the best way to incorporate a stealth subwoofer in your vehicle.
2 Comments
Hi Annie,
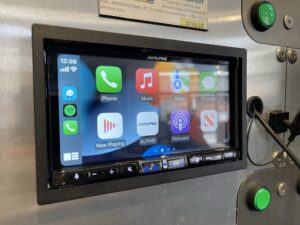
You installed a Kenwood into a 2012 f150 with the sync and factory nav, what mounting did you use because the aftermarket kits don’t work on that f150 and looks like you were using the factory faceplate. Did you have to cut anything or modify it in anyway?
Second how did you retain the factory backup camera I can’t for the life of me find the camera wires to be retained what harness and or wiring was used? Did you need a 6v step down also?
Great work! You’re awesome and thank you for any advice!!
Jason
Hi Jason,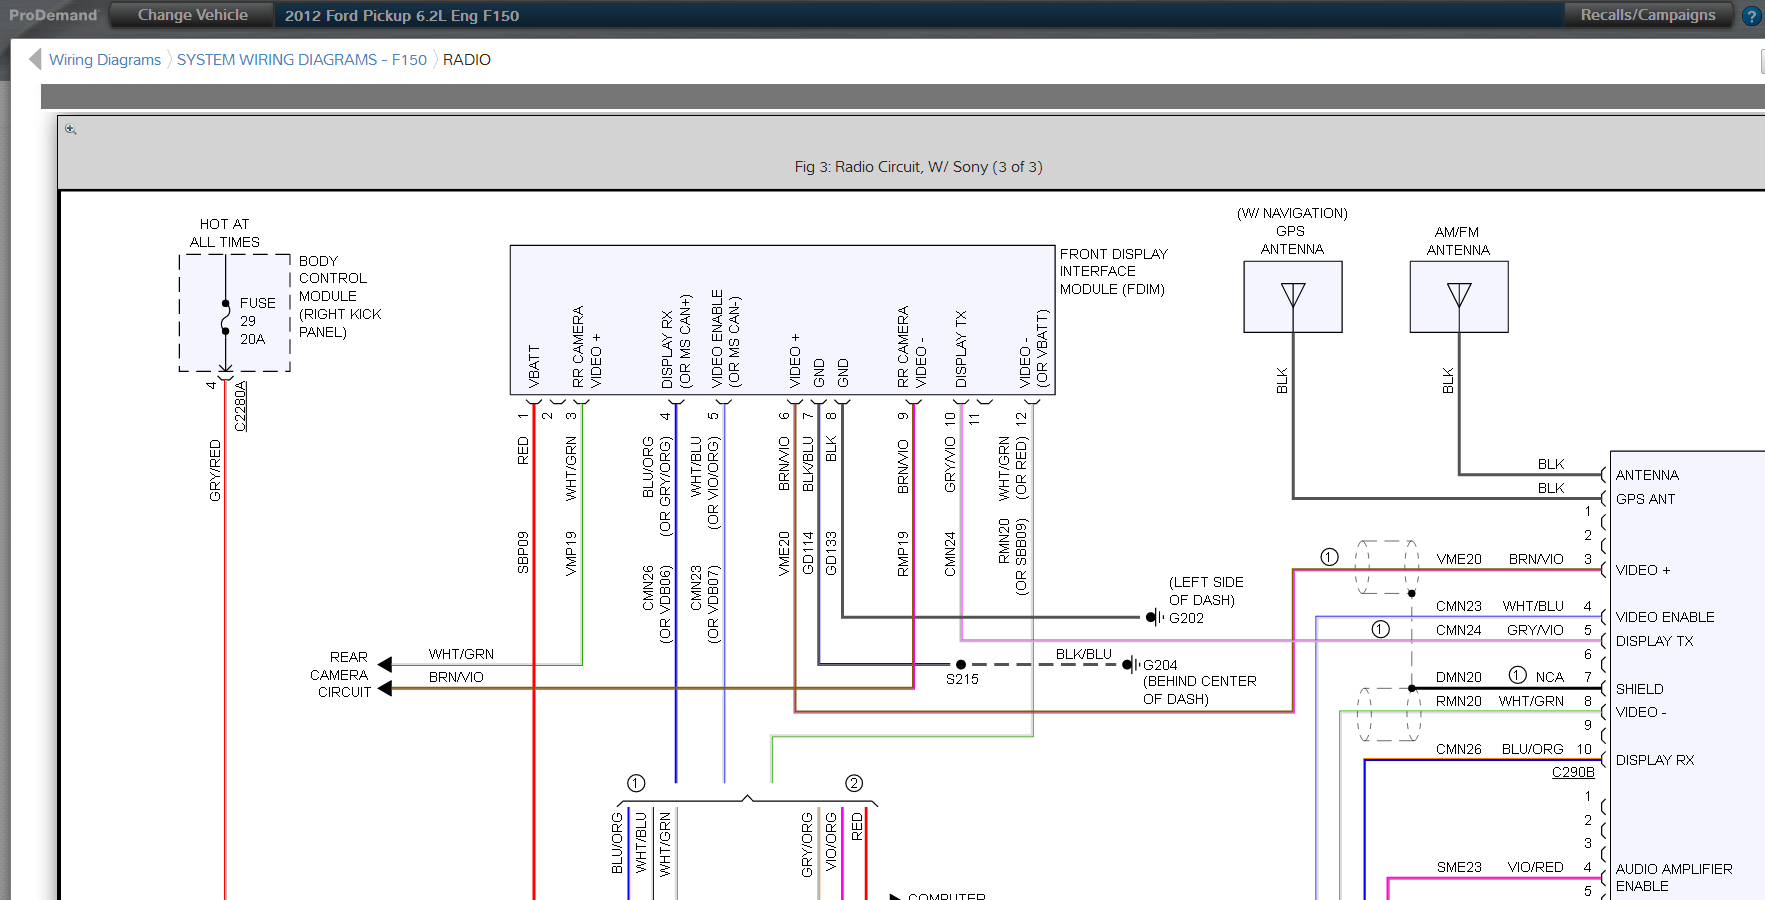 .
.
I wish I had a good answer for you. I called iDatalink to see if their KIT-MFT1 would work (it’s only for the newer style 8″My Ford Touch). It’s just a custom install. I recall that we used a combination of parts – metal back straps, part of a Ford double din kit for mounting to the side of the radio (like a Metra 95-5812 or Best Kits BKFMK542) and an oversized thin plastic trim ring that used to come with Kenwood double din head units (I think they still include it with their eXcelon series models, but any thin ABS plastic would work). You just have to be creative in figuring out how to make a mount for it. I think we secured the radio in the dash and the oversized trim ring was attached to the inside of factory bezel. I recall a bit of back and forth testing until he got it in the perfect position. The camera wires we used a schematic to identify the wires behind the head unit and took a video cable, cut the end off, stripped it back and then we just crimp connected into the factory wires using barrel connectors to make our own adapter. I don’t think it needed a step down adapter, but you should measure with a multi-meter because I really don’t recall (that was like 5 years ago). I’m sorry, I wish I had had the time/foresight back then to do a detailed write up, but I was the only person manning the front counter at the shop back then and did not have the time to do so