On nearly a weekly basis at the shop, I find myself assisting clients with their Android Auto connectivity issues. These hiccups usually occur long after installation and can be incredibly frustrating to resolve. The most common complaint I hear is that it doesn’t work consistently. Or it might have worked perfectly for months with no problem, but now all of a sudden it only works for 5 minutes at a time before disconnecting. Most of the time there doesn’t seem to be any rhyme or reason for the failure.
Although I’m not an Android user myself, I’ve learned a few tips and tricks over the years on how to resolve these Android Auto issues. When searching for answers to assist my clients, I realized no would had really put together one single punch list so that is what I’ve attempted to put together here. I’ve picked up a lot of this info just from my own research, reading through TSB’s and largely from the numerous tech support calls I’ve made to manufacturers like Kenwood, Sony, Pioneer and Alpine. In this post I will be sharing all the ways I’ve been able to resolve Android Auto Connectivity issues.
#1 – Cabling issues
Now I know a lot of my end users will say “I tried another cable, I tried three different high quality USB C cables, it didn’t make any difference.” Okay, but there is more to it than that, hang with me here.
How is the USB cable connected?
- Directly to the radio’s USB port?
- Through an extension?
- Through the OEM USB port?
With Android Auto you want your USB length to be as short as possible. Most aftermarket head units are going to come with a 1 meter USB extension. If you add a flush mount extension and your USB Sync/Charge cable on top of that, you’re probably over 9 feet – that’s a big no, no for Android Auto.
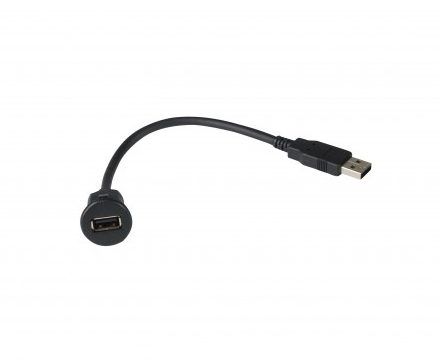
The Android Auto community specifically recommends avoiding using USB extensions. If you must extend to flush mount, we recommend the PAC Audio USB-DMA1. This is a high speed, USB C compatible, 12″ flush mount accessory. It’s a minimal extension of the aftermarket radio’s USB that allows you a clean way to install the USB port.
If you’re using any other type of extension then your overall cable length is probably too long. If you’re using an adapter that connects to an OEM USB port then you will experience issues. Chances are that original USB cable that came with the car is USB 2.0. It’s probably not a high speed USB C compatible cable which is what you need to work with Android Auto. Therefore most factory USB retention adapters are not going to be compatible with your aftermarket Android Auto radio.
In fact, even if your vehicle came equipped with Android Auto, it might need a high speed USB swap. I have seen TSB’s that recommend changing the OEM USB port and cable to a newer higher speed Android Auto compatible one. If you have a vehicle that is a few years old with a factory radio that is having Android Auto connectivity issues, ask your dealer if there is TSB on the issue. They may need to update the USB cable and port in the car.
So what is the right cable?
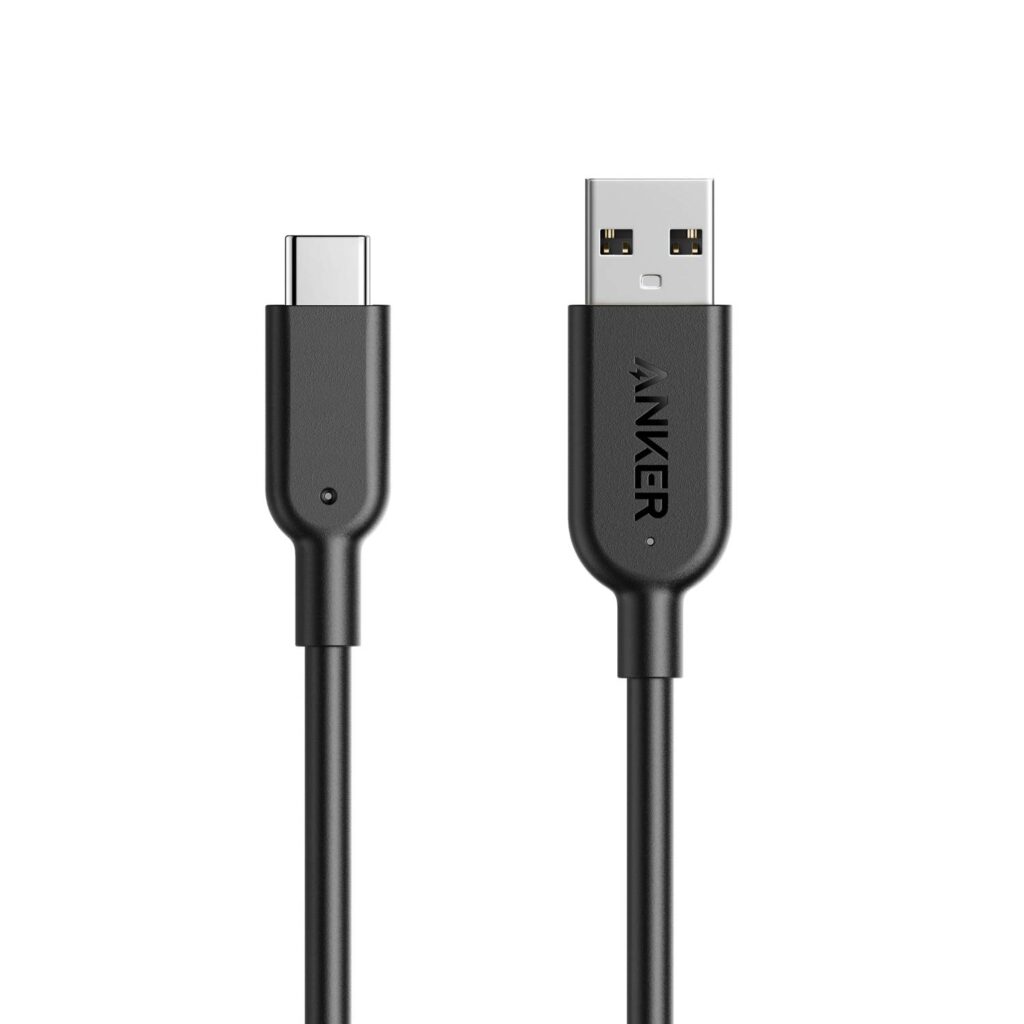
That all depends on your phone. Personally, I’ve had good luck with 1 meter Anker cables for select Samsung phones.
However for most phones, and especially the Google Pixel, you are best off using the original charge/sync cable that came with the phone. Or maybe just buy a head unit that supports wireless Android Auto (Seriously, Pixel, why so picky?).
#2 – When’s the last time you restarted your phone?
If you’re having Android Auto connectivity issues, it’s always a good idea to restart your phone. This is an easy way to clear cache or problematic apps running in the background. A lot of times when I’m having trouble getting a clients phone to work with Android Auto, I ask, “When’s the the last time your restarted your phone?”. Most truly cannot recall. Sometimes all it takes is a restart to get everything working properly.
#3 – Check for app updates
Although your phone’s operating system may be up to date, and it may even be scheduled to do automatic updates, there may be a problematic app that needs updating. App updates are separate from software updates. Go into Google Play to check and see if there are any available app updates. If there are, go ahead and do the app updates. Next, close out all open apps and restart the phone if you haven’t done that already and then try again.
#4 – Start from scratch
The other thing I like to do when a client is experiencing Android Auto connection issues is to clear memory from both devices. Go into the Bluetooth memory of your radio and delete your device along with any other devices that are stored in the memory. Then go into the Bluetooth settings on your phone and unpair/forget the device from your phone. Once memory has been cleared from the phone and the radio, go ahead and reconnect your device.
Android Auto should pop up as if it’s been connected to the device for the first time. Pay attention to all the Android Auto prompts making sure that you give it all the permissions necessary to function. If you deny one of these permissions, that can cause connectivity issues.
#5 – Delete and reinstall problematic apps
Sometimes Android Auto works, but there is one app that just isn’t working right. Maybe Pandora or Spotify won’t launch or maybe the app is on your phone, but you can’t select it from the Android Auto screen. Maybe you see Waze, but you can’t open it because you get an error. Sometimes this is simply that you aren’t logged into the app so the app won’t open up on the screen. Turn your car off, open the app on your phone and make sure you are logged in and that the app is fully functional on your phone. If it’s not working right on your phone, it certainly isn’t going to work right when connected to Android Auto. I’ve had a few clients have this issue with Waze. It didn’t work simply because they weren’t logged in. Other times I’ve had to delete the app, reinstall it and make sure they logged in successfully on the phone prior to connecting.
In all instances thus far, I’ve been able to get problematic apps to function again simply by deleting and reinstalling them.
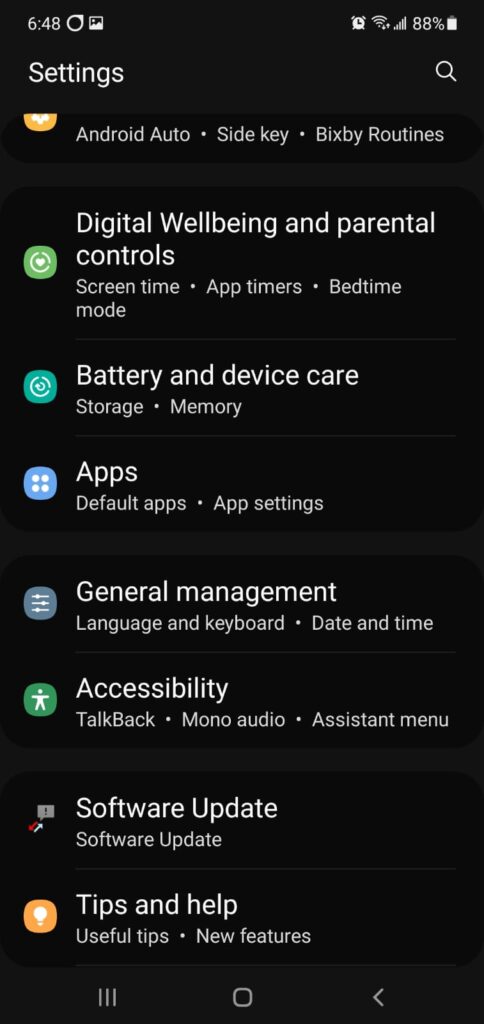
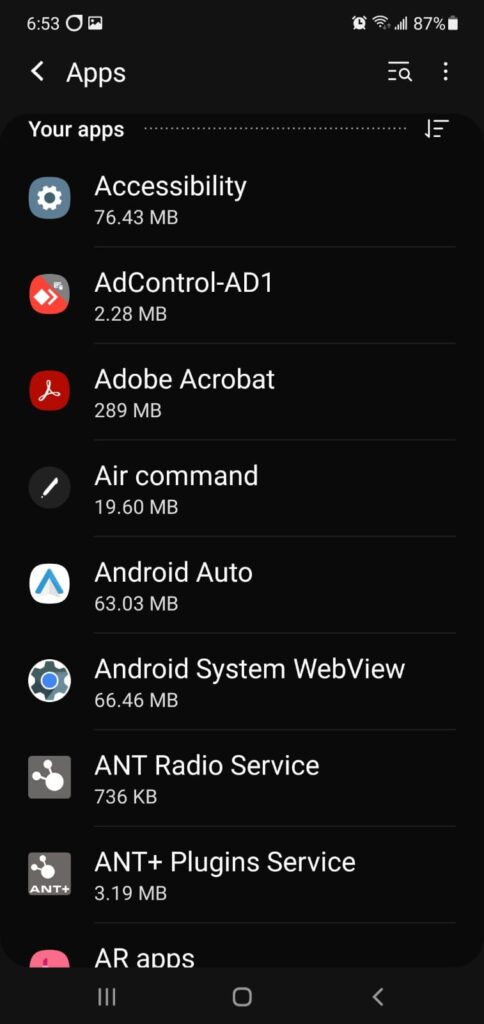
Not sure how to do this? First go to settings and find the app manager.
Next you will want to find the app and uninstall it. Once deleted, go back into Google Play and redownload the app.
Make sure you are logged into the app before attempting to select it on Android Auto.
Also, if you’re using any kind of VPN app or antivirus app, disable and delete it. They don’t play nice with Android Auto, sorry.
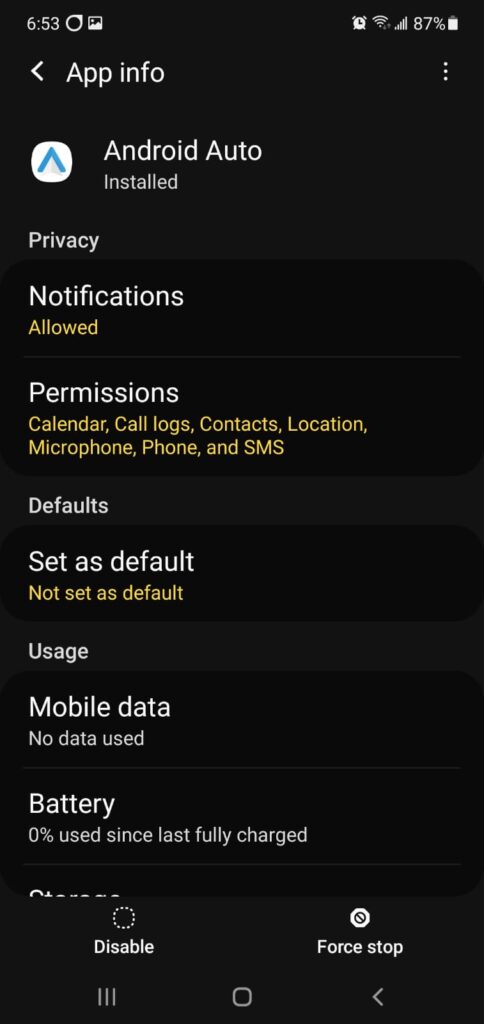
#6 – Force stop Android Auto, revert to previous version then update to the latest version
Although you can’t delete and reinstall Android Auto, this is another way to clear the cache and clear any quirks that might be occurring. To do this you have to go into the application manager, find the Android Auto app, force stop and disable it. At that point you can revert to an earlier version and then go ahead and update it to the current/latest version.
I rarely have to do this last step, but I did have one client recently with a Samsung phone that was really, really glitchy. Between this step and the Anker cable connected directly the Android Auto radio’s USB input, I finally got it working consistently for him.
Final tips and tricks
- Developer Options – USB Debugging
Years ago, I used to turn on developer options and turn on USB debugging, but lately this seems to cause more harm than good. So if you’ve read that tip somewhere else, perhaps in an older article, I wouldn’t recommend trying that now.
- Smartwatch interference
If your Android Auto is connected, but you can’t hear what’s playing, and you happen to be wearing a Smartwatch – try turning off your Smartwatch. This is not a super common issue, but I can recall at least one client’s Smartwatch causing interference with Android Auto.
What worked for you?
Although this is not an exhaustive list of every possible thing you can do to correct Android Auto, these are all the tricks I have learned and use regularly at my shop to successfully resolve Android Auto connectivity issues for clients. Most of the time it’s as simple as cabling issues, but there are other times where I have to do everything on this list to resolve Android Auto connectivity problems. I hope you have found this information helpful. Thanks so much for reading.
If you have another Android Auto connectivity tip or trick to share that I haven’t covered, please let me know in the comments below.
4 Comments
Hello thanks for your input… I’m having trouble with i209 wra and pss 22 wra receiver and speaker package for 2015 Jeep Wrangler… Alpine Tune It app does allow vehicle input nor wireless connection to Android Auto… help?
Hi Michael, unfortunately the i209-WRA is wired connection only for Android Auto/Apple CarPlay. The wireless connection is Bluetooth only. To control the apps on screen, you’ll need to connect with to the USB using a charge/sync cable. Regarding the Tuneit app, I don’t know if that app is still supported? If you’re able to download it, make sure you are paired to the radio when you open up the app. Also make sure you have the latest firmware on the receiver.
I switched out my cheap cord for the Anker one you recommended and problem solved. Thank you for the tips!!
I’m so glad it worked! Just yesterday I had to turn on USB debugging in developer mode for an S21 in a 2016 Silverado (factory radio). AA can be quirky at times 😉